Cette version peut contenir des modifications incorrectes. Passez au dernier aperçu vérifié.
Ce dont vous avez besoin
-
Cette étape n’est pas traduite. Aidez à la traduire
-
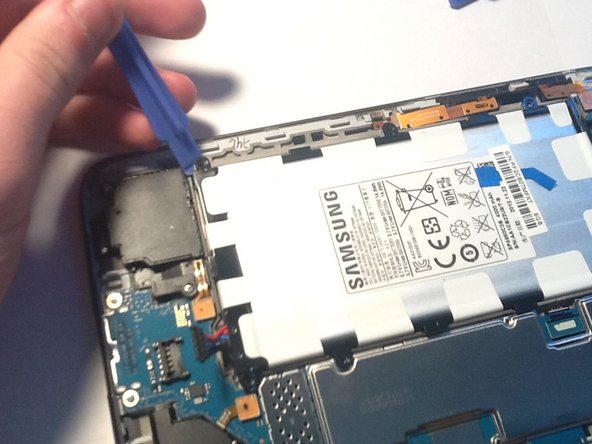
Carefully start at the bottom of the tab prying the rear casing.
-
-
Cette étape n’est pas traduite. Aidez à la traduire
-
disconnect the battery by prying from underneath where the wires attach.
-
-
Cette étape n’est pas traduite. Aidez à la traduire
-
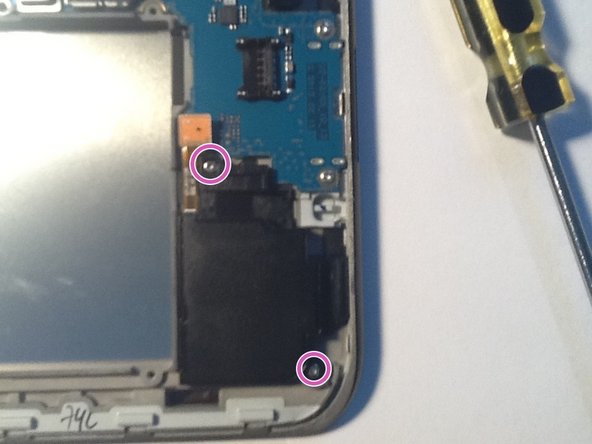
Remove the 6 screws holding in the battery]
-
Then the battery should lift out
-
-
Cette étape n’est pas traduite. Aidez à la traduire
-
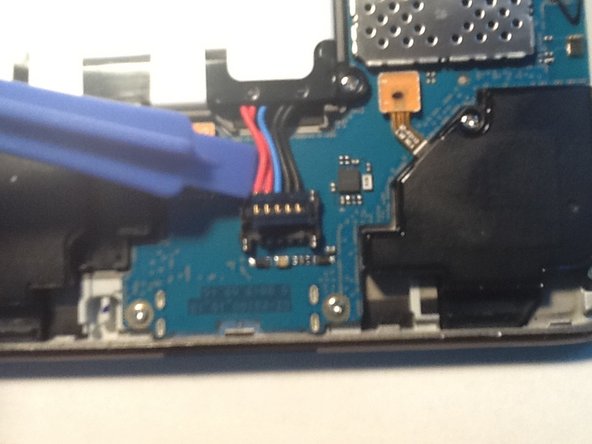
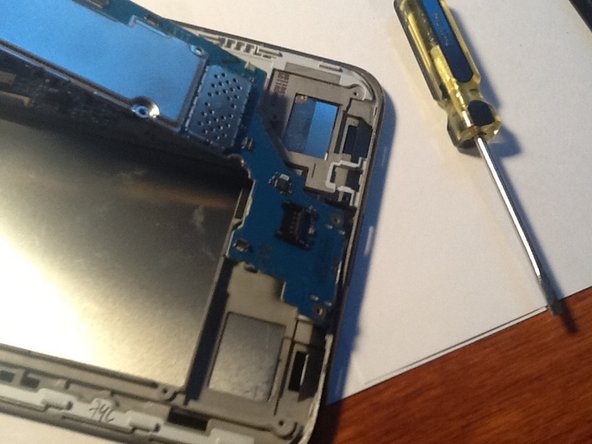
Next we will be disconnecting the cables shown in red
-
-
-
Cette étape n’est pas traduite. Aidez à la traduire
-
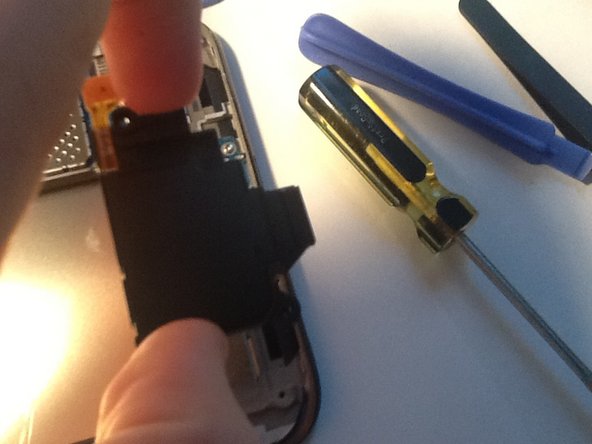
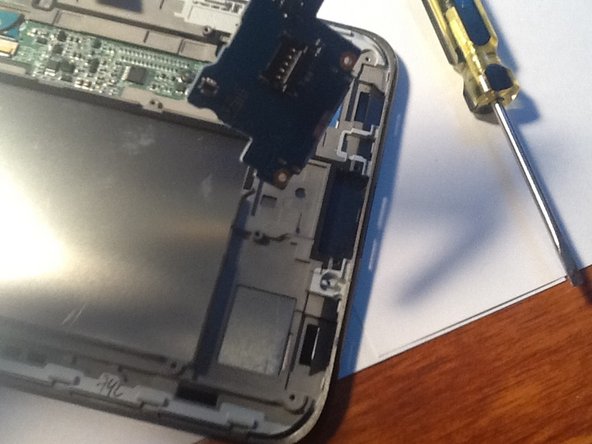
the speaker connectors will be first.
-
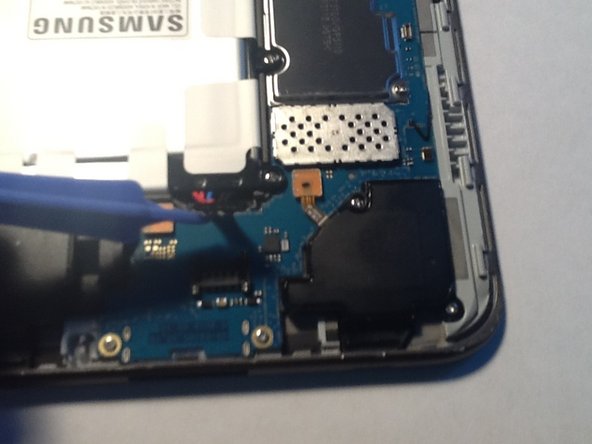
Use a plastic opening tool to pop the connector off
-
repeat this for the other connectors show on previous step
-
-
Cette étape n’est pas traduite. Aidez à la traduire
-
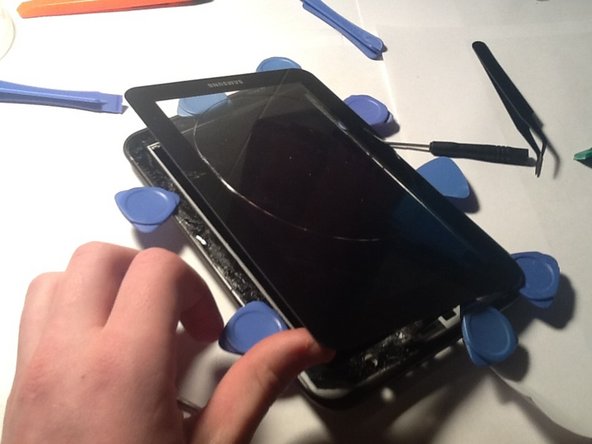
flip it over and heat the glass using a heat gun, and insert your plastic opening tool.
-
slowly work your way around the device reheating as needed.
-
-
Cette étape n’est pas traduite. Aidez à la traduire
-
after filling it with a world share of plastic tools, lift the screen off.
-
-
Cette étape n’est pas traduite. Aidez à la traduire
-
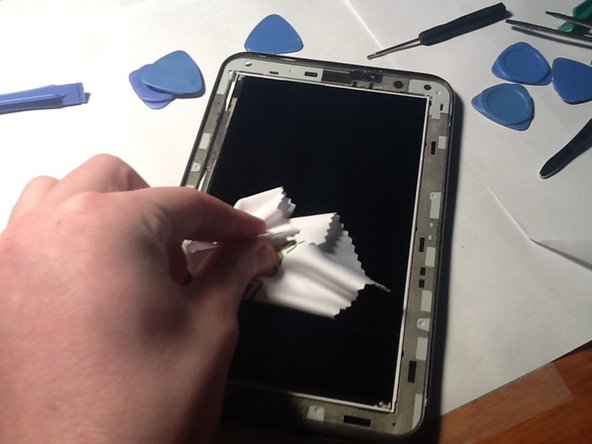
remove the old adhesive.
-
and clean the glass off the lcd
-
-
Cette étape n’est pas traduite. Aidez à la traduire
-
reapply adhesive and feed the cable in the frame.
-
Then do the whole guide in reverse minus the prying.
-


Annulation : je n'ai pas terminé ce tutoriel.
27 autres ont terminé cette réparation.

Équipe

5 commentaires
Hello! :)
Today I have replaced my screen following your guide and a YouTube video. They were both helpful :)
Just a warning, when you are taking off the old screen, trying to separate it from the glue, be careful not to insert the plastic tools too deep into the space between screen and glass, because you may damage the first one.
Good luck everyone! :D
Can't see why it's necessary to remove the battery or motherboard. Why can't you heat the digitizer off, since there's access to the cable?
If the correct amount of heat is applied, why is this all necessary?
The reason I recommend removing it is to help prevent the battery and motherboard from being accidentally heated. I know that if you do it just right there will be no heat applied to them but I'd rather be safe than sorry!
I done this but new screen is not bonding well what are your recommendations
I replaced the digitizer and battery on my son's tablet. Now the network card is hardly able to pick up a signal. I have read that some people replace the antenna, but I can't see how that would help as it is such a simple design.