Aller au contenu principal

Samsung Galaxy Tab A 7.0" Headphone Jack Replacement

Ce dont vous avez besoin

  1. Samsung Galaxy Tab A 7.0" Headphone Jack Replacement, Headphone Jack: étape 1, image 1 de 1
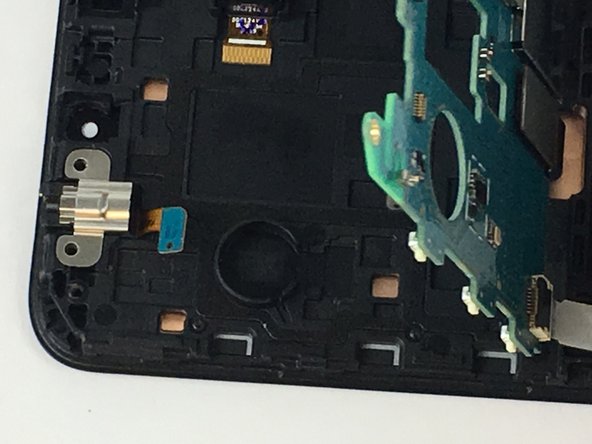
    • Using the plastic opening tool, starting at any corner on the tablet, insert the tool between the back panel and the front panel.

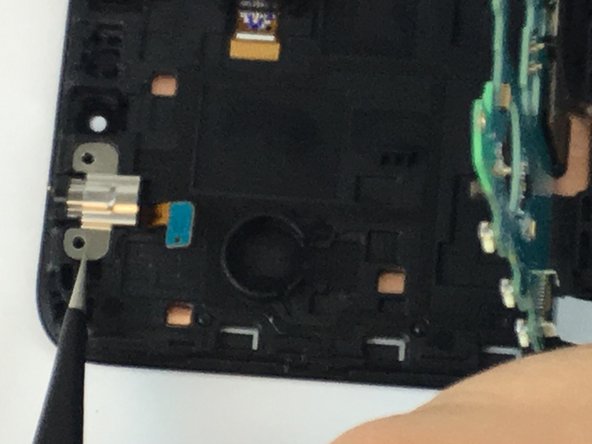
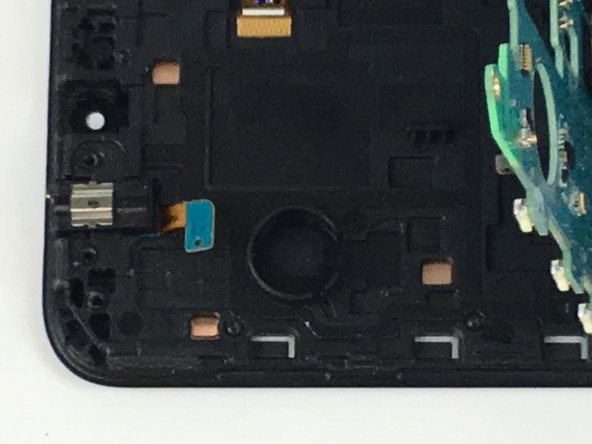
    • Slide tool around the tablet to unlock the panels from one another.

  2. Samsung Galaxy Tab A 7.0" Headphone Jack Replacement: étape 2, image 1 de 2 Samsung Galaxy Tab A 7.0" Headphone Jack Replacement: étape 2, image 2 de 2
    • Carefully remove the back panel from the front panel.

    • The inner components of the tablet will now be exposed.

  3. Samsung Galaxy Tab A 7.0" Headphone Jack Replacement: étape 3, image 1 de 3 Samsung Galaxy Tab A 7.0" Headphone Jack Replacement: étape 3, image 2 de 3 Samsung Galaxy Tab A 7.0" Headphone Jack Replacement: étape 3, image 3 de 3
    • Remove the two Phillips head screws attaching the auxiliary port to the plastic frame using a P000 screwdriver.

    • Remove the four Phillips head screws attaching the motherboard to the plastic case using a P000 screwdriver.

  4. Samsung Galaxy Tab A 7.0" Headphone Jack Replacement: étape 4, image 1 de 1
    Outil utilisé dans cette étape :
    Tweezers
    $4.99
    J'achète
    • Using tweezers disconnect the headphone jack connector from the motherboard.

  5. Samsung Galaxy Tab A 7.0" Headphone Jack Replacement: étape 5, image 1 de 3 Samsung Galaxy Tab A 7.0" Headphone Jack Replacement: étape 5, image 2 de 3 Samsung Galaxy Tab A 7.0" Headphone Jack Replacement: étape 5, image 3 de 3
    • Using tweezers, carefully lift up the motherboard.

    • Using tweezers, remove the metal jacket holding the headphone jack in place by grabbing the left corner where there is a recess to grab it.

    • There is a light adhesive holding the metal jacket down. You may have to pull slightly harder to get this off.

  6. Samsung Galaxy Tab A 7.0" Headphone Jack Replacement: étape 6, image 1 de 1
    • Remove the auxiliary port from the case.

Conclusion

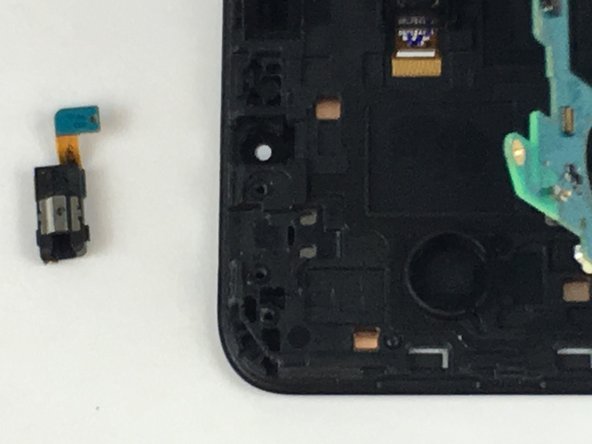
To reassemble your device, follow these instructions in reverse order.

5 autres ont terminé cette réparation.

Bradley Watson

Membre depuis le 02/15/17

1 079 Réputation

4 tutoriels rédigés

Équipe

USF Tampa, Team 5-4, Passmore Spring 2017 Membre de l'équipe USF Tampa, Team 5-4, Passmore Spring 2017

USFT-PASSMORE-S17S5G4

3 membres

8 tutoriels rédigés

0 commentaires

Ajouter un commentaire

Nombre de vues :

Dernières 24 heures : 1

7 derniers jours : 9

30 derniers jours : 59

Total : 3,997