Aller au contenu principal

Samsung Galaxy Tab A 9.7 Motherboard Replacement

Ce dont vous avez besoin

  1. Samsung Galaxy Tab A 9.7 Motherboard Replacement, Back Cover: étape 1, image 1 de 1
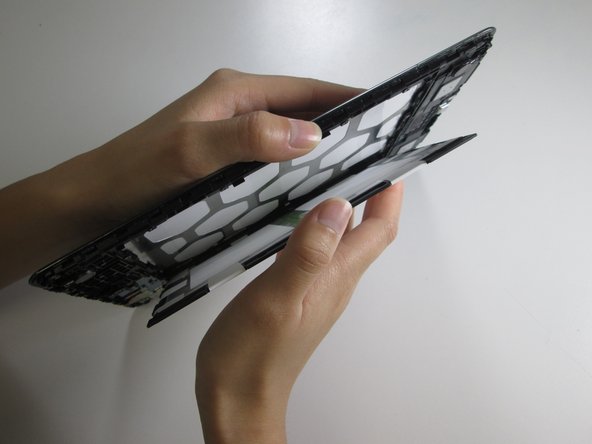
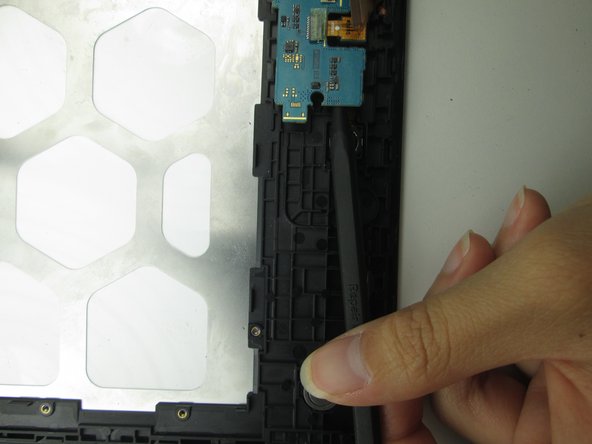
    • Insert a metal spudger between the back case and the screen of the device.

    • The back cover is attached to the device by a series of snaps. The snaps are positioned about an inch from each other.

    • Move the spudger along the perimeter of the device while it is in between the back case and the screen to open each snap.

    • There will be an audible click every time a snap releases.

  2. Samsung Galaxy Tab A 9.7 Motherboard Replacement, Battery: étape 2, image 1 de 2 Samsung Galaxy Tab A 9.7 Motherboard Replacement, Battery: étape 2, image 2 de 2
    • Remove the eleven #000 Phillips 2.8mm screws that hold the battery in place.

  3. Samsung Galaxy Tab A 9.7 Motherboard Replacement: étape 3, image 1 de 2 Samsung Galaxy Tab A 9.7 Motherboard Replacement: étape 3, image 2 de 2
    • Place one hand on the battery and grasp the outer edge of the device with the other hand.

    • Flip the device over so that the battery falls over and onto your hand.

  4. Samsung Galaxy Tab A 9.7 Motherboard Replacement: étape 4, image 1 de 2 Samsung Galaxy Tab A 9.7 Motherboard Replacement: étape 4, image 2 de 2
    • Pull the battery out until it is only connected to the device by the black, yellow, and red connectors.

  5. Samsung Galaxy Tab A 9.7 Motherboard Replacement: étape 5, image 1 de 2 Samsung Galaxy Tab A 9.7 Motherboard Replacement: étape 5, image 2 de 2
    • Hold the battery and grip the wires with your thumb and finger.

    • Pull the wires away from the device to remove the white connector from the black socket.

    • Lift the battery away from the device.

  6. Samsung Galaxy Tab A 9.7 Motherboard Replacement, Motherboard: étape 6, image 1 de 2 Samsung Galaxy Tab A 9.7 Motherboard Replacement, Motherboard: étape 6, image 2 de 2
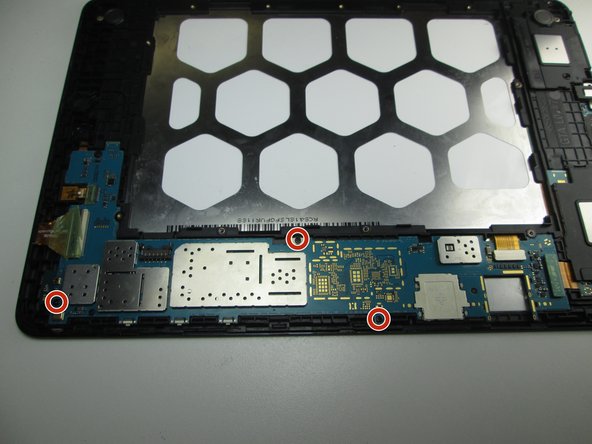
    • Use a #000 Philips screwdriver to remove the three 2.8mm screws attaching the motherboard to the device.

  7. Samsung Galaxy Tab A 9.7 Motherboard Replacement: étape 7, image 1 de 2 Samsung Galaxy Tab A 9.7 Motherboard Replacement: étape 7, image 2 de 2
    • Use a plastic opening tool to pry the two connectors near the charging port from the motherboard.

  8. Samsung Galaxy Tab A 9.7 Motherboard Replacement: étape 8, image 1 de 3 Samsung Galaxy Tab A 9.7 Motherboard Replacement: étape 8, image 2 de 3 Samsung Galaxy Tab A 9.7 Motherboard Replacement: étape 8, image 3 de 3
    • The digitizer is connected to the motherboard near the top of the device. It must be disconnected to remove the motherboard.

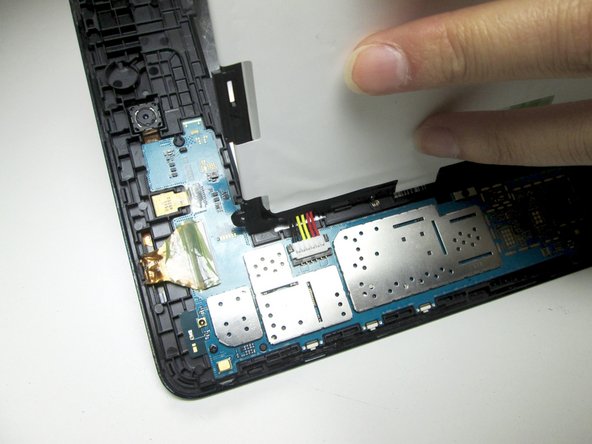
    • With your fingers, peel back the plastic sticker placed over the connector.

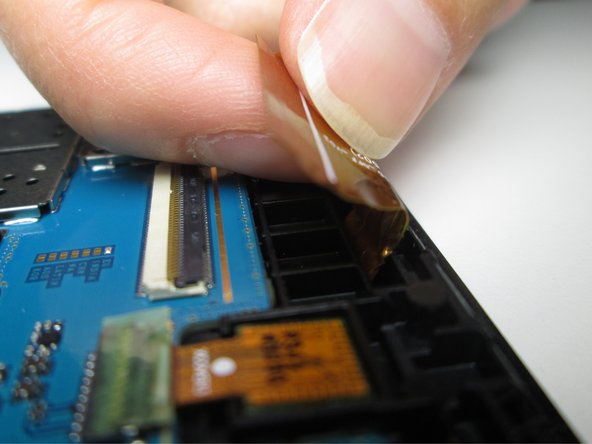
    • Using metal tweezers, gently flip the now-exposed black portion of the connector up.

    • Gently pull the copper-covered portion of the connector away from the motherboard.

  9. Samsung Galaxy Tab A 9.7 Motherboard Replacement: étape 9, image 1 de 3 Samsung Galaxy Tab A 9.7 Motherboard Replacement: étape 9, image 2 de 3 Samsung Galaxy Tab A 9.7 Motherboard Replacement: étape 9, image 3 de 3
    • Using your fingers or a spudger, gently remove the motherboard from the device.

    • Keep in mind that both the front and back facing cameras are connected to the motherboard, so be careful when removing them.

Conclusion

To reassemble your device, follow these instructions in reverse order.

2 autres ont terminé cette réparation.

Paulina Nguyen

Membre depuis le 04/26/17

982 Réputation

6 tutoriels rédigés

Équipe

Cal Poly, Team S1-G3, Livingston Spring 2017 Membre de l'équipe Cal Poly, Team S1-G3, Livingston Spring 2017

CPSU-LIVINGSTON-S17S1G3

1 membre

12 tutoriels rédigés

0 commentaires

Ajouter un commentaire

Nombre de vues :

Dernières 24 heures : 0

7 derniers jours : 0

30 derniers jours : 8

Total : 3,317