Aller au contenu principal
Pour réparer ensemble - Je crée un compte

Samsung Galaxy Y LCD Display Replacement

Ce dont vous avez besoin

  1. Samsung Galaxy Y LCD Display Replacement, Back Panel: étape 1, image 1 de 3 Samsung Galaxy Y LCD Display Replacement, Back Panel: étape 1, image 2 de 3 Samsung Galaxy Y LCD Display Replacement, Back Panel: étape 1, image 3 de 3
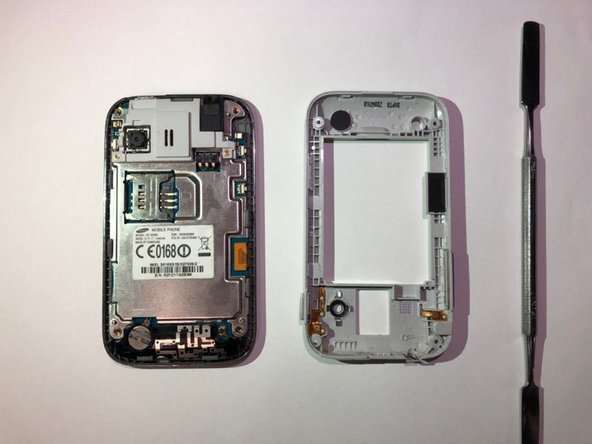
    • Use the blue plastic opening tool to pry the back-panel off of the device.

    Demander à FixBot

    Ajouter un commentaire

  2. Samsung Galaxy Y LCD Display Replacement, LCD Display: étape 2, image 1 de 3 Samsung Galaxy Y LCD Display Replacement, LCD Display: étape 2, image 2 de 3 Samsung Galaxy Y LCD Display Replacement, LCD Display: étape 2, image 3 de 3
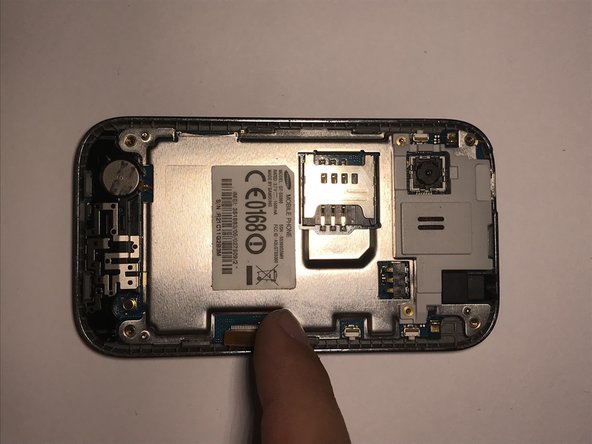
    • Use a Phillips #000 screwdriver to remove the four 5mm screws located in the corner of the interior back panel.

    • Remove the SD card as well by sliding the card out of it's slot.

    Demander à FixBot

    Ajouter un commentaire

  3. Samsung Galaxy Y LCD Display Replacement: étape 3, image 1 de 2 Samsung Galaxy Y LCD Display Replacement: étape 3, image 2 de 2
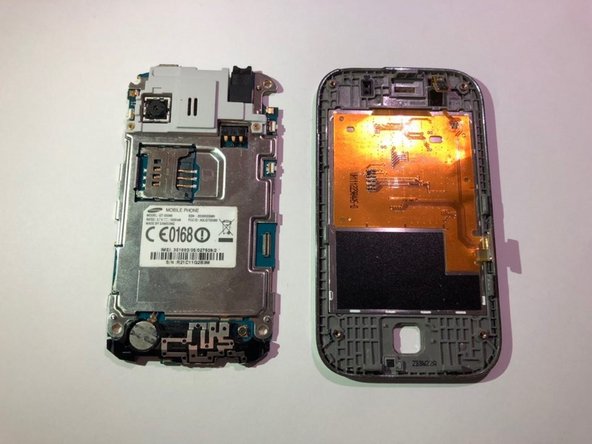
    • Use the metal pry tool to separate the interior back panel from the interior hardware and screen.

    Demander à FixBot

    Ajouter un commentaire

  4. Samsung Galaxy Y LCD Display Replacement: étape 4, image 1 de 3 Samsung Galaxy Y LCD Display Replacement: étape 4, image 2 de 3 Samsung Galaxy Y LCD Display Replacement: étape 4, image 3 de 3
    • Disconnect the orange motherboard connection, then remove the interior hardware from the front screen display.

    Demander à FixBot

    Ajouter un commentaire

  5. Samsung Galaxy Y LCD Display Replacement: étape 5, image 1 de 2 Samsung Galaxy Y LCD Display Replacement: étape 5, image 2 de 2
    Outil utilisé dans cette étape :
    Tweezers
    $4.99
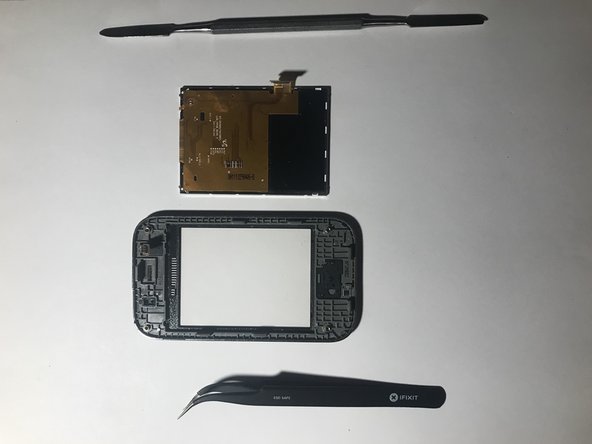
    • Gently remove the LCD screen lens from the outer screen using a pair of tweezers and the metal pry tool. Replace the faulty LCD.

    • The LCD maybe be glued in place, so the device might need to be heated to remove the part.

    Demander à FixBot

    Ajouter un commentaire

Conclusion

To reassemble your device, follow these instructions in reverse order.

Annulation : je n'ai pas terminé ce tutoriel.

Une autre personne a terminé cette réparation.

Aidan Kurz

Membre depuis le 09/21/18

447 Réputation

3 tutoriels rédigés

Équipe

0 commentaires de tutoriel

Ajouter un commentaire

Nombre de vues :

Dernières 24 heures : 0

7 derniers jours : 6

30 derniers jours : 40

Total : 1,112