Aller au contenu principal

Samsung Galaxy Y Touch Screen Replacement

Ce dont vous avez besoin

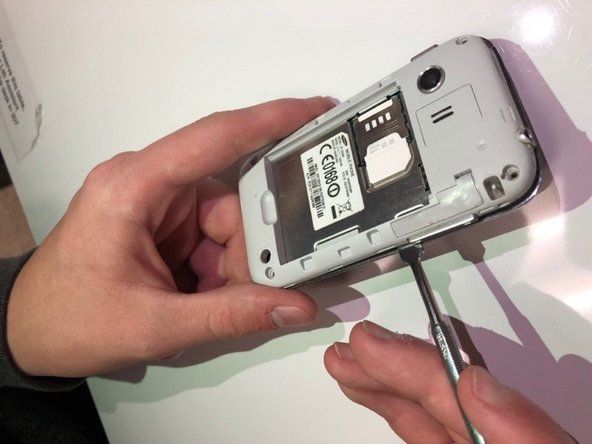
  1. Samsung Galaxy Y Touch Screen Replacement, Back Panel: étape 1, image 1 de 3 Samsung Galaxy Y Touch Screen Replacement, Back Panel: étape 1, image 2 de 3 Samsung Galaxy Y Touch Screen Replacement, Back Panel: étape 1, image 3 de 3
    • Use the blue plastic opening tool to pry the back-panel off of the device.

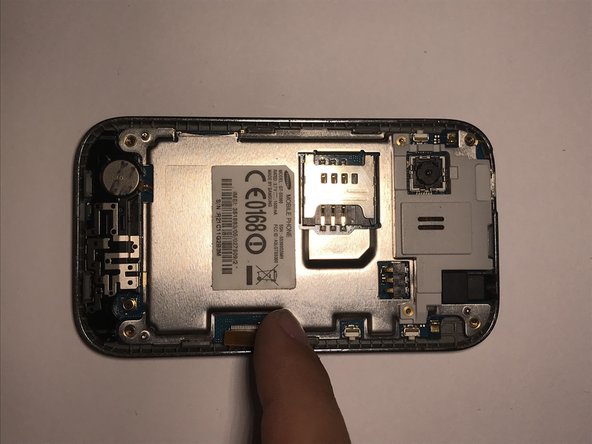
  2. Samsung Galaxy Y Touch Screen Replacement, Touch Screen/Display: étape 2, image 1 de 3 Samsung Galaxy Y Touch Screen Replacement, Touch Screen/Display: étape 2, image 2 de 3 Samsung Galaxy Y Touch Screen Replacement, Touch Screen/Display: étape 2, image 3 de 3
    • Use the screwdriver with a Phillips #000 screwdriver head to remove the four 5mm screws located in the corner of the interior back panel.

    • Remove the SD card as well by sliding the card out of it's slot.

  3. Samsung Galaxy Y Touch Screen Replacement: étape 3, image 1 de 3 Samsung Galaxy Y Touch Screen Replacement: étape 3, image 2 de 3 Samsung Galaxy Y Touch Screen Replacement: étape 3, image 3 de 3
    • Use the metal pry tool to separate the interior back panel from the interior hardware and screen.

    • Using a metal spudger may cause further damage to your device.

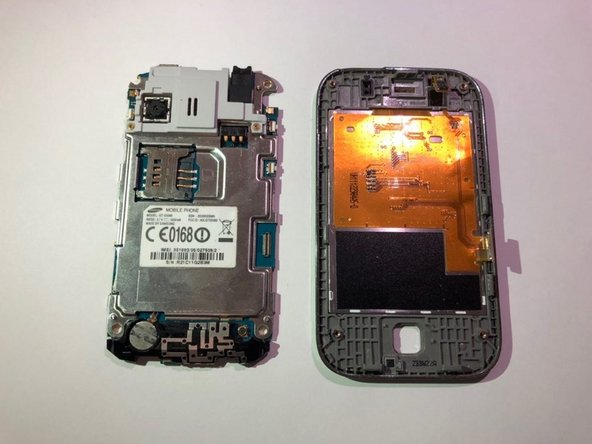
  4. Samsung Galaxy Y Touch Screen Replacement: étape 4, image 1 de 3 Samsung Galaxy Y Touch Screen Replacement: étape 4, image 2 de 3 Samsung Galaxy Y Touch Screen Replacement: étape 4, image 3 de 3
    • Disconnect the orange motherboard connection, then remove the interior hardware from the front screen display.

Conclusion

To reassemble your device, follow these instructions in reverse order.

Aidan Kurz

Membre depuis le 09/21/18

411 Réputation

3 tutoriels rédigés

Équipe

0 commentaires

Ajouter un commentaire

Nombre de vues :

Dernières 24 heures : 1

7 derniers jours : 3

30 derniers jours : 7

Total : 643