Cette version peut contenir des modifications incorrectes. Passez au dernier aperçu vérifié.
Ce dont vous avez besoin
-
Cette étape n’est pas traduite. Aidez à la traduire
-
Push the switch on the right-hand side of the device to separate the cover from the main body.
-
Pull the cover away from the main device.
-
-
Cette étape n’est pas traduite. Aidez à la traduire
-
Remove the four corner screw covers with a metal spudger.
-
-
Cette étape n’est pas traduite. Aidez à la traduire
-
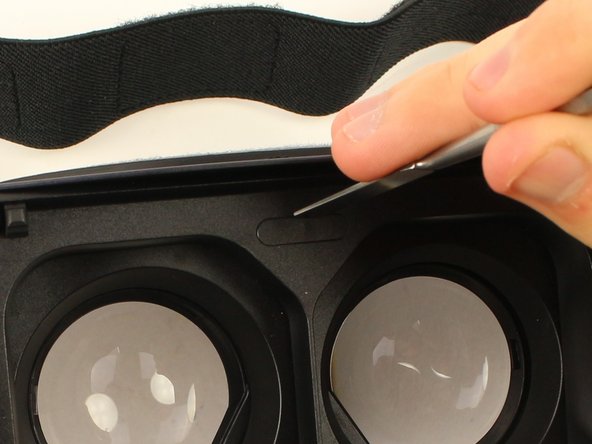
Use a metal spudger to remove the screw cover centered at the top.
-
-
-
Cette étape n’est pas traduite. Aidez à la traduire
-
Remove the six 5mm Phillips #000 screws to detach the front phone mount.
-
Lift the front phone mount up and to the left.
-
-
Cette étape n’est pas traduite. Aidez à la traduire
-
Remove the four 5mm Phillips #000 screws that secure the plate on the left side of the headset.
-
Pull the plate away from the motherboard gently.
-
-
Cette étape n’est pas traduite. Aidez à la traduire
-
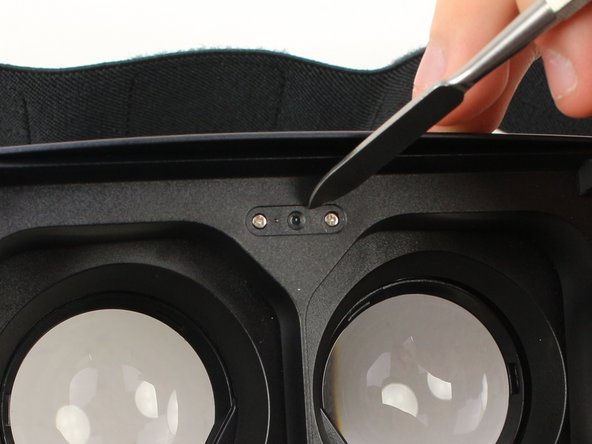
Use the iFixit opening tool to remove the pop connector holding the wire harness to the motherboard.
-
-
Cette étape n’est pas traduite. Aidez à la traduire
-
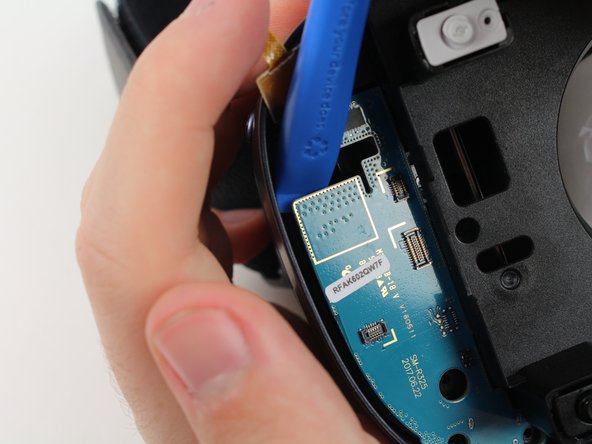
Remove the rest of the pop connectors on the motherboard using the iFixit opening tool.
-
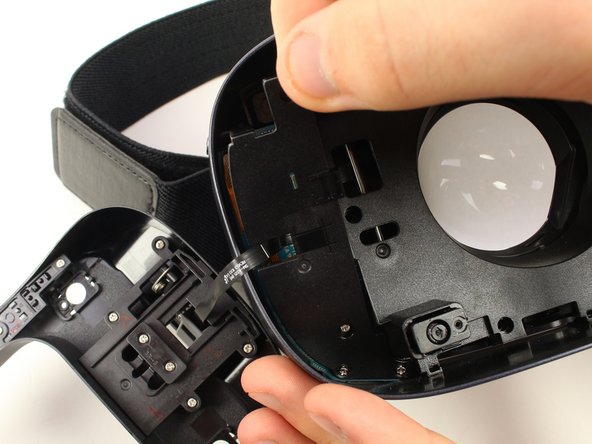
Pry at the top of the motherboard with the iFixit opening tool to remove the motherboard.
-
-
Cette étape n’est pas traduite. Aidez à la traduire
-
Remove the eight 5mm Phillips #000 screws on the inner mask.
-
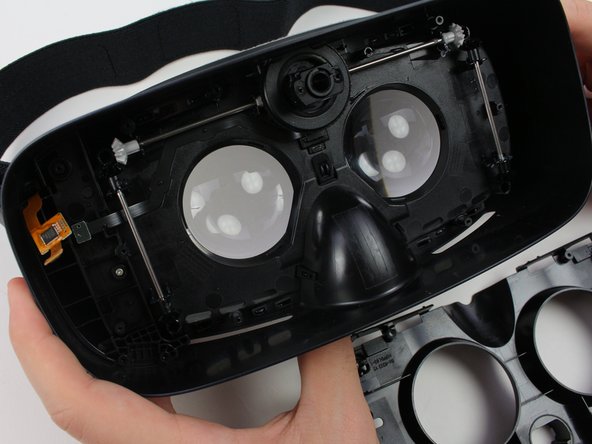
Gently separate the inner mask from the headset by pulling the mask from the inner sides of the lens sockets.
-
-
Cette étape n’est pas traduite. Aidez à la traduire
-
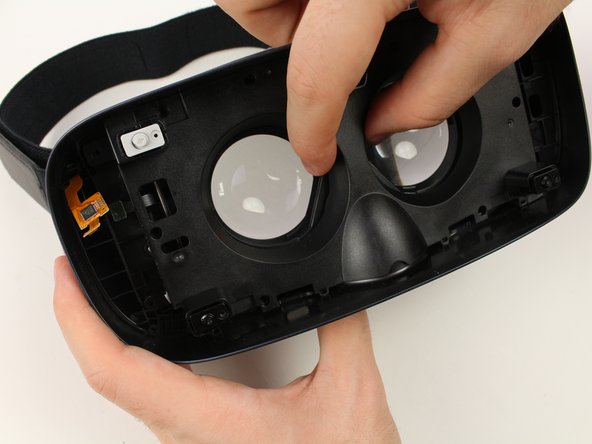
Use the metal spudger to press on the three tabs around each of the sockets.
-
Pull out the lenses with your fingers to remove them from the mask.
-


Annulation : je n'ai pas terminé ce tutoriel.
Une autre personne a terminé cette réparation.

Équipe

Cal Poly, Team S18-G3, White Winter 2019 Membre de l'équipe Cal Poly, Team S18-G3, White Winter 2019
CPSU-WHITE-W19S18G3
4 membres
7 tutoriels rédigés