Cette version peut contenir des modifications incorrectes. Passez au dernier aperçu vérifié.
Ce dont vous avez besoin
-
Cette étape n’est pas traduite. Aidez à la traduire
-
Slide the battery cover downwards with pressure focused on the center of the cover.
-
Lift the cover off of the phone.
-
-
Cette étape n’est pas traduite. Aidez à la traduire
-
Grasp the bottom left and right corners of the battery and lift it from its housing.
-
-
Cette étape n’est pas traduite. Aidez à la traduire
-
Remove the four black 7.30 mm screws surrounding the battery housing using a Phillips #00 Screwdriver.
-
-
Cette étape n’est pas traduite. Aidez à la traduire
-
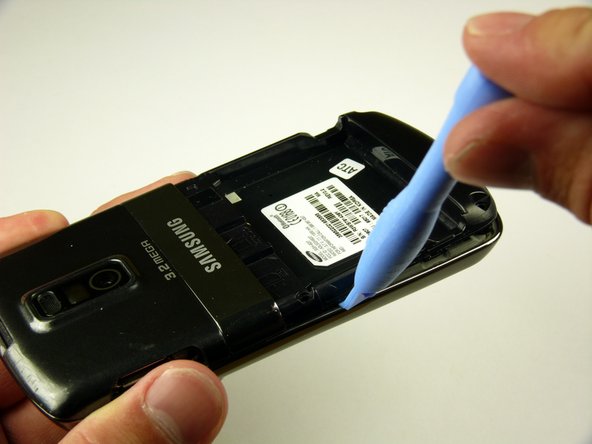
Insert the Plastic Opening Tool in between the front and rear cases.
-
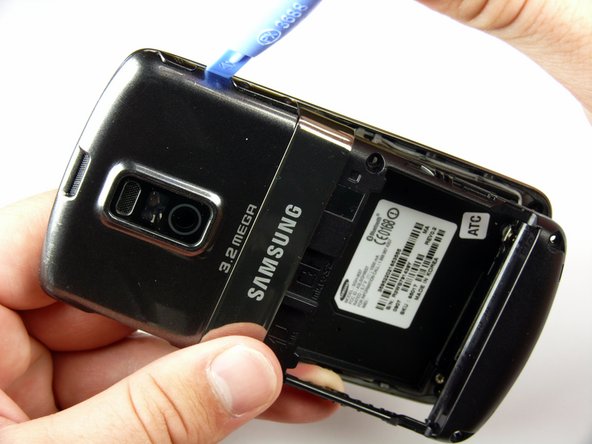
Pry with the Plastic Opening Tool around all edges of the phone until you free all the clips.
-
-
-
Cette étape n’est pas traduite. Aidez à la traduire
-
Remove the two black 7.30 mm screws on the top right and left corners of the Motherboard using a Phillips #00 Screwdriver.
-
Remove the silver 4.50 mm screw located below the speaker using a Phillips #00 Screwdriver.
-
-
Cette étape n’est pas traduite. Aidez à la traduire
-
Use the spudger to detach the speaker ribbon cable.
-
-
Cette étape n’est pas traduite. Aidez à la traduire
-
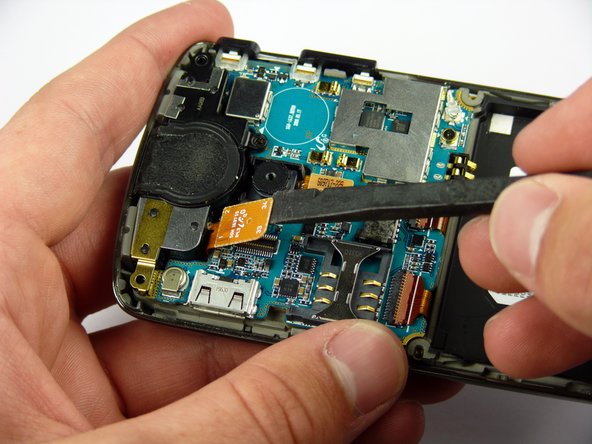
Remove the power and volume buttons on the right side of the Motherboard.
-
-
Cette étape n’est pas traduite. Aidez à la traduire
-
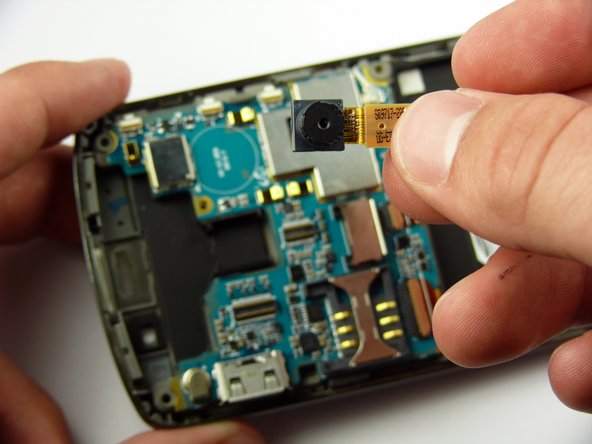
Use a spudger to detach the camera ribbon cable.
-
Lift the camera off of the Motherboard.
-
-
Cette étape n’est pas traduite. Aidez à la traduire
-
Use a spudger to disconnect the white antenna wire on the bottom right corner of the Motherboard.
-
-
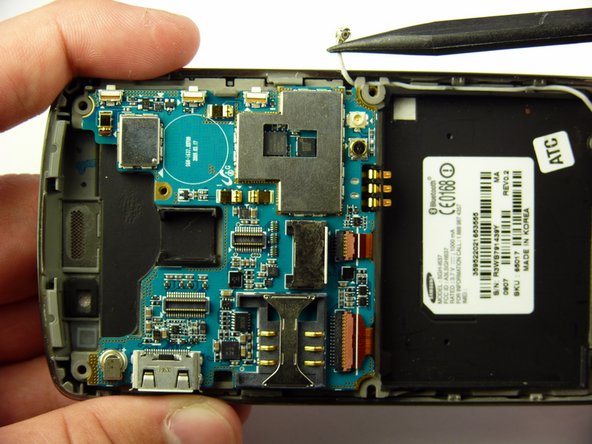
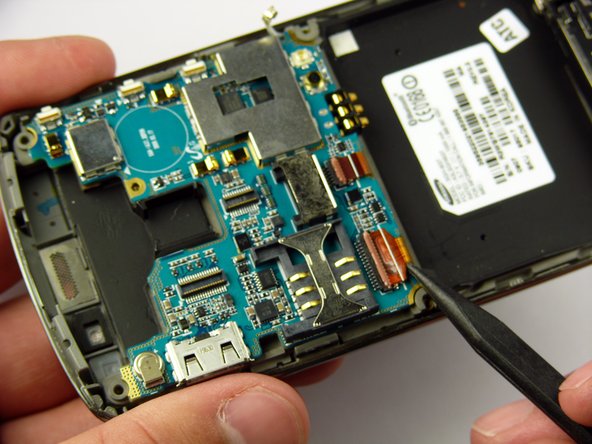
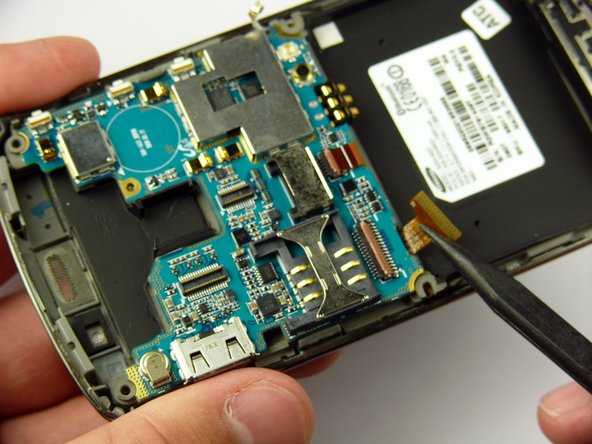
Cette étape n’est pas traduite. Aidez à la traduire
-
Use a Plastic Opening Tool to lift the flaps of the ZIF connectors to release the ribbon cables near the bottom of the Motherboard.
-
Use a spudger to carefully pull the ribbon cables away from the ZIF connectors.
-
-
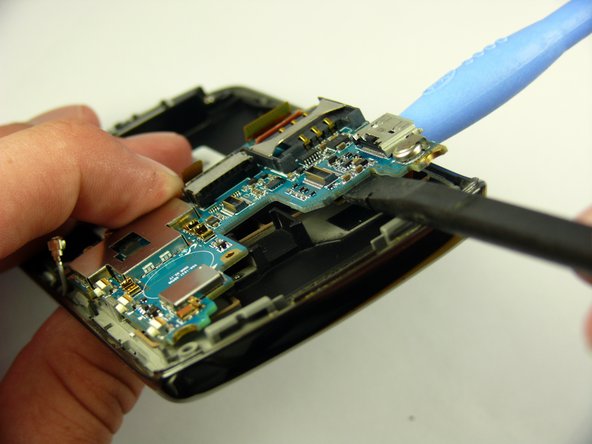
Cette étape n’est pas traduite. Aidez à la traduire
-
Insert the Plastic Opening Tool under the upper left corner of the Motherboard to help reveal the ribbon cable.
-
Use a spudger to disconnect the Motherboard ribbon cable.
-


Équipe

Cal Poly, Team 24-57, Amido Spring 2011 Membre de l'équipe Cal Poly, Team 24-57, Amido Spring 2011
CPSU-AMIDO-S11S24G57
4 membres
7 tutoriels rédigés