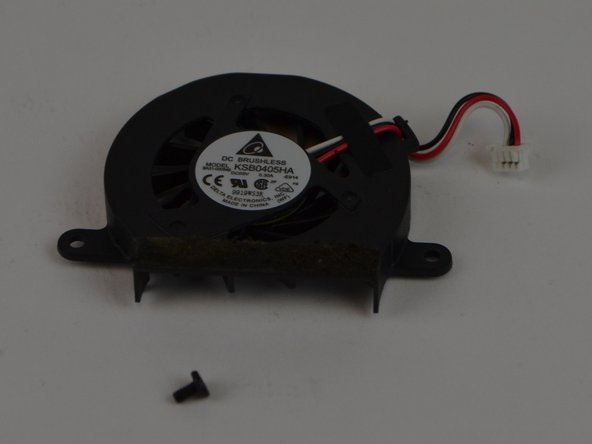
Aller au contenu principal

Samsung NP-130-JA01US Fan Replacement

Ce dont vous avez besoin

  1. Samsung NP-130-JA01US Fan Replacement, Battery: étape 1, image 1 de 1
    • Turn off the computer.

    • Disconnect the charger cable from the computer.

    • Failure to disconnect the charger cable from the computer could result in an electric shock.

    • Flip the computer over so the underside is facing up.

  2. Samsung NP-130-JA01US Fan Replacement: étape 2, image 1 de 2 Samsung NP-130-JA01US Fan Replacement: étape 2, image 2 de 2
    • Slide the left and right slider buttons fully away from each other.

  3. Samsung NP-130-JA01US Fan Replacement: étape 3, image 1 de 1
    • Pull the battery out of the computer.

  4. Samsung NP-130-JA01US Fan Replacement, Fan: étape 4, image 1 de 2 Samsung NP-130-JA01US Fan Replacement, Fan: étape 4, image 2 de 2
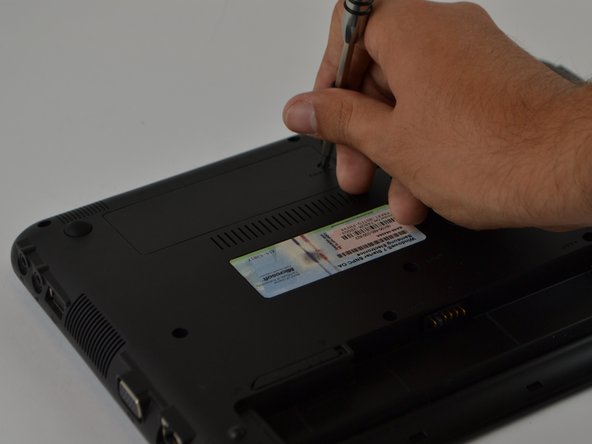
    • Using a Phillips 1 screwdriver, carefully remove all 12 screws of the back cover.

    • The screws are Phillips 1 (PH 1) with a length of 60 millimeters (mm)

    • Do not force the screwdriver as you might damage the screws.

  5. Samsung NP-130-JA01US Fan Replacement: étape 5, image 1 de 3 Samsung NP-130-JA01US Fan Replacement: étape 5, image 2 de 3 Samsung NP-130-JA01US Fan Replacement: étape 5, image 3 de 3
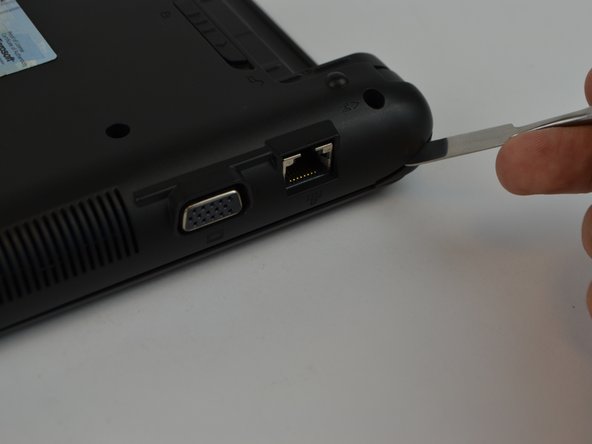
    • With the plastic opening tool, carefully separate the back cover from the computer frame.

    • Starting at one of the corners of the computer, work your way around the edge until you reach the other corner.

    • Do not attempt to pry it open, putting too much force into one location might damage the computer.

    • As you go around the sides of the computer, free the inside latches with the plastic opening tool.

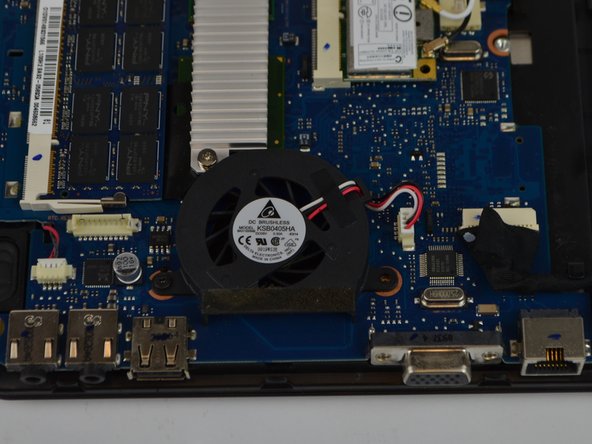
    • Once you have an opening, carefully use your hands to separate the back cover.

  6. Samsung NP-130-JA01US Fan Replacement: étape 6, image 1 de 2 Samsung NP-130-JA01US Fan Replacement: étape 6, image 2 de 2
    • Locate the fan (marked in a red square).

  7. Samsung NP-130-JA01US Fan Replacement: étape 7, image 1 de 3 Samsung NP-130-JA01US Fan Replacement: étape 7, image 2 de 3 Samsung NP-130-JA01US Fan Replacement: étape 7, image 3 de 3
    • Using a Phillips 1 screwdriver, remove the screw marked in a red circle.

    • The screw is a Phillips 1 (PH 1) with a length of 40 millimeters (mm)

    • Do not use too much force on the screw driver, you might damage the screw.

    • Using your hands, carefully unplug the cords marked in a green square.

  8. Samsung NP-130-JA01US Fan Replacement: étape 8, image 1 de 2 Samsung NP-130-JA01US Fan Replacement: étape 8, image 2 de 2
    • Carefully remove the fan.

Conclusion

To reassemble your device, follow these instructions in reverse order.

Une autre personne a terminé cette réparation.

Alejandro Guerra Piol

Membre depuis le 09/12/16

319 Réputation

2 tutoriels rédigés

Équipe

USF Tampa, Team 9-6, Lacy Fall 2016 Membre de l'équipe USF Tampa, Team 9-6, Lacy Fall 2016

USFT-LACY-F16S9G6

3 membres

5 tutoriels rédigés

0 commentaires

Ajouter un commentaire

Nombre de vues :

Dernières 24 heures : 0

7 derniers jours : 4

30 derniers jours : 8

Total : 261