Introduction
If there is no display on the screen or a black screen when the laptop is on, it may help to replace the screen using this guide. The optical drive, hard drive, and hinges must be removed first.
Ce dont vous avez besoin
-
-
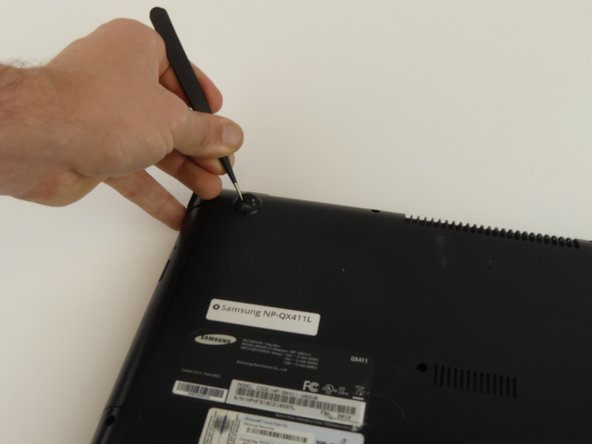
Flip the laptop over.
-
Remove the 6 mm screw with the Phillips #000 screwdriver.
-
-
-
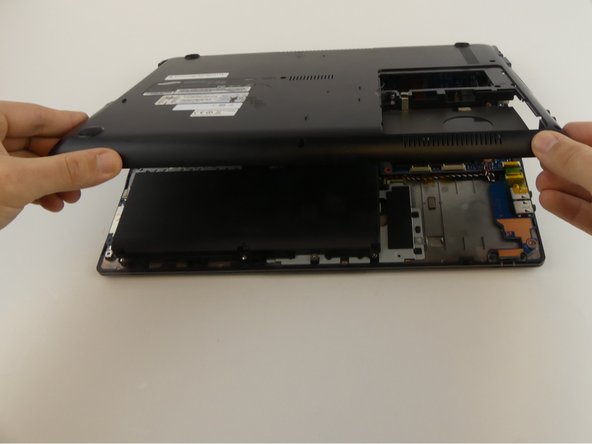
Flip the laptop.
-
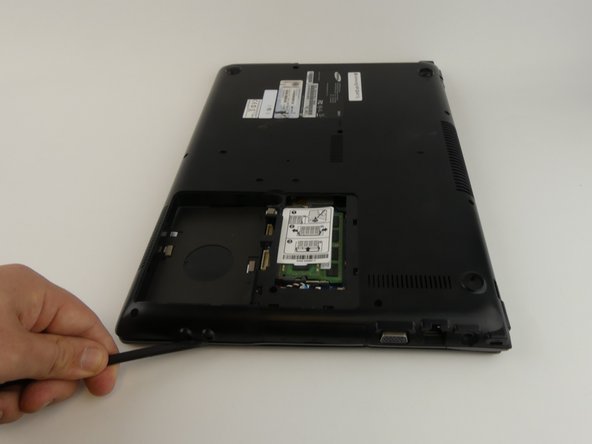
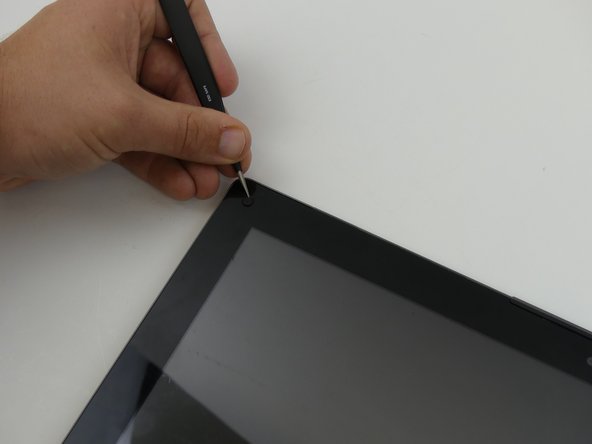
Use the Phillips #000 screwdriver to unscrew the 6 mm screw from the square panel.
-
-
-
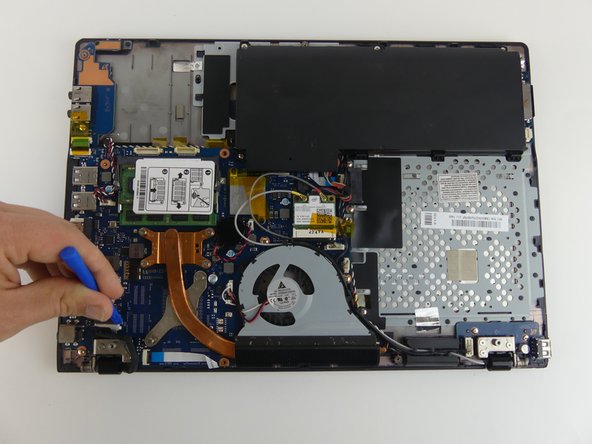
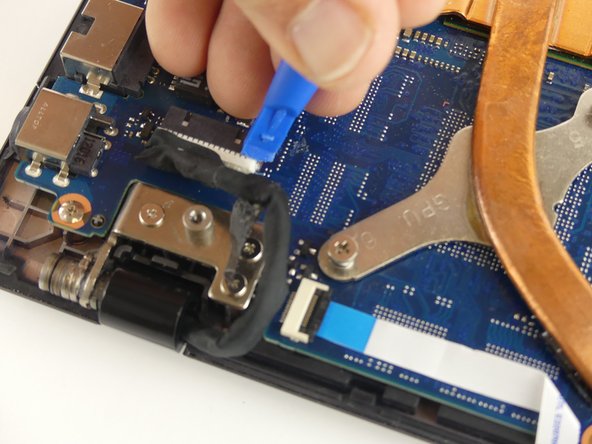
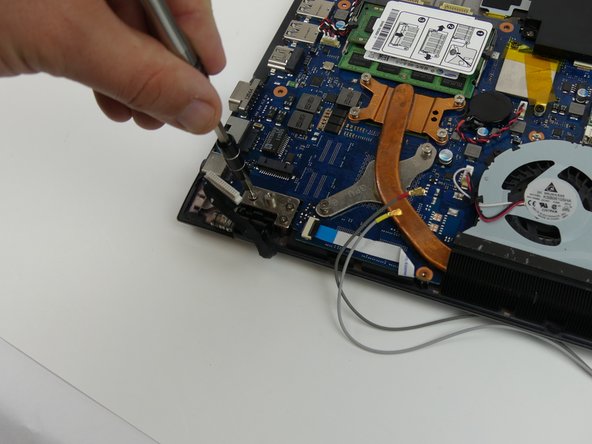
Disconnect the wire from the motherboard by pulling up and away from the laptop.
-
Remove the 6 mm screw with the Phillips #000 screwdriver.
-
-
-
-
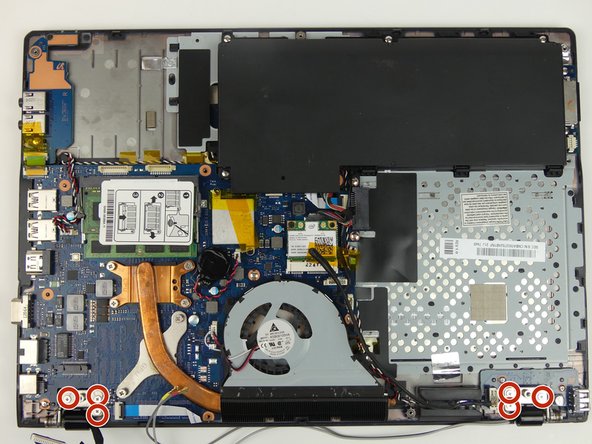
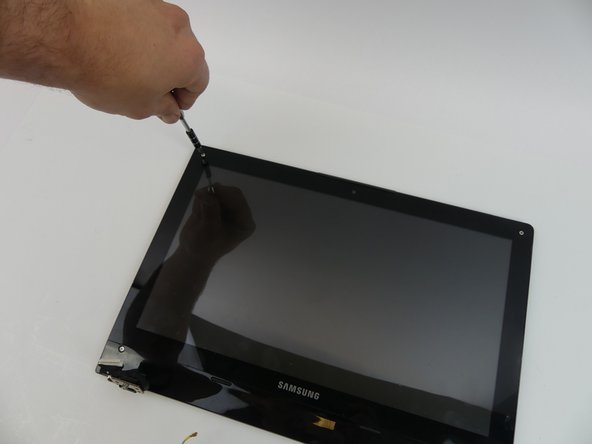
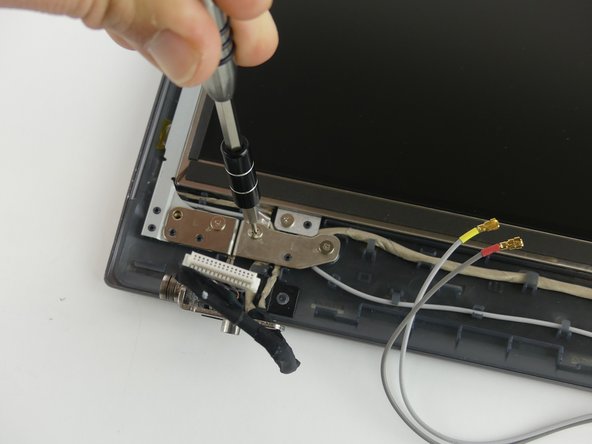
Remove the four 4 mm screws using Phillips #000 screwdriver.
-
Remove metal brackets.
-


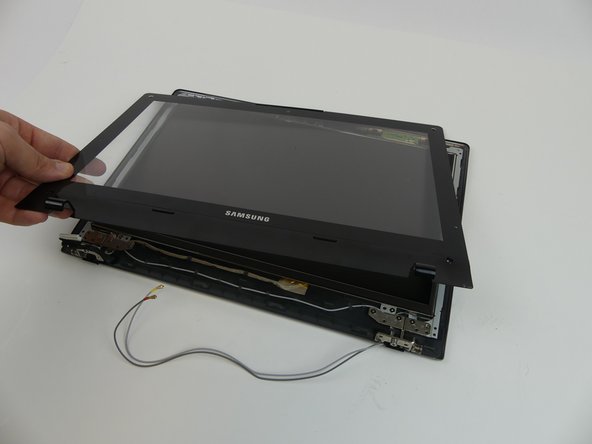


To reassemble your device, follow these instructions in reverse order.
To reassemble your device, follow these instructions in reverse order.
Équipe

USF Tampa, Team S19-G3, Hoffman Spring 2017 Membre de l'équipe USF Tampa, Team S19-G3, Hoffman Spring 2017
USFT-HOFFMAN-S17S19G3
4 membres
5 tutoriels rédigés