Introduction
This guide covers how to replace the hard drive for the Samsung Series 5 NP540U3C-A02UB.
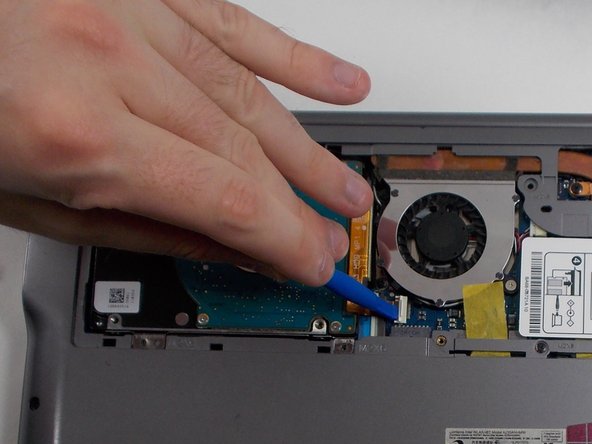
The hard drive stores the device's data and ensures that is kept, even when power is disconnected. More importantly, the operating system is run from the hard drive. The hard drive may need to be replaced if either data or the operating system appears to be corrupted. If the device is running slowly, see our troubleshooting guide for possible causes and solutions before attempting to replace the hard drive.
If you choose to restore your previous operating system onto the replacement hard drive to resume normal operation, ensure that the replacement has enough storage to contain all of your old files. This device accepts 2.5" SATA hard drives (HDD), or 2.5" SATA solid-state drives (SSD). Solid-state drives will boot and operate much faster than hard drives.
Ce dont vous avez besoin


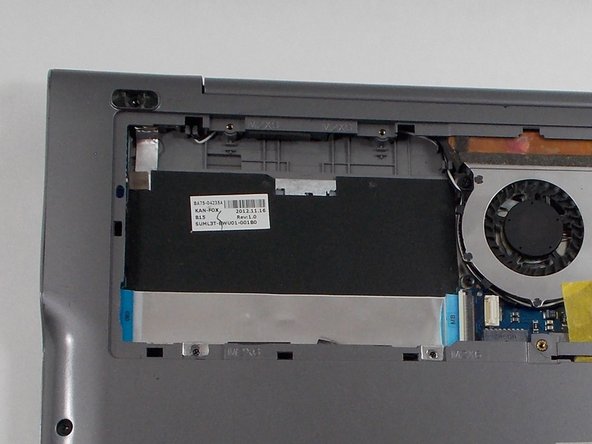
To reassemble your device, follow these instructions in reverse order.
To reassemble your device, follow these instructions in reverse order.
Équipe

UMass Dartmouth, Team C-1, Gurgel Spring 2022 Membre de l'équipe UMass Dartmouth, Team C-1, Gurgel Spring 2022
UMASSD-GURGEL-S22SCG1
4 membres
6 tutoriels rédigés