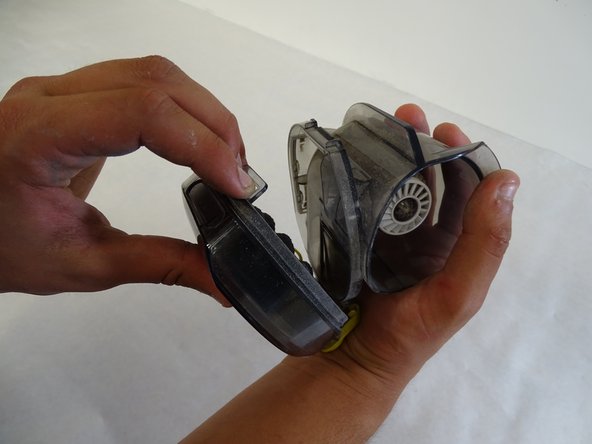
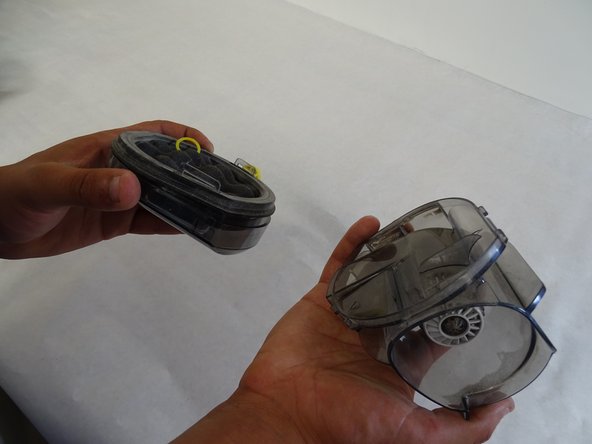
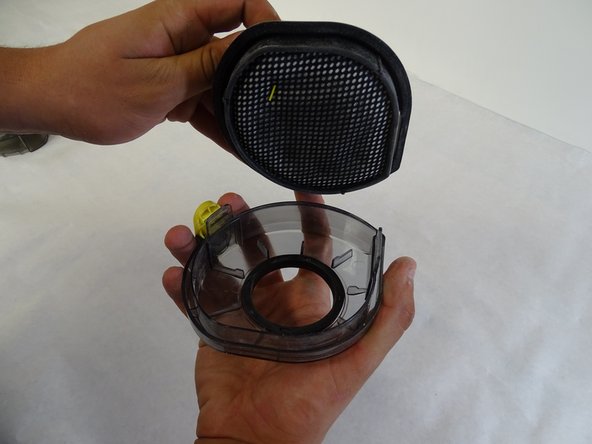
Aller au contenu principal

Samsung POWERbot VR9000 Filter Replacement

  1. Samsung POWERbot VR9000 Filter Replacement, Filter: étape 1, image 1 de 2 Samsung POWERbot VR9000 Filter Replacement, Filter: étape 1, image 2 de 2
    • Turn off the emergency switch on the bottom of the power bot.

  2. Samsung POWERbot VR9000 Filter Replacement: étape 2, image 1 de 2 Samsung POWERbot VR9000 Filter Replacement: étape 2, image 2 de 2
    • Gently pull up on the dustbin handle to to remove it from the rest of the power bot.

  3. Samsung POWERbot VR9000 Filter Replacement: étape 3, image 1 de 2 Samsung POWERbot VR9000 Filter Replacement: étape 3, image 2 de 2
    • Push down on the yellow button to remove the dustbin cover.

  4. Samsung POWERbot VR9000 Filter Replacement: étape 4, image 1 de 3 Samsung POWERbot VR9000 Filter Replacement: étape 4, image 2 de 3 Samsung POWERbot VR9000 Filter Replacement: étape 4, image 3 de 3
    • Separate the dustbin cover from the filter.

  5. Samsung POWERbot VR9000 Filter Replacement: étape 5, image 1 de 2 Samsung POWERbot VR9000 Filter Replacement: étape 5, image 2 de 2
    • Pull gently on the yellow tab to remove the filter from the cover.

  6. Samsung POWERbot VR9000 Filter Replacement: étape 6, image 1 de 1
    • The filter is removed. You can dispose of collected dust or rinse the filter with warm water before replacing.

Conclusion

To reassemble your device, follow these instructions in reverse order.

Une autre personne a terminé cette réparation.

Josh Brouwer

Membre depuis le 04/24/17

164 Réputation

1 tutoriel rédigé

Équipe

Cal Poly, Team S15-G3, Banghart Spring 2017 Membre de l'équipe Cal Poly, Team S15-G3, Banghart Spring 2017

CPSU-BANGHART-S17S15G3

4 membres

14 tutoriels rédigés

0 commentaires

Ajouter un commentaire

Nombre de vues :

Dernières 24 heures : 0

7 derniers jours : 1

30 derniers jours : 3

Total : 1,182