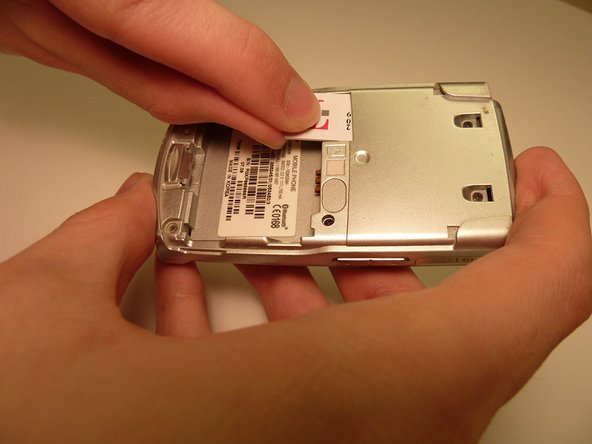
Aller au contenu principal

Samsung SGH-T639 Keypad Replacement

Ce dont vous avez besoin

  1. Samsung SGH-T639 Keypad Replacement, Battery: étape 1, image 1 de 1
    • Flip the phone over and take off the back cover

    • Note: These images do not contain the back cover or battery of the phone.

  2. Samsung SGH-T639 Keypad Replacement: étape 2, image 1 de 1
    • Use button to remove battery from the phone.

    • Note: These images do not contain the back cover or battery of the phone.

  3. Samsung SGH-T639 Keypad Replacement, SIM Card: étape 3, image 1 de 3 Samsung SGH-T639 Keypad Replacement, SIM Card: étape 3, image 2 de 3 Samsung SGH-T639 Keypad Replacement, SIM Card: étape 3, image 3 de 3
    • Locate SIM card

    • Slide SIM card down and gently pull out of the card slot

  4. Samsung SGH-T639 Keypad Replacement, Motherboard: étape 4, image 1 de 3 Samsung SGH-T639 Keypad Replacement, Motherboard: étape 4, image 2 de 3 Samsung SGH-T639 Keypad Replacement, Motherboard: étape 4, image 3 de 3
    Outil utilisé dans cette étape :
    Magnetic Project Mat
    $19.95
    J'achète
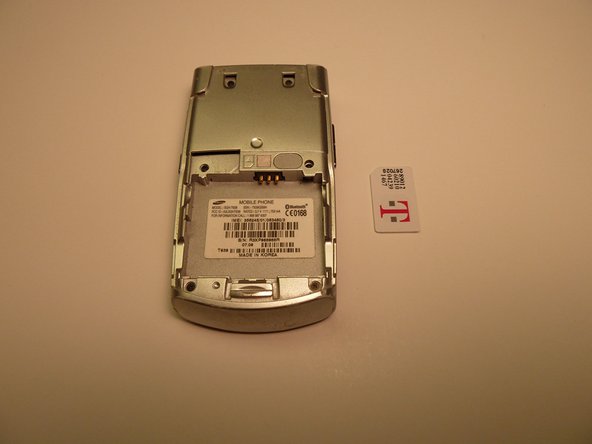
    • Locate the six (4mm) screws on the back casing of the phone.

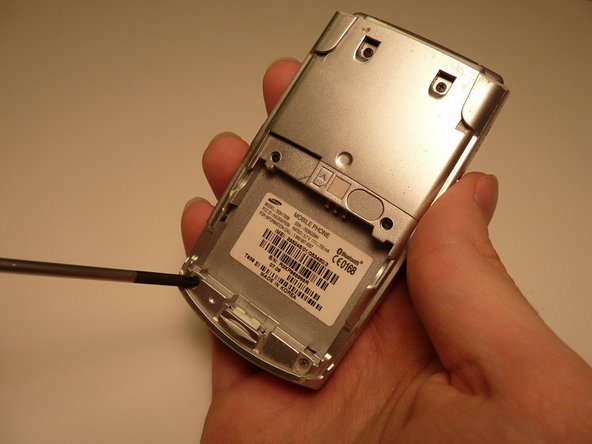
    • Unscrew each one using a phillips head #000 screwdriver.

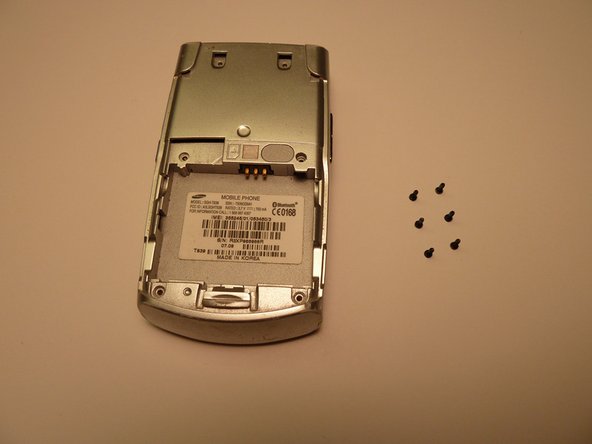
    • Place screws on magnetic mat.

  5. Samsung SGH-T639 Keypad Replacement: étape 5, image 1 de 3 Samsung SGH-T639 Keypad Replacement: étape 5, image 2 de 3 Samsung SGH-T639 Keypad Replacement: étape 5, image 3 de 3
    • Starting at the top of the phone, carefully insert plastic opening device into the seam.

    • Carefully slide device along the seam and around the corners of the phone until the back is separated from the front.

    • Note: Some force must be exerted. Be careful when taking off panel. Go slow.

    • Note: The volume button may separate from the case, this is normal. It is not broken.

  6. Samsung SGH-T639 Keypad Replacement: étape 6, image 1 de 3 Samsung SGH-T639 Keypad Replacement: étape 6, image 2 de 3 Samsung SGH-T639 Keypad Replacement: étape 6, image 3 de 3
    • Locate the connection point of black wire running from the microphone to the motherboard.

    • Carefully disconnect the gold connector from the motherboard using tweezers.

  7. Samsung SGH-T639 Keypad Replacement: étape 7, image 1 de 3 Samsung SGH-T639 Keypad Replacement: étape 7, image 2 de 3 Samsung SGH-T639 Keypad Replacement: étape 7, image 3 de 3
    • Locate the red connector at the top of the motherboard.

    • Carefully lift and remove the connector from the motherboard using tweezers.

  8. Samsung SGH-T639 Keypad Replacement: étape 8, image 1 de 3 Samsung SGH-T639 Keypad Replacement: étape 8, image 2 de 3 Samsung SGH-T639 Keypad Replacement: étape 8, image 3 de 3
    • Locate the gold connector that connects the screen to the motherboard.

    • Carefully disconnect the connector from the motherboard using tweezers.

  9. Samsung SGH-T639 Keypad Replacement: étape 9, image 1 de 3 Samsung SGH-T639 Keypad Replacement: étape 9, image 2 de 3 Samsung SGH-T639 Keypad Replacement: étape 9, image 3 de 3
    • Start at the bottom of the motherboard and gently pry it from the back of the cell phone using the plastic opening tool.

    • Lift the motherboard from the cell phone.

  10. Samsung SGH-T639 Keypad Replacement: étape 10, image 1 de 1
    • Remove the motherboard from the cell phone.

  11. Samsung SGH-T639 Keypad Replacement, Keypad: étape 11, image 1 de 2 Samsung SGH-T639 Keypad Replacement, Keypad: étape 11, image 2 de 2
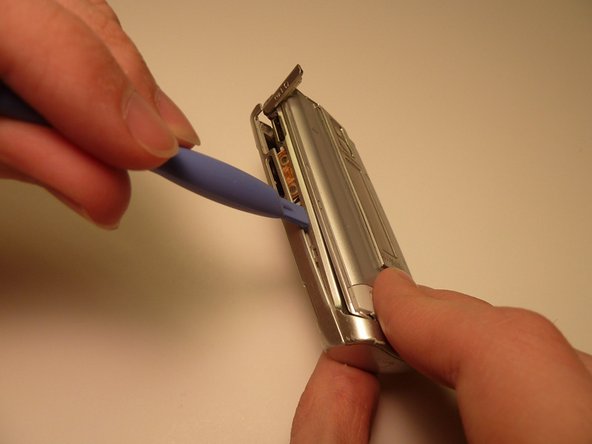
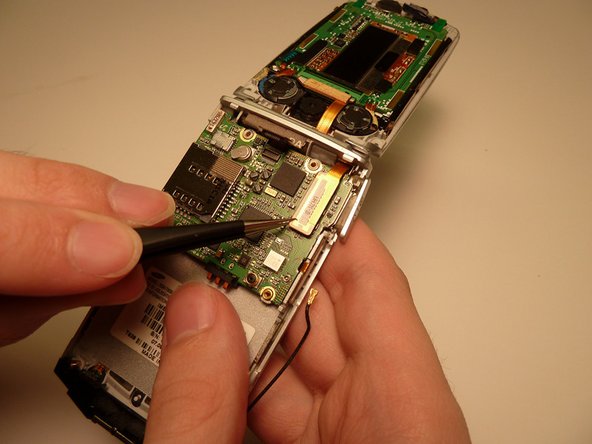
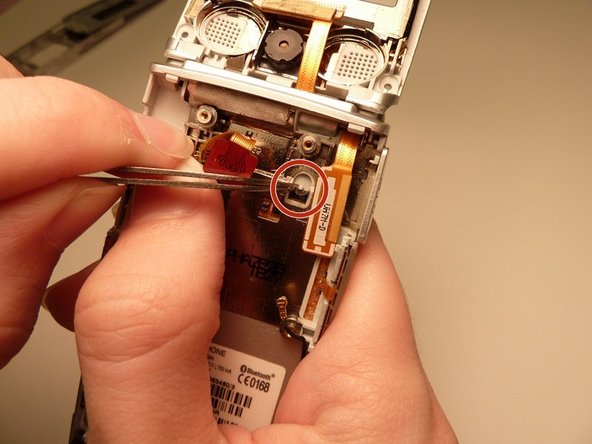
    • Locate the two black, rubber tabs near the top of the back of the phone.

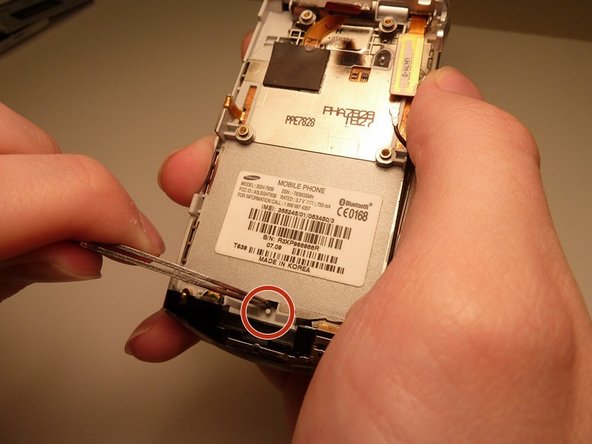
    • Locate the one black, rubber tab near the base of the phone.

  12. Samsung SGH-T639 Keypad Replacement: étape 12, image 1 de 3 Samsung SGH-T639 Keypad Replacement: étape 12, image 2 de 3 Samsung SGH-T639 Keypad Replacement: étape 12, image 3 de 3
    • Using tweezers, pry each of the tabs open.

    • Tuck each tab behind the white notch.

    • By tucking the tabs behind each notch. This allows improves the ease of removing the keypad.

  13. Samsung SGH-T639 Keypad Replacement: étape 13, image 1 de 3 Samsung SGH-T639 Keypad Replacement: étape 13, image 2 de 3 Samsung SGH-T639 Keypad Replacement: étape 13, image 3 de 3
    • Flip phone over to make the keypad visable.

    • Carefully lift keypad around the edges.

    • Remove keypad from the cell phone.

Conclusion

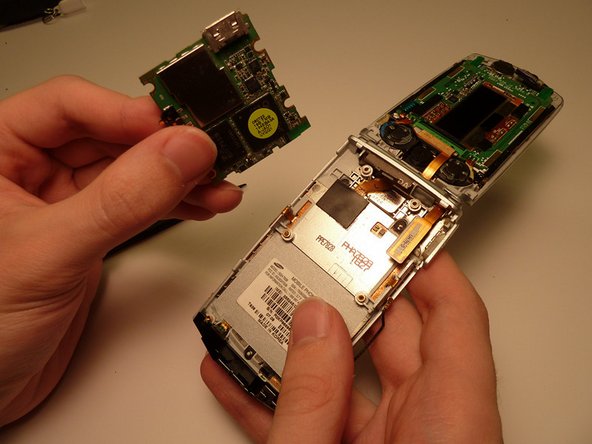
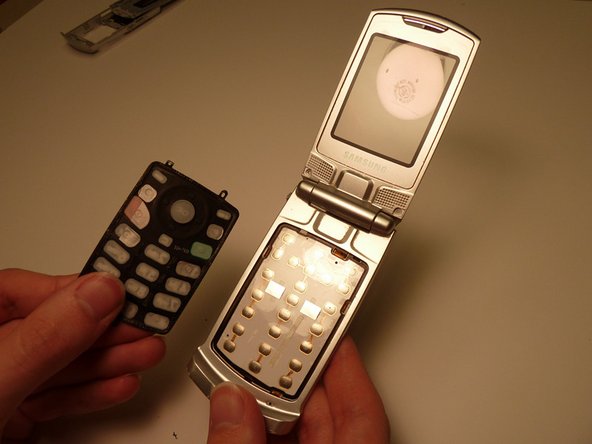
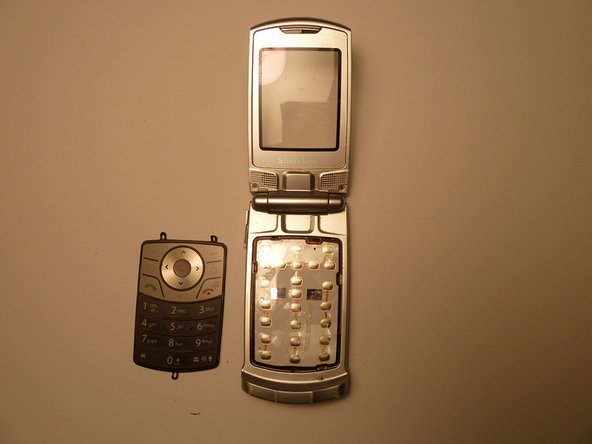
To reassemble your device, follow these instructions in reverse order.

Yi Ren

Membre depuis le 03/26/14

801 Réputation

8 tutoriels rédigés

Équipe

Clemson, Team 1-4, Benson Spring 2014 Membre de l'équipe Clemson, Team 1-4, Benson Spring 2014

CLEM-BENSON-S14S1G4

3 membres

16 tutoriels rédigés

0 commentaires

Ajouter un commentaire

Nombre de vues :

Dernières 24 heures : 0

7 derniers jours : 0

30 derniers jours : 1

Total : 294