Introduction
If you find yourself needing to replace the disc drive in your Samsung UBD-M8500, this guide will walk you through the process step by step. The disc drive is a critical component responsible for reading and playing your favorite DVDs and Blu-rays, and if it's malfunctioning, a replacement might be necessary. To perform this task, you'll need a few tools, including a plastic opening tool and a Phillips #0 screwdriver head.
Before you begin, ensure you have a suitable replacement disc drive compatible with the Samsung UBD-M8500 model. Once you have the necessary tools and replacement part, follow these straightforward steps to successfully replace the disc drive.
Ce dont vous avez besoin
-
-
On the back of the device, remove the three 8.1 mm screws with a Phillips #1 screwdriver.
-
-
-
-
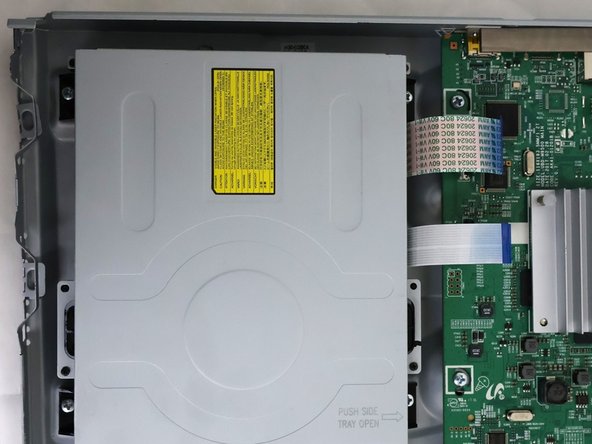
The disc drive is located to the right of the unit, it will be a large metallic rectangular box.
-


To reassemble your device, follow these instructions in reverse order.
To reassemble your device, follow these instructions in reverse order.

Équipe

University of North Texas, Team 6-3, Kilpatrick Fall 2023 Membre de l'équipe University of North Texas, Team 6-3, Kilpatrick Fall 2023
UNT-KILPATRICK-F23S6G3
5 membres
6 tutoriels rédigés