Introduction
Si votre moteur est défectueux, utilisez ce guide pour le remplacer. Vous aurez besoin de pinces à dénuder, d'embouts de fil et des tournevis Torx T10 et T20. Le remontage nécessite un recâblage. Ce guide a également été utilisé et généralisé pour un N611 afin d'ouvrir et de réparer avec succès un composant interne.
Ce dont vous avez besoin
-
-
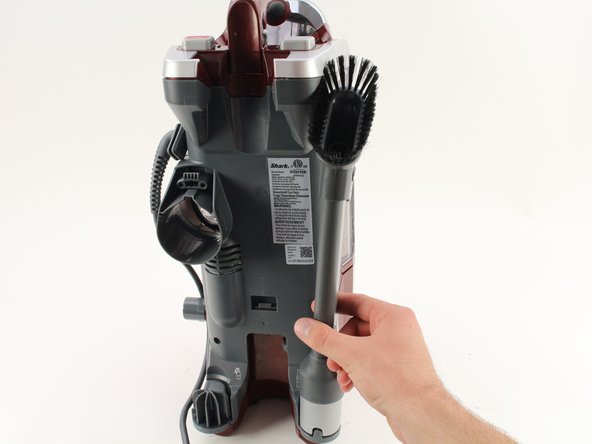
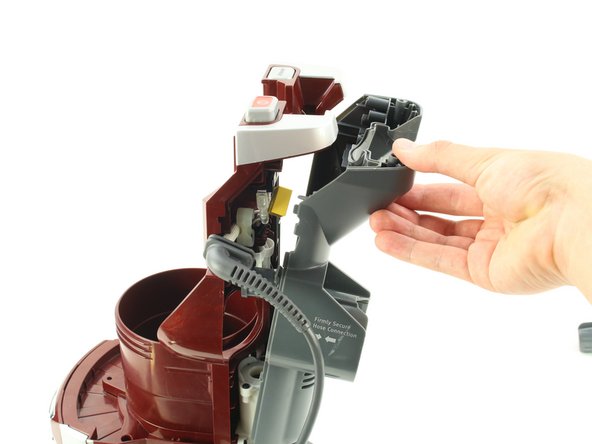
Appuyez sur le bouton de dégagement du tuyau et tirez vers l'arrière pour détacher le tuyau.
-
-
-
Tirez sur le bouton de déverrouillage de la poubelle et tirez sur la poignée pour détacher la poubelle.
-
-
-
-
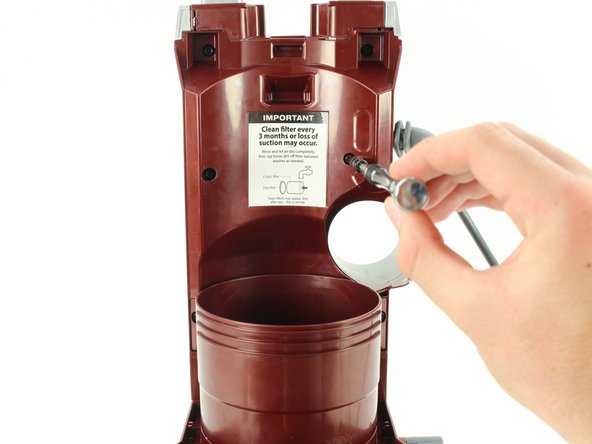
Utilisez le tournevis T20 pour retirer les deux vis de 12 mm en tournant dans le sens antihoraire.
-
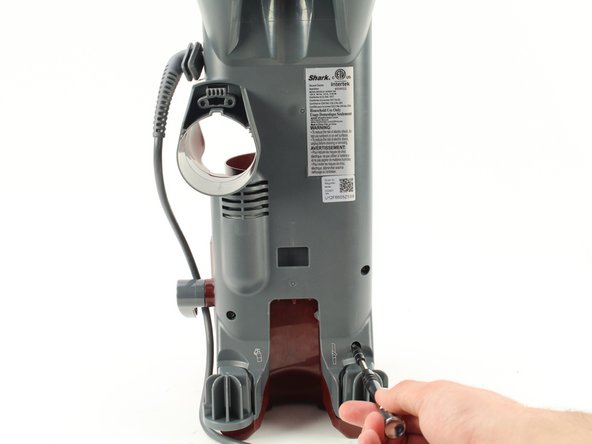
Utilisez le tournevis T20 pour retirer les deux vis de 17 mm en tournant dans le sens antihoraire.
-
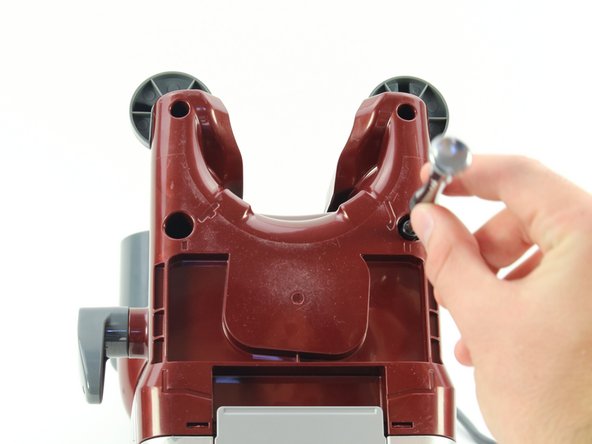
Utilisez le tournevis T20 pour retirer les deux vis de 14 mm en tournant dans le sens antihoraire.
-


Pour remonter votre appareil, vous devez recâbler un nouveau moteur, puis suivez ces instructions dans l'ordre inverse.
Pour remonter votre appareil, vous devez recâbler un nouveau moteur, puis suivez ces instructions dans l'ordre inverse.
Annulation : je n'ai pas terminé ce tutoriel.
5 autres ont terminé cette réparation.
Merci à ces traducteurs :
100%
[deleted] nous aide à réparer le monde ! Vous voulez contribuer ?
Commencez à traduire ›
Équipe

Cal Poly, Team S17-G4, White Fall 2018 Membre de l'équipe Cal Poly, Team S17-G4, White Fall 2018
CPSU-WHITE-F18S17G4
4 membres
16 tutoriels rédigés
5 commentaires
In step 11 there are two additional torx screws to remove, under the finish caps near power and lift away buttons
Great Steps . Its Looks More Interested If You can Shoot In Video.
however recently i order a dustbin cleaner with discount which i got from Couponswindow
I just replaced the motor in a Shark AZ1000W which is similar to this except for the screws in different locations. In step 11, similar to what Phil’s comment says above, there is a screw underneath the dust cup release button. You have to pry that button off. To get that top piece off there are two additional screws on top and one on the bottom. Also in the AZ1000W there is a gray trim piece that goes around the HEPA filter and wraps around the back of the unit. You have to remove that before proceeding to step 14. The trim has two halves you have to separate at the seams where they come together. There are tabs holding it together and it’s hard to separate the halves without breaking the plastic holding it together.
My NV752 looks almost just like this until step 13 and 14. It seems like the screw in step 13 doesn't exist, and like there's no way to access the motor. The pinwheel fan-looking part that they pull back in step 14 is fixed to the vacuum, it's the same piece of plastic as the base. I don't think there's any way to get into the motor for NV752 : (
Have replaced the motor in my NV680. It all came apart quite easily, but now can't get the back to lower completely. I can't see what is stopping it - it seems the problem leans towards the cable side, but they both don't seem to be the cause. Any ideas anyone?