Aller au contenu principal

Shark Ultimate Professional Mode Display Replacement

Ce dont vous avez besoin

  1. Shark Ultimate Professional Mode Display Replacement, Mode Display: étape 1, image 1 de 3 Shark Ultimate Professional Mode Display Replacement, Mode Display: étape 1, image 2 de 3 Shark Ultimate Professional Mode Display Replacement, Mode Display: étape 1, image 3 de 3
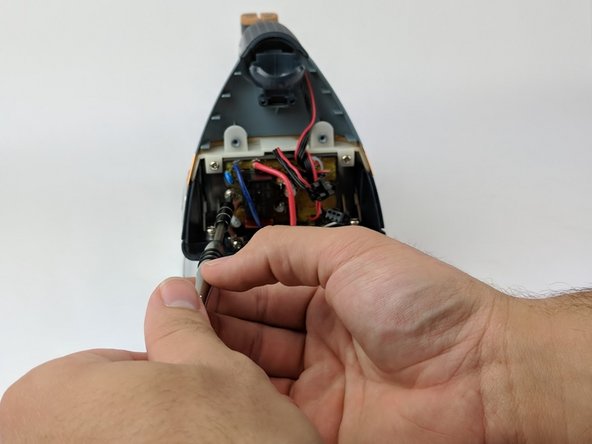
    • Use the Philips head #0 screwdriver to remove the two 11.49mm screws at the back of the iron.

    • Remove the back cover piece.

    • Make sure the iron is unplugged and cooled off.

  2. Shark Ultimate Professional Mode Display Replacement: étape 2, image 1 de 2 Shark Ultimate Professional Mode Display Replacement: étape 2, image 2 de 2
    • Use the Philips head #0 screwdriver to remove the two 11.77mm screws holding the white clamp to the iron.

    • Use the Philips head #0 screwdriver to remove the two 6.58mm screws holding the black wires to the body of the iron.

    • Removing the left black wire will also free the red wire, attached by the same screw.

  3. Shark Ultimate Professional Mode Display Replacement: étape 3, image 1 de 3 Shark Ultimate Professional Mode Display Replacement: étape 3, image 2 de 3 Shark Ultimate Professional Mode Display Replacement: étape 3, image 3 de 3
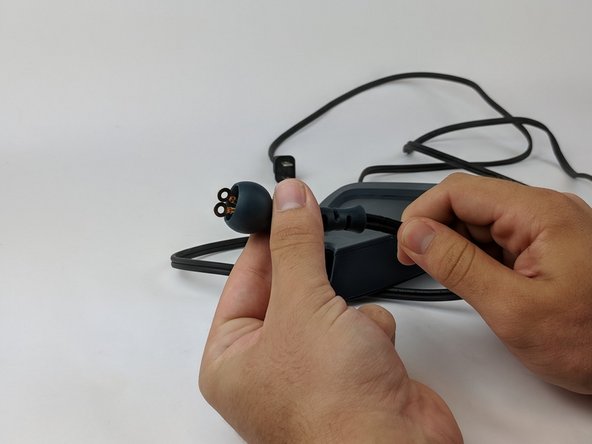
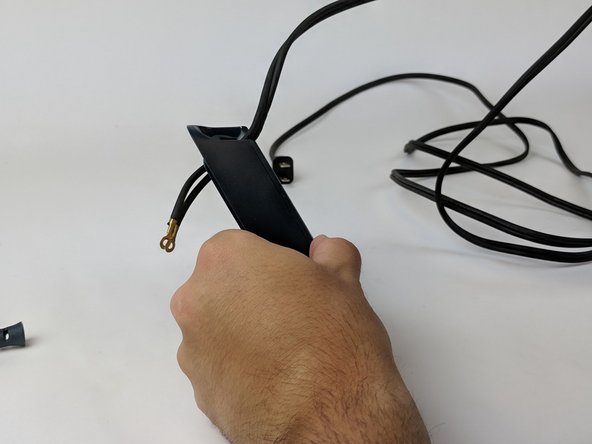
    • Pull the split end of the power cord upward through the ball joint of the iron.

    • Set aside the power cord.

  4. Shark Ultimate Professional Mode Display Replacement: étape 4, image 1 de 3 Shark Ultimate Professional Mode Display Replacement: étape 4, image 2 de 3 Shark Ultimate Professional Mode Display Replacement: étape 4, image 3 de 3
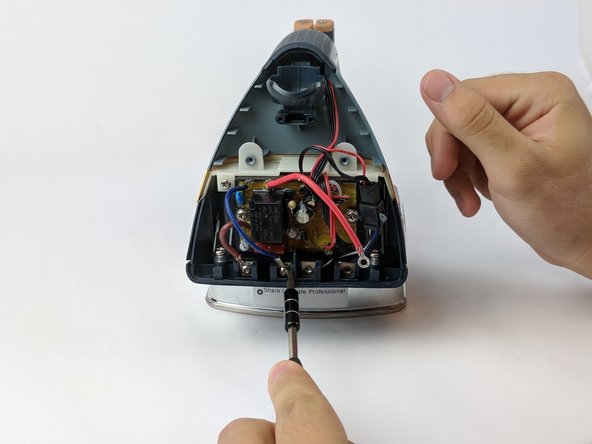
    • Use the Philips head #0 screwdriver to remove remaining 6.58mm screws that hold a wire on the bottom (brown and blue).

    • Unscrew from left to right.

    • Wires order (from left to right): Brown, Blue, Black, Red

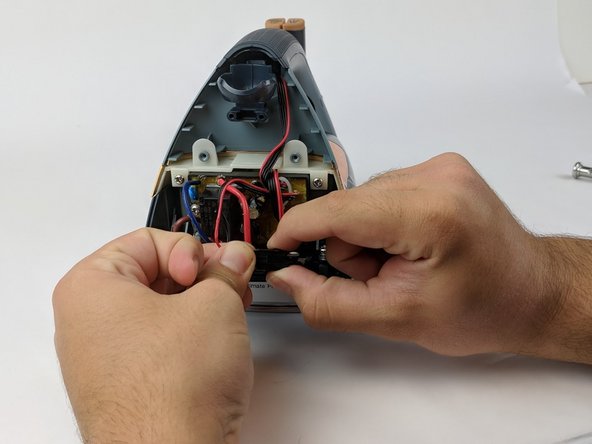
    • Unclip the black adapter piece on the bottom right.

  5. Shark Ultimate Professional Mode Display Replacement: étape 5, image 1 de 2 Shark Ultimate Professional Mode Display Replacement: étape 5, image 2 de 2
    • Use the Philips head #0 screwdriver to remove two 9.75mm screws (left and right) affixed to circuit board.

  6. Shark Ultimate Professional Mode Display Replacement: étape 6, image 1 de 2 Shark Ultimate Professional Mode Display Replacement: étape 6, image 2 de 2
    • Use the Philips head #0 screwdriver to remove the two 9.82mm screws (left and right) from the white border on top of the circuit board.

    • Pull the circuit board out from its affixed position.

  7. Shark Ultimate Professional Mode Display Replacement: étape 7, image 1 de 3 Shark Ultimate Professional Mode Display Replacement: étape 7, image 2 de 3 Shark Ultimate Professional Mode Display Replacement: étape 7, image 3 de 3
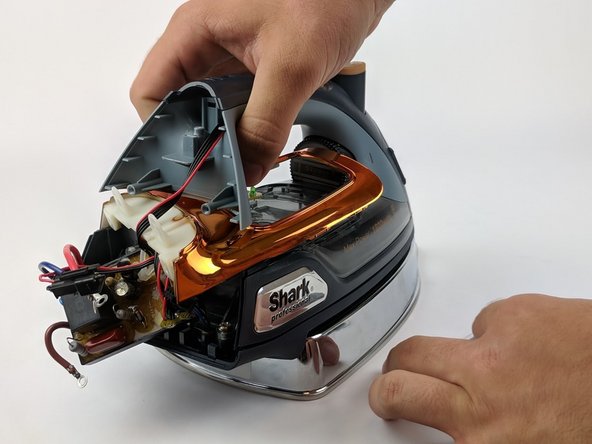
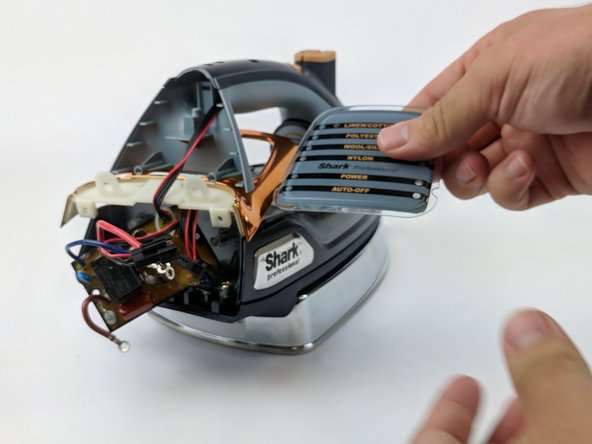
    • Lift the handle and wiggle the plastic trim and the orange-chrome bezel out from under the handle.

    • Remove and set aside the mode display.

Conclusion

To reassemble your device, follow these instructions in reverse order.

Une autre personne a terminé cette réparation.

Drew Carff

Membre depuis le 10/23/17

868 Réputation

5 tutoriels rédigés

Équipe

USF Tampa, Team S1-G4, Leahy Fall 2017 Membre de l'équipe USF Tampa, Team S1-G4, Leahy Fall 2017

USFT-LEAHY-F17S1G4

3 membres

10 tutoriels rédigés

0 commentaires

Ajouter un commentaire

Nombre de vues :

Dernières 24 heures : 2

7 derniers jours : 4

30 derniers jours : 21

Total : 681