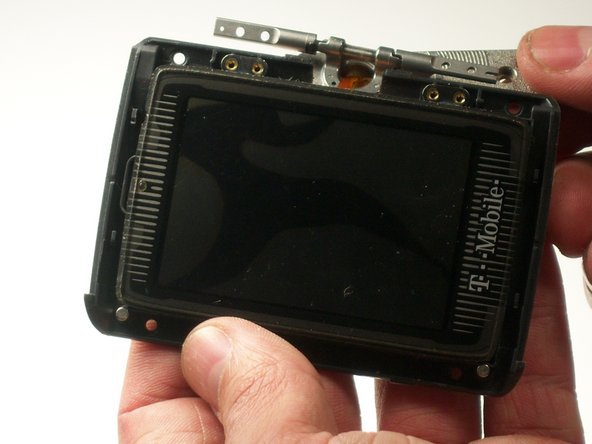
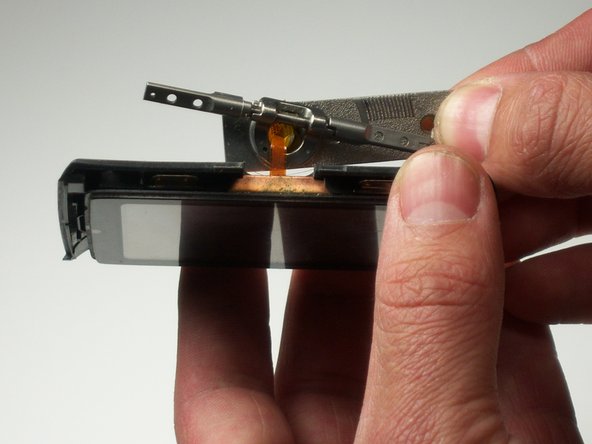
Aller au contenu principal

Sidekick II LCD Screen Replacement

Ce dont vous avez besoin

  1. Sidekick II LCD Screen Replacement, Outer Casing: étape 1, image 1 de 1
    • Use the plastic opening tool to remove the 4 buttons on each corner of the Sidekick.

    • Gently pry open button and remove button.

    • Do this for each of the 3 buttons remaining.

  2. Sidekick II LCD Screen Replacement: étape 2, image 1 de 2 Sidekick II LCD Screen Replacement: étape 2, image 2 de 2
    • The bumpers on the top and bottom of the phone can be removed by simply "peeling" them off.

  3. Sidekick II LCD Screen Replacement: étape 3, image 1 de 1
    • Use the T6 Torx Screwdriver to remove the 4 screws that are underneath the 4 buttons you removed in step one.

  4. Sidekick II LCD Screen Replacement: étape 4, image 1 de 1
    • Flip the screen up halfway (90 degrees), to reveal the 2 screws above the right side of the keyboard.

    • Use the Torx 6 screwdriver to remove these 2 screws.

    • Be careful in handling the phone after removing the screws, because the two main bodies of the phone are no longer attached.

  5. Sidekick II LCD Screen Replacement: étape 5, image 1 de 1
    • After removing the 6 screws and both bumpers, the phone will be easy to separate into the two main bodies.

    • You can use your hands to simply pull apart the top casing from the bottom casing.

  6. Sidekick II LCD Screen Replacement, LCD Screen: étape 6, image 1 de 2 Sidekick II LCD Screen Replacement, LCD Screen: étape 6, image 2 de 2
    • Flip the screen to its up position.

    • Remove screen from keyboard.

  7. Sidekick II LCD Screen Replacement: étape 7, image 1 de 1
    • Remove 4 screws from back of screen.

  8. Sidekick II LCD Screen Replacement: étape 8, image 1 de 1
    • Separate screen from housing with your fingers.

  9. Sidekick II LCD Screen Replacement: étape 9, image 1 de 3 Sidekick II LCD Screen Replacement: étape 9, image 2 de 3 Sidekick II LCD Screen Replacement: étape 9, image 3 de 3
    • Remove 4 screws

    • Pay attention to the orientation of the screen on the backing because it is difficult to reassemble.

  10. Sidekick II LCD Screen Replacement: étape 10, image 1 de 1
    • Remove LCD protective cover with your fingers.

Ligne d'arrivée

2 autres ont terminé cette réparation.

michael albaum

Membre depuis le 01/20/10

87 Réputation

6 tutoriels rédigés

Équipe

Cal Poly, Team 3-19, Maness Winter 2010 Membre de l'équipe Cal Poly, Team 3-19, Maness Winter 2010

CPSU-MANESS-W10S3G19

4 membres

11 tutoriels rédigés

0 commentaires

Ajouter un commentaire

Nombre de vues :

Dernières 24 heures : 0

7 derniers jours : 2

30 derniers jours : 5

Total : 3,649