Ce dont vous avez besoin
-
-
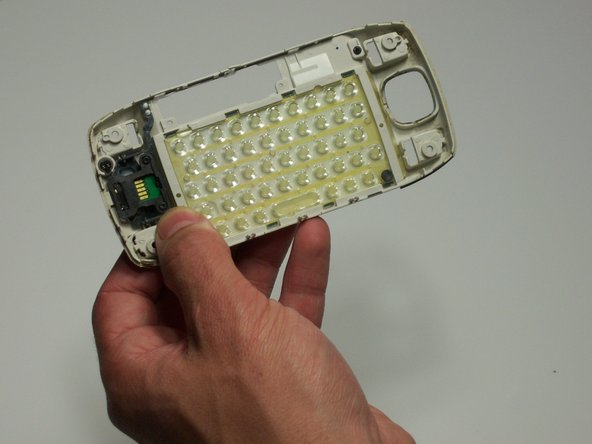
Utilisez l'outil d'ouverture en plastique pour enlever les 4 boutons sur chaque coin du Sidekick.
-
Soulever doucement le bouton d'ouverture et retirer le bouton.
-
Faites ceci pour chacun des 3 boutons restants.
-
-
-
Cette étape n’est pas traduite. Aidez à la traduire
-
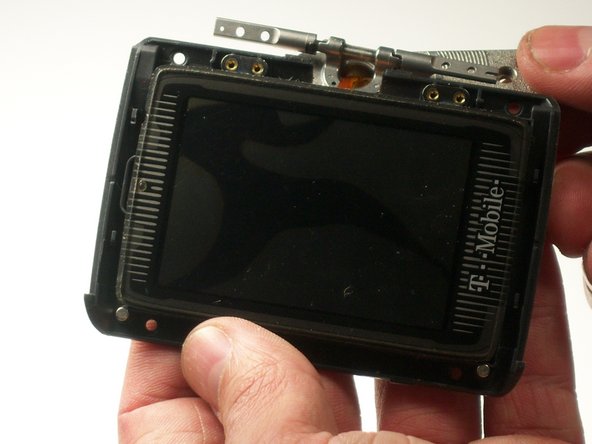
Remove 4 screws from back of screen using Torx 6 Screwdriver.
-
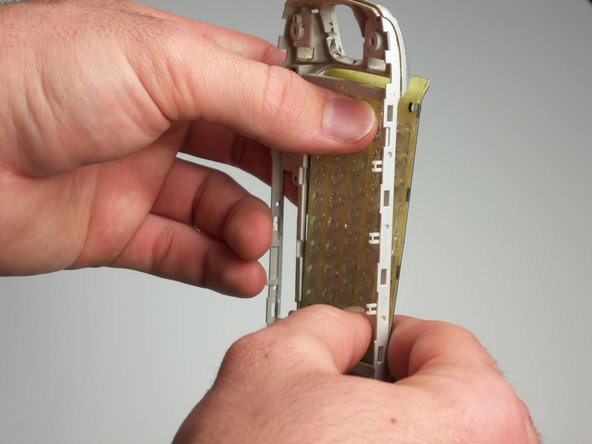
Pry screen out of casing using fingers.
-
-
Cette étape n’est pas traduite. Aidez à la traduire
-
Remove 4 screws from front of screen with Phillip screwdrivers.
-
Peel off the metal covering on the back of the screen.
-
-
Cette étape n’est pas traduite. Aidez à la traduire
-
Remove the protective cover in front of the screen.
-
-
Cette étape n’est pas traduite. Aidez à la traduire
-
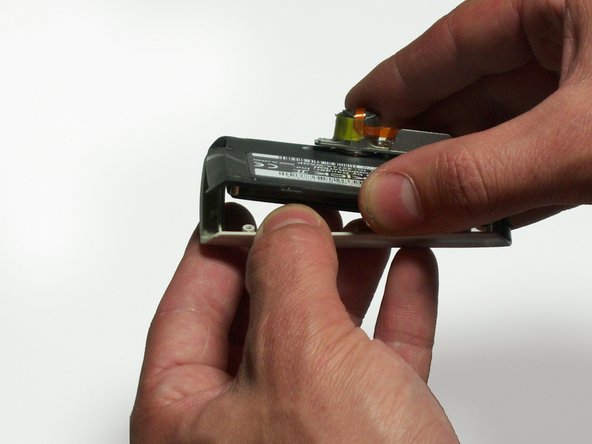
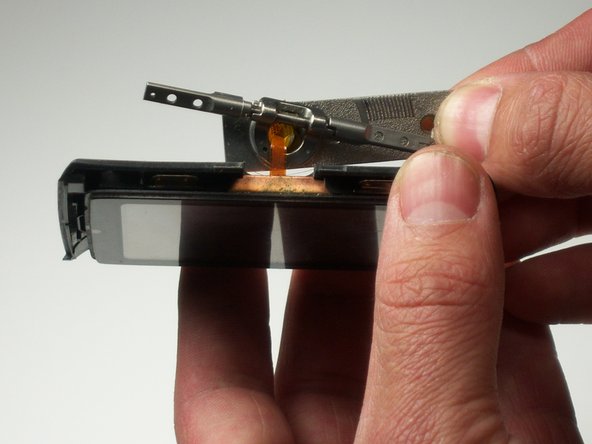
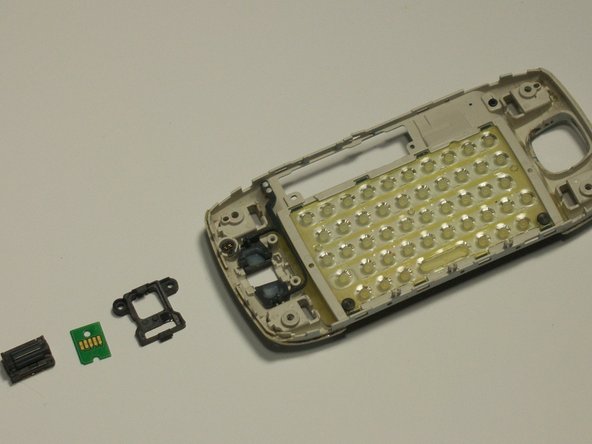
Take the screws out using the Torx 6 screwdriver.
-
Then lift the thumb wheel and housing off of the front panel.
-
-
Cette étape n’est pas traduite. Aidez à la traduire
-
Remove 2 black "rivets" from back of casing with the plastic opening tool.
-
-
Cette étape n’est pas traduite. Aidez à la traduire
-
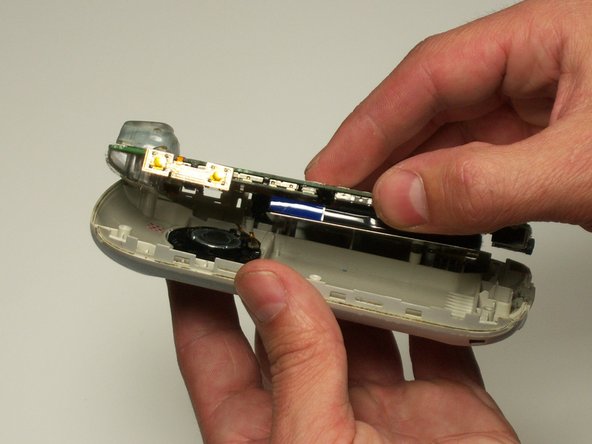
Remove the 5 black screws with a Phillips head screwdriver.
-
Lift the bottom of the control board from housing, and separate the two.
-
-
Cette étape n’est pas traduite. Aidez à la traduire
-
Here are all of the pieces that you have disassembled
-


Équipe

Cal Poly, Team 3-19, Maness Winter 2010 Membre de l'équipe Cal Poly, Team 3-19, Maness Winter 2010
CPSU-MANESS-W10S3G19
4 membres
11 tutoriels rédigés