Cette version peut contenir des modifications incorrectes. Passez au dernier aperçu vérifié.
Ce dont vous avez besoin
-
Cette étape n’est pas traduite. Aidez à la traduire
-
Using the T-tool, unscrew the nut securing the wheel and remove it, setting it and the wheel aside.
-
-
Cette étape n’est pas traduite. Aidez à la traduire
-
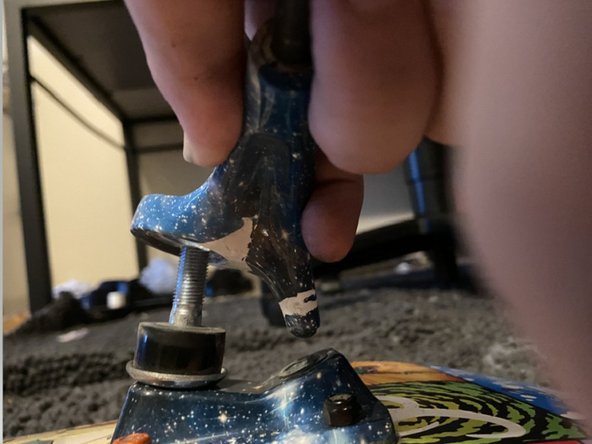
Using the T-Tool, unscrew the Kingpin nut, washer and top bushing so that the hanger itself can be taken off.
-
-
-
Cette étape n’est pas traduite. Aidez à la traduire
-
Pull straight up to remove the hanger. Remove the lower bushing and the lower cup washer just to check on the riser.
-
-
Cette étape n’est pas traduite. Aidez à la traduire
-
To reassemble, take the lower cup washer, then the lower bushing and put it on the kingpin. Next, set the replacement hanger on top of the lower bushing.
-
-
Cette étape n’est pas traduite. Aidez à la traduire
-
After the hanger is added, put the the top bushing, the top cup washer and then the Kingpin nut back.
-
-
Cette étape n’est pas traduite. Aidez à la traduire
-
After the kingpin nut is secured, take your T-Tool and add the wheels back onto and secure them in place.
-


