Cette version peut contenir des modifications incorrectes. Passez au dernier aperçu vérifié.
Ce dont vous avez besoin
-
Cette étape n’est pas traduite. Aidez à la traduire
-
On the front of the drill, remove the three 2" flathead screws connecting the front housing to the rear housing.
-
-
-
Cette étape n’est pas traduite. Aidez à la traduire
-
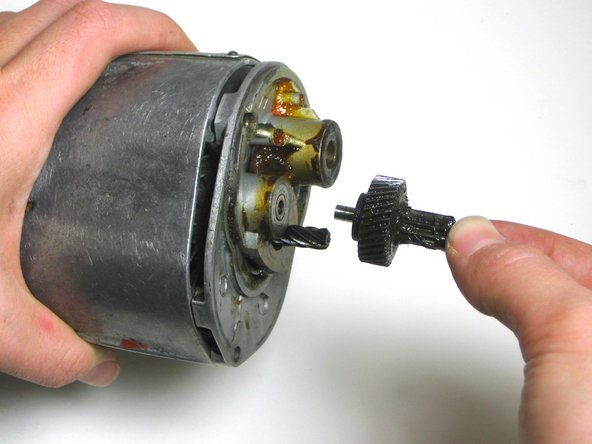
Remove the gear that is threaded onto the divider.
-
-
Cette étape n’est pas traduite. Aidez à la traduire
-
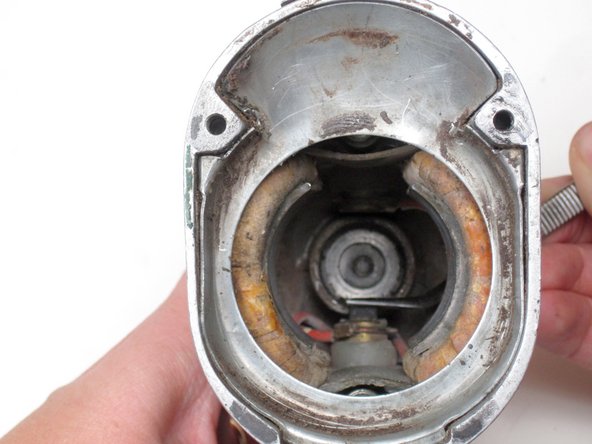
For reassembly, remove the orange cap on top using your flathead screwdriver. A bushing should come out with it.
-
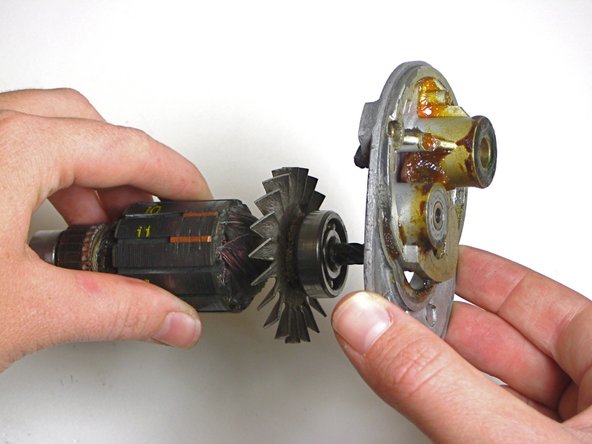
Depress the bushing on bottom using the tweezers. To reach the bushing you will have to put the tweezers through the "Skil" lettering. Insert the motor as it is depressed.
-
Using the tweezers, place the other bushing back in through the hole in the top. Screw the orange cap back on.
-


Équipe

Cal Poly, Team 5-17, Maness Fall 2010 Membre de l'équipe Cal Poly, Team 5-17, Maness Fall 2010
CPSU-MANESS-F10S5G17
3 membres
7 tutoriels rédigés