Introduction
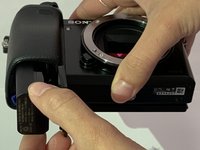
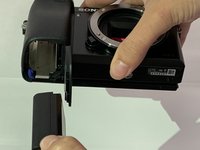
This guide will provide you with a detailed process on how to replace the back case of a Sony a6000 camera. Prior to replacing the case, make sure to remove the battery. Steps 1-4 will guide you on how to take out the battery and steps 5-12 guide you on how to replace the back case. The recommended tools for this procedure are a screwdriver, opening tools, a magnetic project mat, and gloves.
Ce dont vous avez besoin
-
-
-
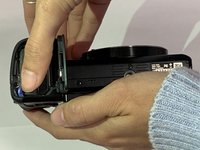
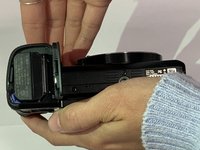
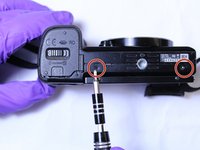
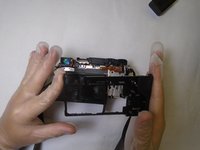
Position the camera with the bottom facing upwards and the lens facing away from you.
-
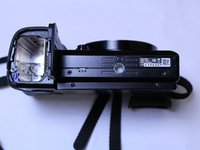
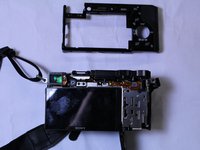
Slide the notched locking bar on the battery compartment from LOCK to OPEN.
-


To reassemble your device, follow these instructions in reverse order.
To reassemble your device, follow these instructions in reverse order.
Annulation : je n'ai pas terminé ce tutoriel.
3 autres ont terminé cette réparation.

Équipe

The Citadel Military College of South Carolina, Team S2-G3, Eggleston Fall 2019 Membre de l'équipe The Citadel Military College of South Carolina, Team S2-G3, Eggleston Fall 2019
CMCSC-EGGLESTON-F19S2G3
3 membres
5 tutoriels rédigés