Aller au contenu principal

Sony Cyber-shot DSC-T9 AV Port Replacement

Ce dont vous avez besoin

  1. Sony Cyber-shot DSC-T9 AV Port Replacement, Battery: étape 1, image 1 de 1
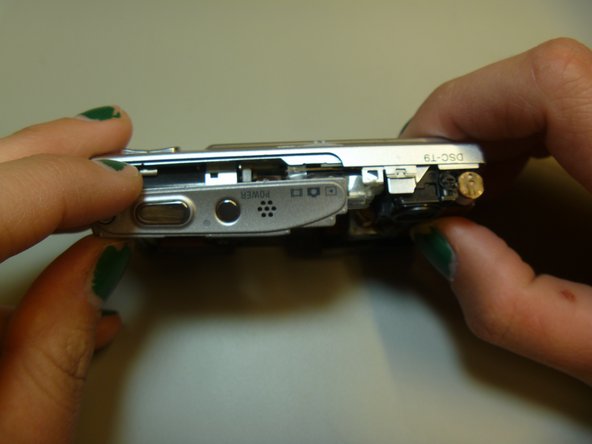
    • The battery cover is located on the right side of the camera.

    • Slide the cover to expose the battery.

  2. Sony Cyber-shot DSC-T9 AV Port Replacement: étape 2, image 1 de 1
    • Ensure that the battery lines up properly with the slot in the camera.

    • Slide battery in.

    • Slide cover closed.

    • Battery not shown

  3. Sony Cyber-shot DSC-T9 AV Port Replacement, Back Cover: étape 3, image 1 de 1
    • This is the camera without the front cover.

  4. Sony Cyber-shot DSC-T9 AV Port Replacement: étape 4, image 1 de 1
    • Remove tripod piece located at the bottom of the camera. This piece should slide out with ease.

  5. Sony Cyber-shot DSC-T9 AV Port Replacement: étape 5, image 1 de 3 Sony Cyber-shot DSC-T9 AV Port Replacement: étape 5, image 2 de 3 Sony Cyber-shot DSC-T9 AV Port Replacement: étape 5, image 3 de 3
    • Slide open the top panel. This is located on the top of the camera, where the power button and shutter button are.

  6. Sony Cyber-shot DSC-T9 AV Port Replacement: étape 6, image 1 de 3 Sony Cyber-shot DSC-T9 AV Port Replacement: étape 6, image 2 de 3 Sony Cyber-shot DSC-T9 AV Port Replacement: étape 6, image 3 de 3
    • Pull apart the inner hardware from the back case by prying on the left side.

  7. Sony Cyber-shot DSC-T9 AV Port Replacement: étape 7, image 1 de 1
    • Remove the back cover.

  8. Sony Cyber-shot DSC-T9 AV Port Replacement: étape 8, image 1 de 1
    • The back cover is now removed from the internal hardware.

  9. Sony Cyber-shot DSC-T9 AV Port Replacement, CCD Module: étape 9, image 1 de 1
    • This is the CCD module.

  10. Sony Cyber-shot DSC-T9 AV Port Replacement: étape 10, image 1 de 1
    • Use plastic opening tool pop open the two ribbons attaching to the CCD module.

    • These are the two ribbons.

  11. Sony Cyber-shot DSC-T9 AV Port Replacement: étape 11, image 1 de 1
    • Remove CCD module.

    • You may have to tug on the ribbons to remove the CCD module.

  12. Sony Cyber-shot DSC-T9 AV Port Replacement: étape 12, image 1 de 1
    • The CCD module is now removed from the camera.

  13. Sony Cyber-shot DSC-T9 AV Port Replacement, AV Port: étape 13, image 1 de 2 Sony Cyber-shot DSC-T9 AV Port Replacement, AV Port: étape 13, image 2 de 2
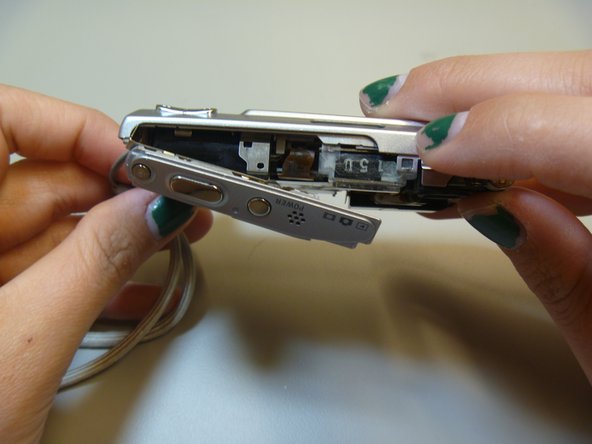
    • These two screws hold in the AV port.

    • Use Phillips screwdriver to remove screws.

  14. Sony Cyber-shot DSC-T9 AV Port Replacement: étape 14, image 1 de 1
    • Remove metal screw plate.

  15. Sony Cyber-shot DSC-T9 AV Port Replacement: étape 15, image 1 de 1
    • Use pry stick to pop off ribbon.

  16. Sony Cyber-shot DSC-T9 AV Port Replacement: étape 16, image 1 de 1
    • Remove AV port from camera.

Conclusion

To reassemble your device, follow these instructions in reverse order.

Stephannie Allen

Membre depuis le 03/11/13

255 Réputation

10 tutoriels rédigés

Équipe

Clemson, Team 13-1, Benson Spring 2013 Membre de l'équipe Clemson, Team 13-1, Benson Spring 2013

CLEM-BENSON-S13S13G1

4 membres

20 tutoriels rédigés

0 commentaires

Ajouter un commentaire

Nombre de vues :

Dernières 24 heures : 0

7 derniers jours : 0

30 derniers jours : 7

Total : 588