Aller au contenu principal

Sony Ericsson Xperia X10 Camera Replacement

Ce dont vous avez besoin

  1. Sony Ericsson Xperia X10 Camera Replacement, Camera: étape 1, image 1 de 2 Sony Ericsson Xperia X10 Camera Replacement, Camera: étape 1, image 2 de 2
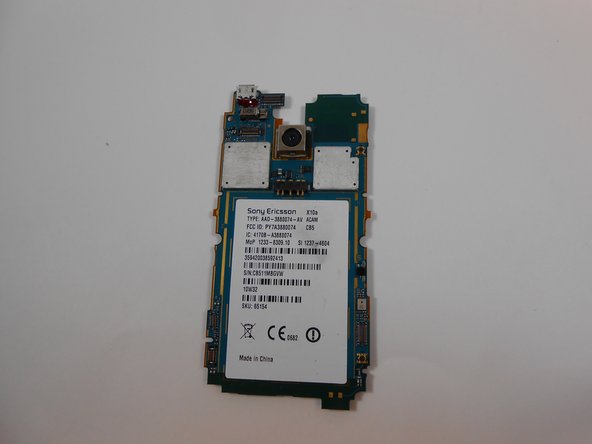
    • To access the internal components, such as the camera, we need to flip the phone with the screen facing down. Once this is done remove the battery.

  2. Sony Ericsson Xperia X10 Camera Replacement: étape 2, image 1 de 1
    • Remove eight 5mm screws as shown in the image. Use a T-6 bit.

  3. Sony Ericsson Xperia X10 Camera Replacement: étape 3, image 1 de 1
    • Using a case opener, start on the bottom right side of the phone and undo clips located at the interior sides. Repeat this step for the left side.

  4. Sony Ericsson Xperia X10 Camera Replacement: étape 4, image 1 de 1
    • Once the clips are undone the back casing should dislocate and reveal the internal components of the phone. Camera location is identified on the image.

  5. Sony Ericsson Xperia X10 Camera Replacement: étape 5, image 1 de 3 Sony Ericsson Xperia X10 Camera Replacement: étape 5, image 2 de 3 Sony Ericsson Xperia X10 Camera Replacement: étape 5, image 3 de 3
    • To remove the internal case surrounding the camera, apply pressure on the left side of internal casing and using a flat head screw driver unlatch both clips on the right side of casing. Once lifted detach ribbon cable with flat head screwdriver.

  6. Sony Ericsson Xperia X10 Camera Replacement: étape 6, image 1 de 2 Sony Ericsson Xperia X10 Camera Replacement: étape 6, image 2 de 2
    • Once the interior casing is removed, dislocate the hardware by unlatching clip at shown location.

  7. Sony Ericsson Xperia X10 Camera Replacement: étape 7, image 1 de 1
    • To remove damaged camera flip hardware so the lens of the camera is facing downwards and remove ribbon cable connecting camera to hardware.

  8. Sony Ericsson Xperia X10 Camera Replacement: étape 8, image 1 de 1
    • Once camera is removed, insert new functional camera part and reassemble

Conclusion

To reassemble your device, follow these instructions in reverse order.

2 autres ont terminé cette réparation.

Bryan

Membre depuis le 11/03/13

410 Réputation

3 tutoriels rédigés

0 commentaires

Ajouter un commentaire

Nombre de vues :

Dernières 24 heures : 0

7 derniers jours : 0

30 derniers jours : 0

Total : 777