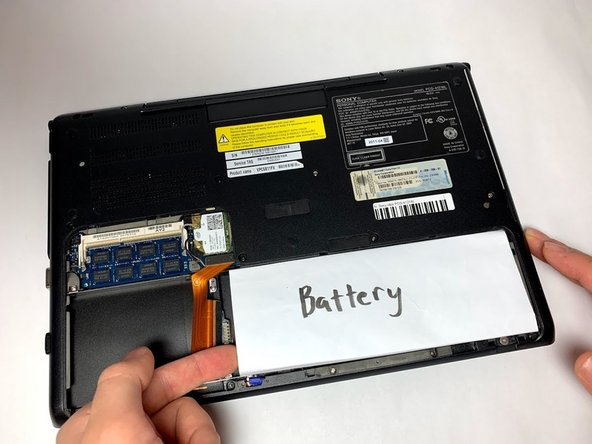
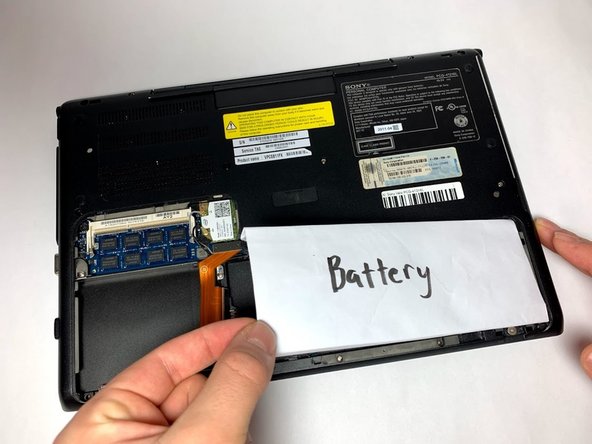
Aller au contenu principal

Sony Vaio PCG-41216L Battery Replacement

Ce dont vous avez besoin

  1. Sony Vaio PCG-41216L Battery Replacement, Battery: étape 1, image 1 de 2 Sony Vaio PCG-41216L Battery Replacement, Battery: étape 1, image 2 de 2
    • Flip the laptop over to begin the process.

    • Make sure the laptop is turned off and unplugged from the power cable.

  2. Sony Vaio PCG-41216L Battery Replacement: étape 2, image 1 de 3 Sony Vaio PCG-41216L Battery Replacement: étape 2, image 2 de 3 Sony Vaio PCG-41216L Battery Replacement: étape 2, image 3 de 3
    • Remove the two 7mm Phillips #1 screws holding the battery cover.

  3. Sony Vaio PCG-41216L Battery Replacement: étape 3, image 1 de 3 Sony Vaio PCG-41216L Battery Replacement: étape 3, image 2 de 3 Sony Vaio PCG-41216L Battery Replacement: étape 3, image 3 de 3
    • Remove the battery cover and set it aside. Carefully remove the non-functioning battery and insert the new battery in its place.

    • Make sure to reattach the battery in the right position with the power port, so that the power connector lines up with the battery’s port.

Conclusion

To reassemble your device, follow these instructions in reverse order.

2 autres ont terminé cette réparation.

Aaron B

Membre depuis le 01/10/19

220 Réputation

2 tutoriels rédigés

0 commentaires

Ajouter un commentaire

Nombre de vues :

Dernières 24 heures : 1

7 derniers jours : 6

30 derniers jours : 14

Total : 1,046