Cette version peut contenir des modifications incorrectes. Passez au dernier aperçu vérifié.
Ce dont vous avez besoin
-
Cette étape n’est pas traduite. Aidez à la traduire
-
Position the laptop screen-side down as shown.
-
In this position the battery housing will be located on the right hand side.
-
-
Cette étape n’est pas traduite. Aidez à la traduire
-
Lift the panel up and then out to gain access to the battery.
-
-
Cette étape n’est pas traduite. Aidez à la traduire
-
Use the indentations to pull the old battery out.
-
-
Cette étape n’est pas traduite. Aidez à la traduire
-
The battery is now removed and it is safe to move on to uninstalling other components.
-
-
-
Cette étape n’est pas traduite. Aidez à la traduire
-
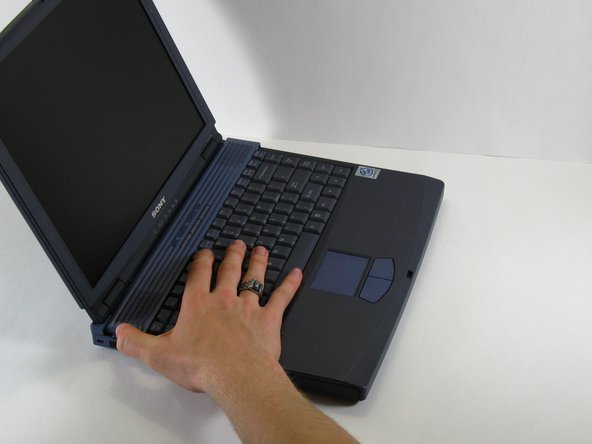
There are two screws on the left hand side of the laptop near the IR (Infared remote) receiver (see image). Remove them using a Phillips #00 Screwdriver.
-
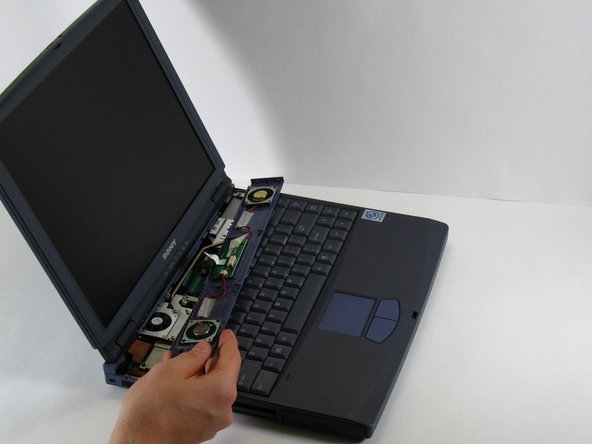
Slide the speaker panel towards the left, then carefully flip it over onto the keyboard.
-
-
Cette étape n’est pas traduite. Aidez à la traduire
-
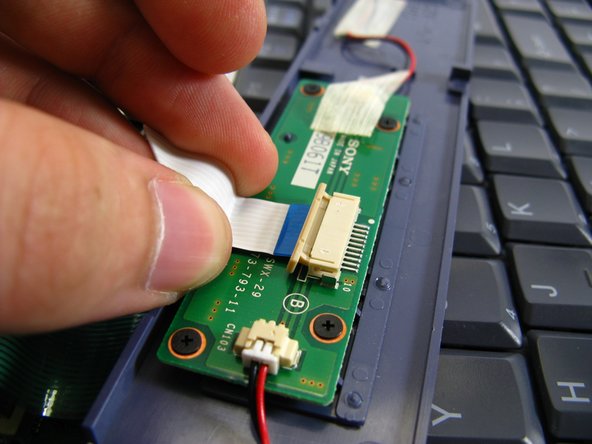
On the inside of the speaker panel, using a spudger, push the beige tab in the direction of the ribbon. It should only move a small amount.
-
Remove the ribbon by gently pulling on it, there should be little or no resistance.
-
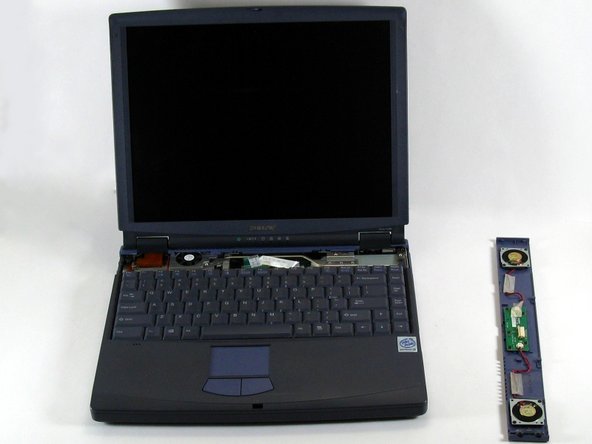
Now the speaker panel can be set aside.
-
-
Cette étape n’est pas traduite. Aidez à la traduire
-
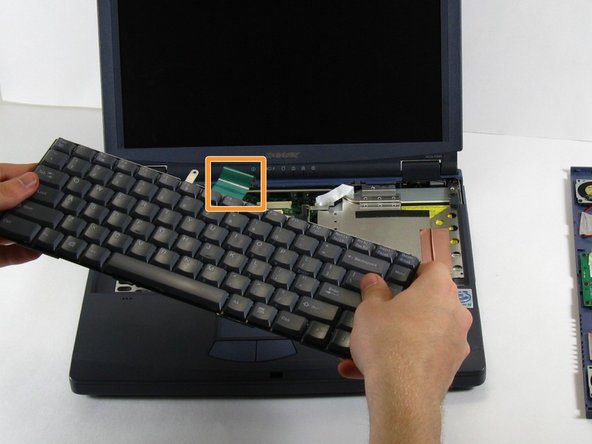
Remove the metal screw that will be located at the red circle.
-
Pull on the green strip, and the keyboard should come free easily.
-
-
Cette étape n’est pas traduite. Aidez à la traduire
-
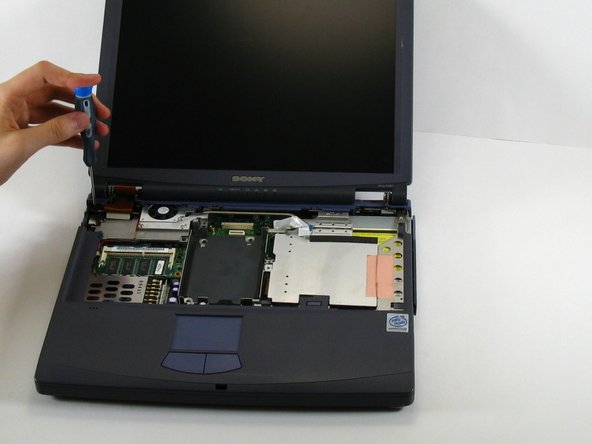
Remove the three screws surrounding the fan.
-
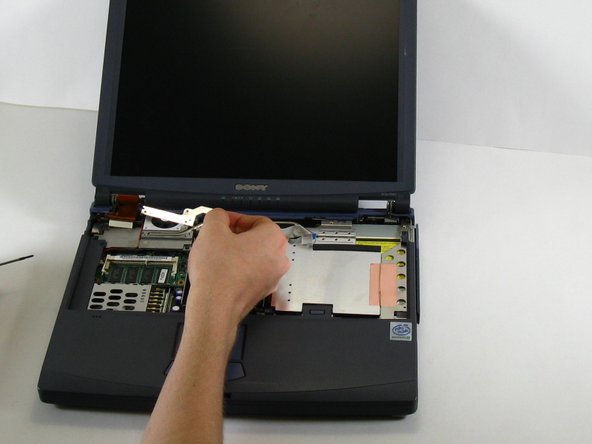
Take off the guard that you just unscrewed.
-
Carefully flip over the heat pipe and the metal sheet connected to it.
-
-
Cette étape n’est pas traduite. Aidez à la traduire
-
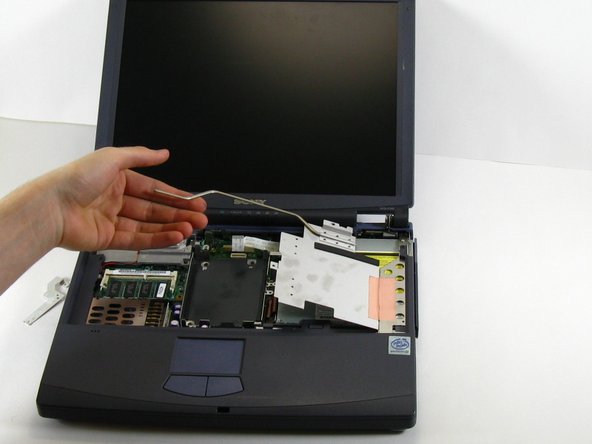
Remove the three screws from the heat tube cover.
-
Carefully remove the cover.
-
-
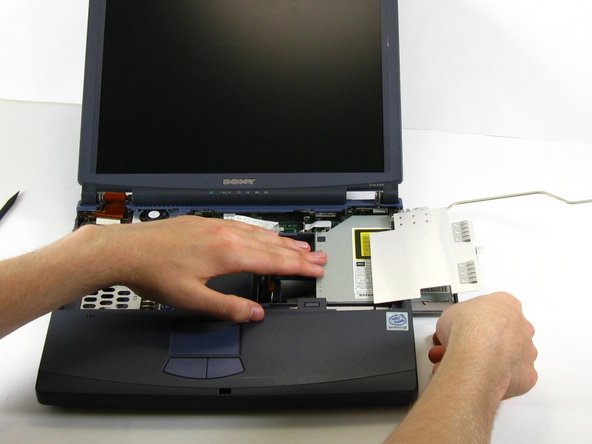
Cette étape n’est pas traduite. Aidez à la traduire
-
Use a spudger to pry the ribbon connected to the optical drive.
-
Slide the optical drive free of the enclosure.
-


Équipe

Cal Poly, Team 16-3, Maness Spring 2010 Membre de l'équipe Cal Poly, Team 16-3, Maness Spring 2010
CPSU-MANESS-S10S16G3
3 membres
8 tutoriels rédigés