Introduction
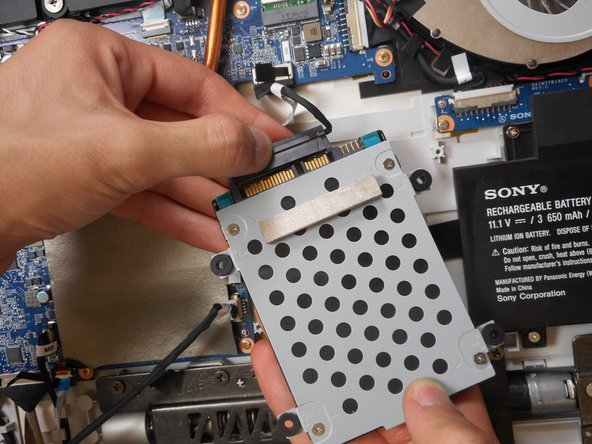
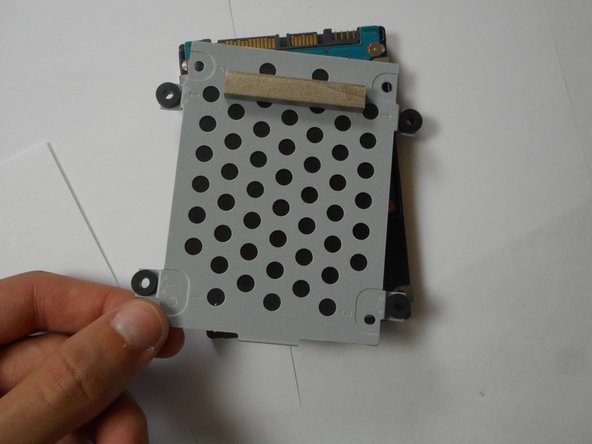
Utilisez ce guide pour remplacer le disque dur d'un tout-en-un Sony Vaio Tap 21. Le disque dur est recouvert d’une grille métallique à motif circulaire. Il est situé entre la batterie et la carte mère.
Ce dont vous avez besoin


Pour remonter votre appareil, suivez ces instructions dans l’ordre inverse.
Pour remonter votre appareil, suivez ces instructions dans l’ordre inverse.
Annulation : je n'ai pas terminé ce tutoriel.
2 autres ont terminé cette réparation.
Merci à ces traducteurs :
100%
[deleted] nous aide à réparer le monde ! Vous voulez contribuer ?
Commencez à traduire ›

Équipe

Cal Poly, Team S4-G4, Livingston Fall 2017 Membre de l'équipe Cal Poly, Team S4-G4, Livingston Fall 2017
CPSU-LIVINGSTON-F17S4G4
4 membres
12 tutoriels rédigés
12 commentaires
Is that a M.2 SSD Slot on the motherboard?
Nope, that’s an mPCIE/mSATA slot, not an m.2 slot. Look at the retention screw position: m.2 uses a centre screw, mPCIE/mSATA uses a corner screw.
Yes, there is an M.2 SSD slot on the left side of the motherboard. I’ve installed a 256GB SSD in the slot on my VT21
No, it’s clearly an mPCIE/mSATA slot, not m.2. The pin/notch configuration and retention screw position make it easy to identify.
You must be using a mPCIE or mSATA SSD.
Spencer Martin Navarra Chew is correct about this slot. My mistake.
Excuse the ignorance, but what would be the benefit (what does it do) of installing a M.2 SSD into that slot, pertaining to the Sony Tap 21’s (I have a SVT21225CXB). Already thinking about replacing the actual hardrive with an SSD for speed (and larger capacity).
Shawn,
It’s not actually an m,2 slot, it’s a mPCIE (or possibly an mSATA) slot - I can’t tell which from the picture. Regardless, the advantage of installing a SSD in the slot is that it leaves the drive bay free for a large capacity HDD to store all your media, while still benefiting from having a fast SSD.
I’ve replaced the hard drive (thanks for guide). It now boots with the no operating system found message, which is to be expected. I just can’t figure out how to get into the bios to change boot options. Articles online refer to holding the assist button (found near the power button at top of screen, but this also doesn’t work. Any help appreciated
I think first should be how to remove the back cover.
It's not removal that's the tough part... it's removing it without cracking the glass. I'm pretty competent myself, and still cracked it - starting at top left, going diagonally across the screen. It felt like I wasn't "forcing" anything when it cracked...I don't say this to try to discourage anyone from DIY'ing on these...but I definitely have got to urge anyone, no matter how experienced you may be, BE AS ABSOLUTELY CAREFUL AS POSSIBLE WHEN REMOVING THE SCREEN ON A TAP 21!!!! However careful you think you need to be...be twice as careful as that. Take your freaking time on this, or you'll be sitting here like me with a cracked screen, wishing I would've.
Good Luck!
M B -