Aller au contenu principal

Sony Walkman NWZ-S764 Bluetooth module Replacement

Ce dont vous avez besoin

  1. Sony Walkman NWZ-S764 Bluetooth module Replacement, Removing the back cover: étape 1, image 1 de 3 Sony Walkman NWZ-S764 Bluetooth module Replacement, Removing the back cover: étape 1, image 2 de 3 Sony Walkman NWZ-S764 Bluetooth module Replacement, Removing the back cover: étape 1, image 3 de 3
    • Remove the two black 6.4mm Phillips screws from the back of the device.

  2. Sony Walkman NWZ-S764 Bluetooth module Replacement: étape 2, image 1 de 3 Sony Walkman NWZ-S764 Bluetooth module Replacement: étape 2, image 2 de 3 Sony Walkman NWZ-S764 Bluetooth module Replacement: étape 2, image 3 de 3
    • Using a plastic opening tool, work your way around the edges of the device, carefully prying off the front panel.

  3. Sony Walkman NWZ-S764 Bluetooth module Replacement: étape 3, image 1 de 2 Sony Walkman NWZ-S764 Bluetooth module Replacement: étape 3, image 2 de 2
    • Remove the two 2.8 mm phillips screws located on either side of the device near the top.

  4. Sony Walkman NWZ-S764 Bluetooth module Replacement: étape 4, image 1 de 2 Sony Walkman NWZ-S764 Bluetooth module Replacement: étape 4, image 2 de 2
    • Carefully pull the top piece away from the device.

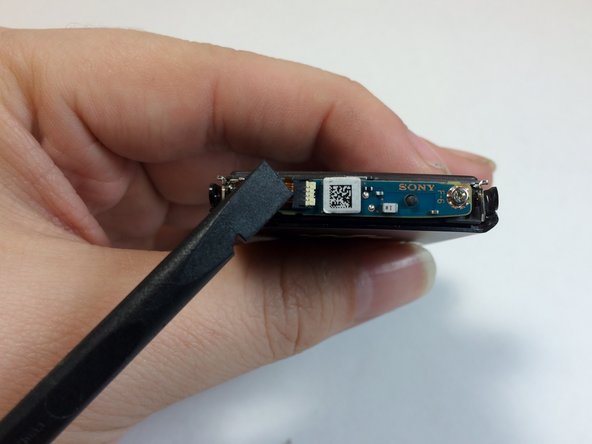
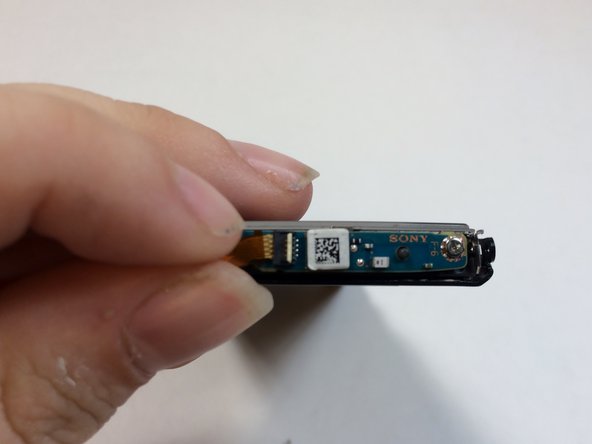
  5. Sony Walkman NWZ-S764 Bluetooth module Replacement, Removing the Bluetooth module: étape 5, image 1 de 3 Sony Walkman NWZ-S764 Bluetooth module Replacement, Removing the Bluetooth module: étape 5, image 2 de 3 Sony Walkman NWZ-S764 Bluetooth module Replacement, Removing the Bluetooth module: étape 5, image 3 de 3
    • Use the flat end of the spudger to flip up the retaining flap for the bluetooth module.

    • Be sure to lift up on the retaining flap, and not the socket itself.

  6. Sony Walkman NWZ-S764 Bluetooth module Replacement: étape 6, image 1 de 3 Sony Walkman NWZ-S764 Bluetooth module Replacement: étape 6, image 2 de 3 Sony Walkman NWZ-S764 Bluetooth module Replacement: étape 6, image 3 de 3
    • Remove the two 1.8mm silver Phillips screws on the Bluetooth module.

    • Lift up on and remove the Bluetooth module.

    • The ribbon cable must first be removed in order to access the highlighted screw.

Conclusion

To reassemble your device, follow these instructions in reverse order.

John Ferguson

Membre depuis le 01/21/15

657 Réputation

5 tutoriels rédigés

Équipe

USF Tampa, Team 4-2, Brown Winter 2015 Membre de l'équipe USF Tampa, Team 4-2, Brown Winter 2015

USFT-BROWN-W15S4G2

4 membres

6 tutoriels rédigés

0 commentaires

Ajouter un commentaire

Nombre de vues :

Dernières 24 heures : 1

7 derniers jours : 6

30 derniers jours : 9

Total : 641