Introduction
To complete this guide you will need to disassemble your device and use tweezers to extract the SIM card reader.
The battery should be removed before working on the phone internals.
Ce dont vous avez besoin
-
-
You will need a Torx T5 screwdriver, plastic opening tool, and a pincet for this operation.
 Demander à FixBot
-
-
-
Find the little bracket on the bottom left of the phone (when looking at it upside down) and use the opening tool to pry off the back cover.
-
-
Outil utilisé dans cette étape :Tweezers$4.99
-
Remove the silicone cover by squeezing it with the tweezers, there is not much pressure needed.
-
-
-
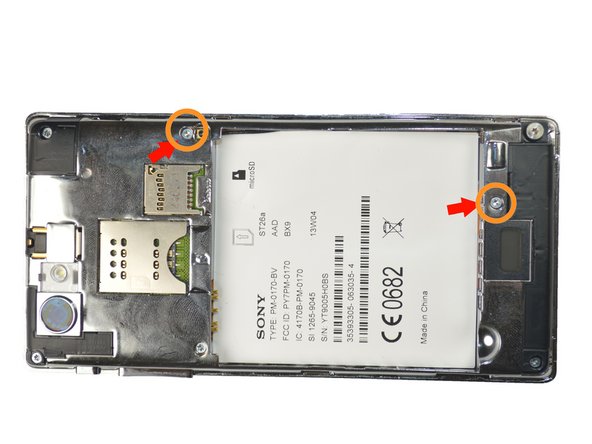
Using the Torx T5 screwdriver remove the four 4.74mm screws.
-
Then remove the two 3.13mm screws
-
Lastly remove 5.90mm screw.
-
-
-
-
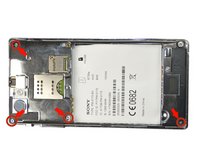
Using the tweezers remove the black plate at the bottom of the phone. First insert the tweezers tip at the intersection between the black plate and phone, then just pull the plate up.
-
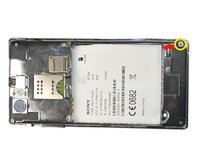
Repeat the same steps to remove the black plates located at the top left, and top right of the phone.
-
-
-
After removing the top left black plate, you will find another 3.13mm screw. Just remove it by using the screwdriver.
-
-
-
Place the plastic opening tool in-between the black external case of the phone and the silver case, then move it along the edges of the phone to detach the plates.
-
-
Outil utilisé dans cette étape :Tweezers$4.99
-
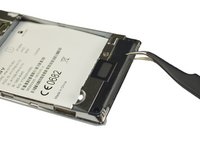
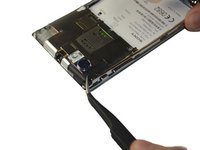
Using the tweezers remove the clip located at the top of the phone. It should snap right off without too much pressure.
-
-
-
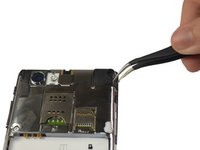
Then remove the sticky pad located at the left of the phone using he tweezers.
-
-
-
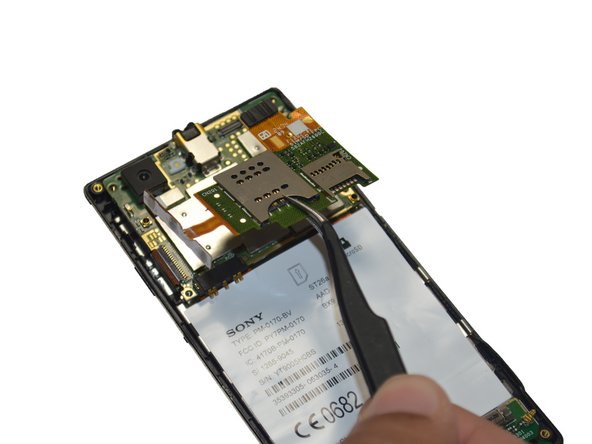
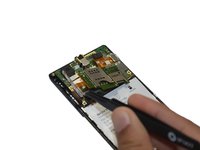
Using the tweezers lift the plate out of the clamps, from left to right.
-
Then remove the whole plate off the phone.
-


To reassemble your device, follow these instructions in reverse order.
Annulation : je n'ai pas terminé ce tutoriel.
5 autres ont terminé cette réparation.
Équipe

USF Tampa, Team 4-3, Brown Winter 2015 Membre de l'équipe USF Tampa, Team 4-3, Brown Winter 2015
USFT-BROWN-W15S4G3
3 membres
6 tutoriels rédigés