Cette version peut contenir des modifications incorrectes. Passez au dernier aperçu vérifié.
Ce dont vous avez besoin
-
Cette étape n’est pas traduite. Aidez à la traduire
-
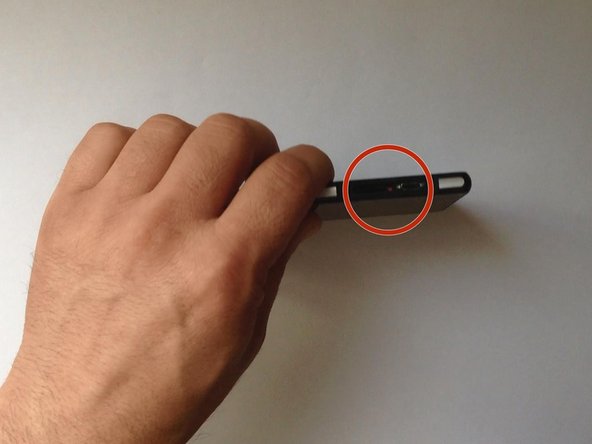
Switch off the phone.
-
If you can't switch it off, you can use the OFF button near to the SIM card Tray.
-
Warm the Back Cover. You can use a hairdryer.
-
-
Cette étape n’est pas traduite. Aidez à la traduire
-
Use a small suction cup and plastic tools for separating the Rear panel.
-
-
Cette étape n’est pas traduite. Aidez à la traduire
-
Before installing the new cover, you must clean the phone from the old adhesive tape and install a new one (if your spare part has come without double sided adhesive tape).
-
-
Cette étape n’est pas traduite. Aidez à la traduire
-
Disconnect the Battery Flex Cable and remove the two Philips screws.
-
Li-Polymer Battery, 3.8V, 3200mAh
-
Part number: LIS1543ERPC
-
-
-
Cette étape n’est pas traduite. Aidez à la traduire
-
Remove the two Phillips screws that hold Loudspeaker/Vibromotor module.
-
Disconnect the Coaxial Antenna cable.
-
-
Cette étape n’est pas traduite. Aidez à la traduire
-
With the sharp end of the plastic tool carefully subtract the module from the phone housing.
-
The Loud Speaker has some adhesive holding it to the chassis so a little heat on the front will help.
-
-
Cette étape n’est pas traduite. Aidez à la traduire
-
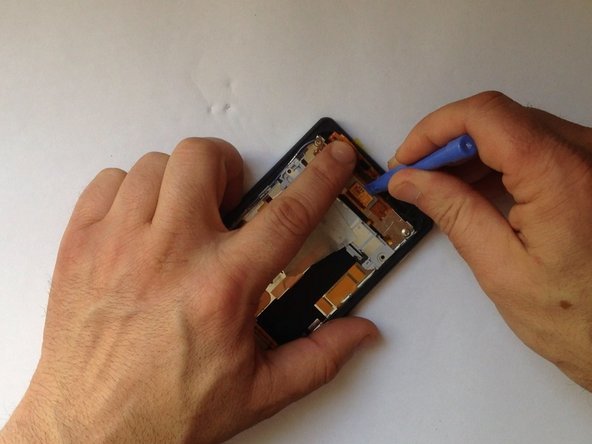
Disconnect the Touchscreen flex cables.
-
Disconnect the LCD Display flex cable.
-
-
Cette étape n’est pas traduite. Aidez à la traduire
-
Use a transparent packaging tape and stick it on top of the glass. This will help you remove the broken glass later.
-
Preheat the Display.
-
Use a cutter to make a room for a plastic tool.
-
-
Cette étape n’est pas traduite. Aidez à la traduire
-
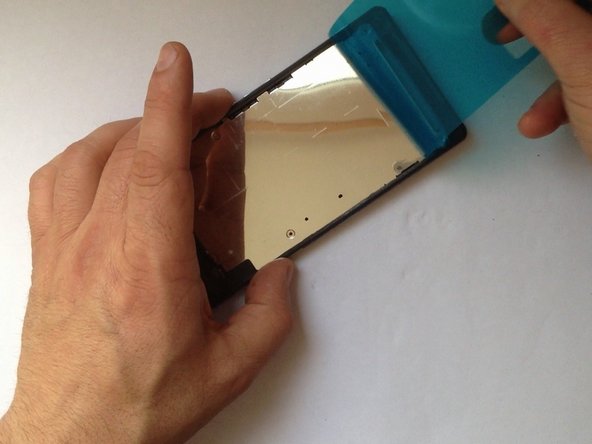
Continue separating the display from the frame by using plastic opening tools.
-
-
Cette étape n’est pas traduite. Aidez à la traduire
-
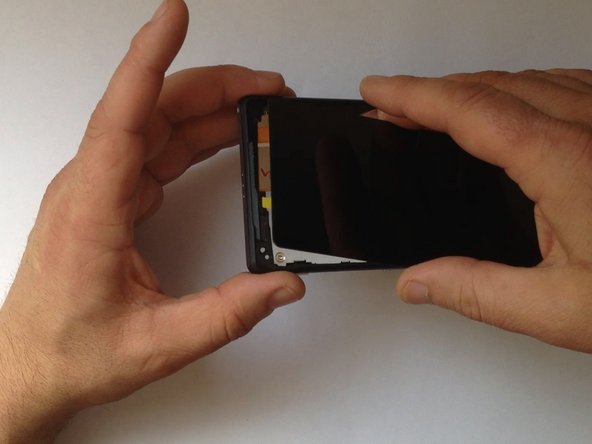
Clean the frame from the remains of tape.
-
Now it's time to test the new spare part.
-
-
Cette étape n’est pas traduite. Aidez à la traduire
-
Use a high quality adhesive sticker for the model.
-
This will stick the display to the frame harder and it will save the waterproof ability of your phone.
-
-
Cette étape n’est pas traduite. Aidez à la traduire
-
Use again adhesive sticker to atach the back / battery cover.
-
All's well that ends well.
-


Annulation : je n'ai pas terminé ce tutoriel.
61 autres ont terminé cette réparation.

Équipe

22 commentaires
Worked! I very much recommend watching the video as well as read the manual to get a complete picture. My total time spent was multiple hours, but largely because it's the first time I'm doing a repair that involves so much glue. Gained a few gray hairs there.
Two stumbles:
I missed the line "The load Speaker has some adhesive holding it to the chassis so a little heat on the front will help.", which cost me a lot of time and worry as I was trying to force the speaker assembly out. Eventually got it out, and it's fine. Ribbon cables will be the death of me some day.
I did not keep the little bit of tape on the display ribbon safe and clean and ended up not using it at all. The written manual doesn't show its reuse, the video does.
Also: getting (almost) all of the glue goop off the back was a tragedy.
so cool, is simple.
My Xperia Z2 touch screen is fixed at a phone repaircenter. I dont know what they do but since that day it looks like my touchscreen living his own life. Especially if i type some text with the stock keyboard. Its very frustrating and my question is.....can i do something about it myself?
Sorry for my bad English btw
Before gluing the screen to work well sensors and all that, you need to put some black tape on the camera or sensors?
Is it and seen online tutorials or is not necessary