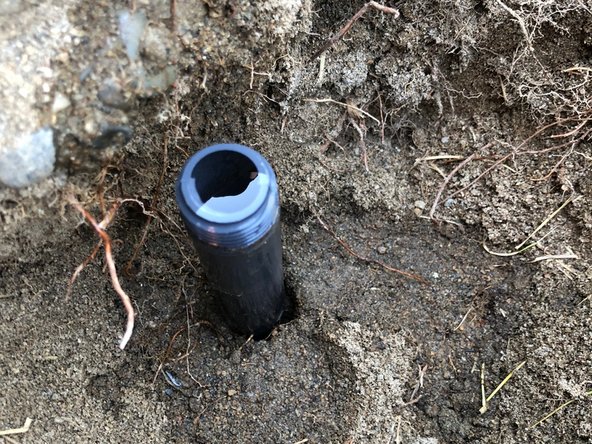
Aller au contenu principal

Sprinkler Head Replacement

Ce dont vous avez besoin

  1. Sprinkler Head Replacement, Sprinkler Head: étape 1, image 1 de 1
    • Turn off the water supply to the sprinklers.

    • This process will vary depending on your sprinkler controller.

  2. Sprinkler Head Replacement: étape 2, image 1 de 1
    • Find where the water supply feeds the sprinkler system and close the valve in the event of emergency or unforeseen circumstances.

  3. Sprinkler Head Replacement: étape 3, image 1 de 1
    • Dig a hole down to the base of the sprinkler head.

    • Be careful to avoid puncturing the sprinkler line.

  4. Sprinkler Head Replacement: étape 4, image 1 de 1
    • Using your hand or a gardening trowel, finish digging so that the sprinkler head is fully visible and is clear of dirt and debris.

  5. Sprinkler Head Replacement: étape 5, image 1 de 2 Sprinkler Head Replacement: étape 5, image 2 de 2
    • Unscrew the sprinkler head from the line it is attached to.

    • If is loose enough you may not need pliers.

  6. Sprinkler Head Replacement: étape 6, image 1 de 2 Sprinkler Head Replacement: étape 6, image 2 de 2
    • Coat the threads of the water line with teflon tape to avoid leaking.

  7. Sprinkler Head Replacement: étape 7, image 1 de 2 Sprinkler Head Replacement: étape 7, image 2 de 2
    • Using your hand, screw the new sprinkler head on over the teflon tape.

    • Once the sprinkler head is hand tight, use pliers to tighten it by another half turn.

  8. Sprinkler Head Replacement: étape 8, image 1 de 1
    • Fill the hole in and pack it down to avoid unwanted movement of the new sprinkler head.

  9. Sprinkler Head Replacement: étape 9, image 1 de 1
    • Turn the sprinkler system on.

  10. Sprinkler Head Replacement: étape 10, image 1 de 1
    • Twist the top of the sprinkler until it is aimed where you want it.

  11. Sprinkler Head Replacement: étape 11, image 1 de 1
    • Use a flat head screwdriver to adjust the flow of water if needed.

    • Turning right decreases the water flow. Turning left increases the water flow.

Conclusion

Enjoy your green lawn and water savings.

Une autre personne a terminé cette réparation.

Adam Sylvia

Membre depuis le 07/03/18

251 Réputation

1 tutoriel rédigé

0 commentaires

Ajouter un commentaire

Nombre de vues :

Dernières 24 heures : 5

7 derniers jours : 8

30 derniers jours : 27

Total : 381