Introduction
This OEM Subaru stereo has a reasonably bright and useful 4.3" LCD display, Bluetooth audio and phone functions, HD radio, USB file playback, and iPod playback. The main audio processing IC is an SAF7741 by NXP, which provides high quality digital audio processing. However, the main "power" amp, a Toshiba TB2926HQ, limits the performance.
This guide provides instruction for adding line out signals, so that an external power amplifier and/or subwoofer can be used.
An optional step is the addition of components to boost the line out level by 8dB, which can improve the signal to noise ratio when an external DSP is used.
NOTE: The factory default equalization is horrendous! To remove it: with 'Audio Off' showing on the screen, hold down the '6' key, and rotate the 'Tune' knob until a 'Version' menu appears. Release the '6' key; then repeat this process twice, until the 'Factory Test Mode-3: Eq' menu appears. Select 'OFF'! Without this step, the line out signals would be near useless.
See the attached 'Mouser Part Numbers' document for the optional parts to order for the preamp.
This site, although slightly primitive, (and clearly not written by someone for whom English is a first language) has the schematics and service manual. Navigate to the Clarion page under Car Electronics.
http://www.electronicsrepair.net/service...
This modification is not easy, but the results are worth it!
Ce dont vous avez besoin
-
-
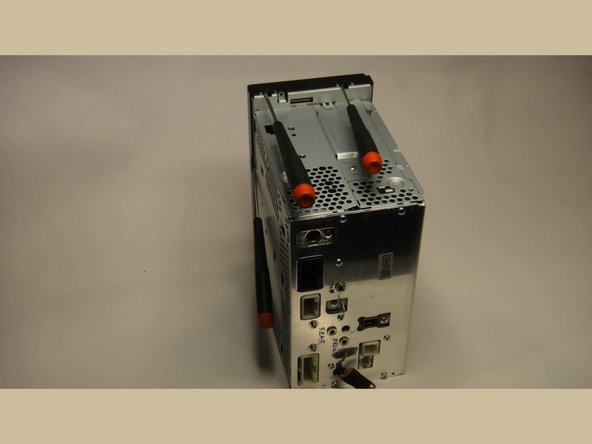
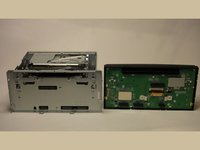
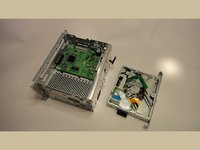
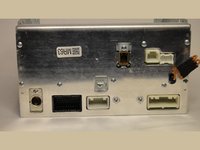
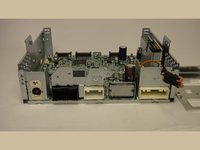
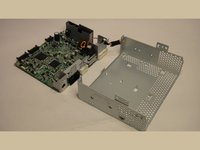
This is what the front panel looks like, for the US model. The unit is manfactured by Clarion for Subaru. There is a China-specific model with different front panel buttons.
-
The top of the case shows the Clarion part number, PF-3391A-A. A web search for this part number will find the factory service manual available, although not from Clarion.
-
-
-
Remove the front panel. Start by removing the plastic screws (1 ea. side) from behind the front panel ears, at the lower edge of the case.
-
Using 3 flat bladed screwdrivers, release 2 clips on one end, and a clip on one side. Don't wedge these far outwards! Work the corner away from the clips. Rotate the unit by 180 degrees, and release the other 3 clips.
-
Pull the front panel gently all the way off.
-
-
-
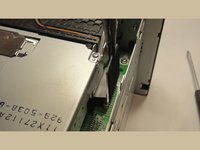
Using a pair of needle nose pliers, remove the CD drive connector. Pull straight up to release it.
-
Remove the CD drive, by unscrewing 4 screws: 2 on the front panel underneath the CD slot, and 2 on the sides at the upper rear.
-
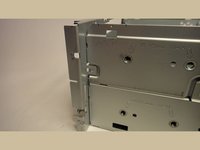
Wedge the tabs of the metal crosspiece attached to the CD drive slightly away from the metal sides of the case to release them.
-
-
-
-
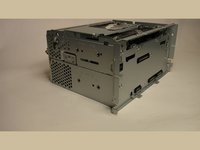
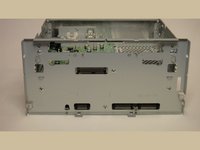
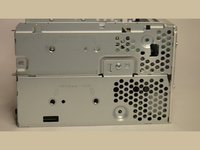
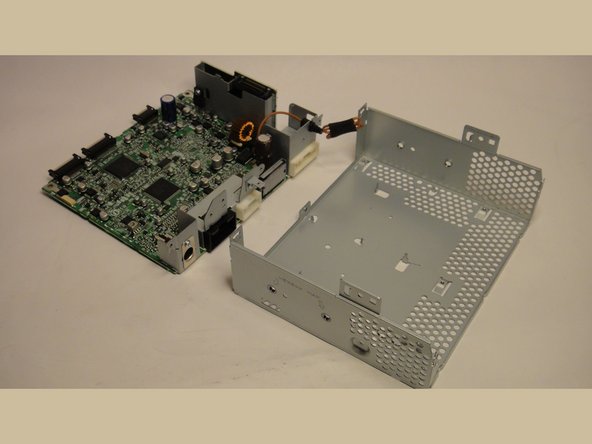
Release the rear plate, which is thicker so that it can act as a heatsink, by removing the two long screws (with washers), and the remaining 7 screws. After the line out mod has been performed, the rear plate will not be completely removable without some unsoldering, but the unit can still be disassembled.
-
There is heatsink compound connecting the power amp IC to the rear plate. During reassembly, clean this area, and apply some new compound.
-
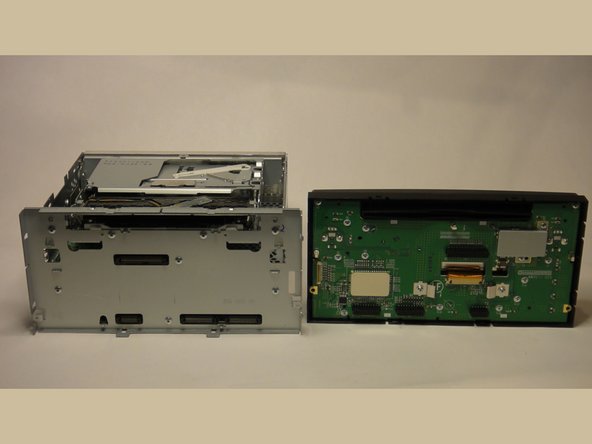
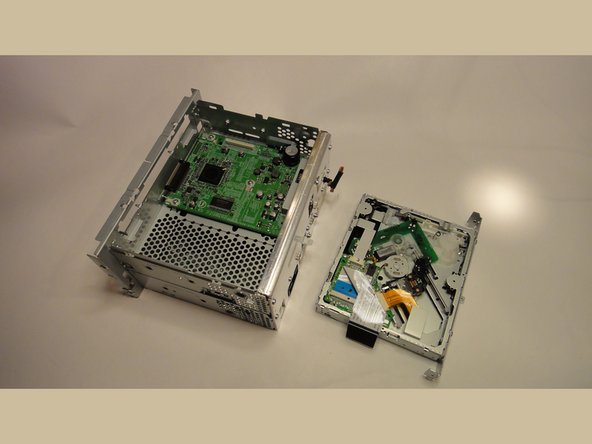
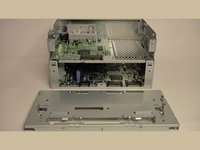
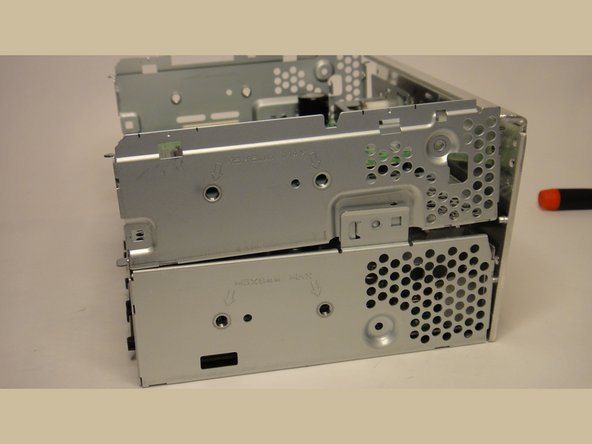
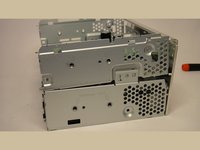
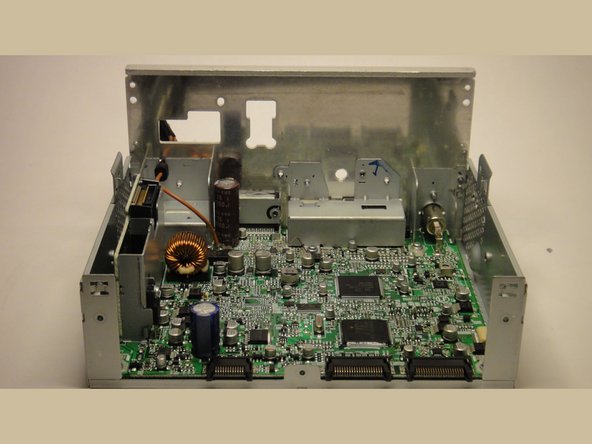
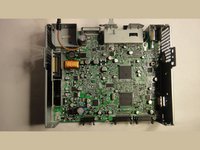
Remove the 2 screws which hold the upper case onto the lower case, release the ears, and lift the upper case off. There is an electrical connector between the upper and lower circuit boards which will disconnect.
-
-
-
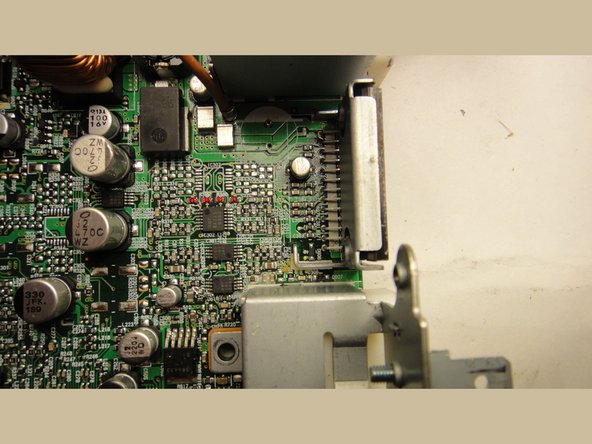
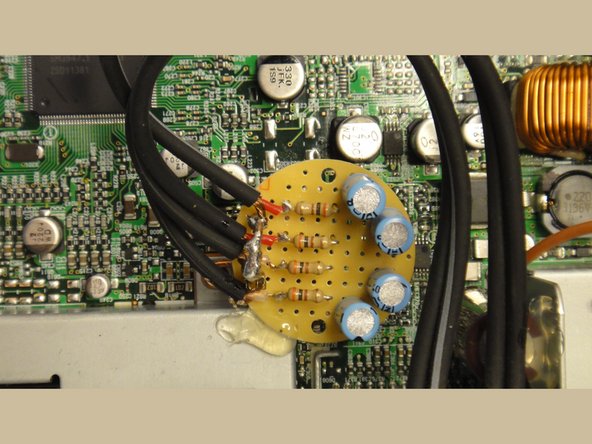
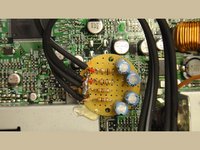
The main preamp before the power amp is in this section. Note the component locations which were left empty at the factory. These components can be assembled onto the PCA, and provide an additional 8dB of gain for the line out signals.
-
The line out signals exist at the 4 "zero" ohm resistors seen at the center of the image, above IC 302. Each one is marked with a small "O". The second image has the channels marked (yes the characters are tiny; you'll need to go 'huge', and maybe download the image to see them).
-
FL = Front Left
-
FR = Front Right
-
RL = Rear Left
-
RR = Rear Right
-
When soldering the outputs to these resistors, it doesn't matter which end of the resistor you pick (since they are zero ohms).
-
-
-
OK, now you have a choice: stay with the default gains, or install the missing components to increase the gain.
-
Also, make sure you are comfortable with soldering components this tiny. If in doubt, practice on an old motherboard with 0603 components before wielding your soldering iron.
-
Do not simply wire the output audio connectors to the 4 zero ohm resistors! There is a 6V DC bias on these signals, and you MUST provide AC coupling. The components shown here for each of the 4 channels are:
-
10uF, 50V NP (Non-polarized) Aluminum Electrolytic capacitor
-
300 ohm, 1/4W resistor
-
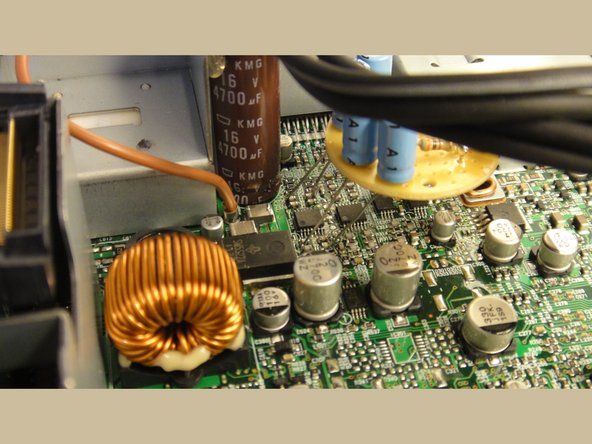
Three different views are shown. Note the piece of 16GA copper wire which is looped around the mounting screw (screw is removed in the image). This point is analog ground, and the screw provides support for the little round PCB (this is a Radio Shack special; isn't it cute?). The shields of the audio coax also solder to this wire.
-
Note that the long leads of the NP caps are soldered directly to the newly installed components; be careful doing this! You don't want to get one lead soldered, and then wedge the whole assembly sideways, or the components will be damaged.
-
If you elect not to install the missing components, solder the cap wires to the 4 zero ohm resistors, instead of the components shown here.
-
-
-
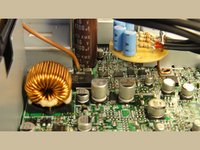
OPTIONAL: Install missing components. This requires purchase of additional components from mouser.com. See the guide parts list for more info. The image shows the location of the new components; you'll also need to install IC307.
-
Seriously, though, if you're going to add the missing components, buy the schematic online so that you have the PCB layout and schematic available for reference.
-
It is difficult to solder these components in place, due to the large nearby cap (C382). I removed it before installing the missing components, and then reinstalled it, although the ground plane made this difficult to unsolder.
-
You also MUST remove the 4 zero ohm resistors (as shown with a red line through them in the image).
-
There is one additional step to take: disable the power amp. This is done by removing the main board from the lower case, and shorting together pins 2 and 4, to hold the power amp in standby. This step is not necessary if the missing components are not installed.
-
-
-
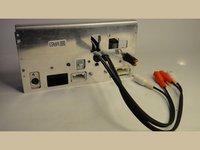
Make sure to use a strain relief on the cables as they pass through the holes you'll need to drill in the rear plate. DON'T DRILL THE HOLE UNDER THE USB CONNECTOR CUTOUT AS SHOWN HERE! Move it down a bit, as the USB connector is typically a right angle connector, and may interfere. It was necessary to trim the connector housing to make it fit.
-
Add some hot glue to the edge of the PCB to stabilize it; the car dashboard is a horrible place for electronics! Make sure that no points on the back of the PCB can short to any of the case parts.
-
Testing the completed mod before you put the whole unit back together is an excellent idea. It is possible to apply 12V to the unit on the bench: first place the upper PCB in place, and then temporarily reinstall the front panel. Apply 12V from a bench supply to the main input connector (refer to the schematic and layout drawings for more info).
-
Reassemble, reinstall, and enjoy your hard work!
-


To reassemble your device, follow these instructions in reverse order.
To reassemble your device, follow these instructions in reverse order.
Annulation : je n'ai pas terminé ce tutoriel.
6 autres ont terminé cette réparation.