Aller au contenu principal

Sunbeam Snow Cone Maker Dasher Replacement

Ce dont vous avez besoin

  1. Sunbeam Snow Cone Maker Dasher Replacement, Dasher: étape 1, image 1 de 1
    • Push the button on the back to release the lid. (Missing on this example device.)

    • In the photo on the device page it is red.

  2. Sunbeam Snow Cone Maker Dasher Replacement: étape 2, image 1 de 2 Sunbeam Snow Cone Maker Dasher Replacement: étape 2, image 2 de 2
    • Unscrew the dasher by holding it in the middle and turning clockwise.

    • You will have to spin it quite a bit.

    • Remove the dasher.

    • Alternately, you can continue to step 3 to further disassemble the dasher components.

  3. Sunbeam Snow Cone Maker Dasher Replacement: étape 3, image 1 de 2 Sunbeam Snow Cone Maker Dasher Replacement: étape 3, image 2 de 2
    • To take the dasher apart, remove the three 5.5 mm Phillips #00 screws embedded in the plastic. **The 3rd screw is behind the hand in the picture

    • Carefully pull the two pieces apart.

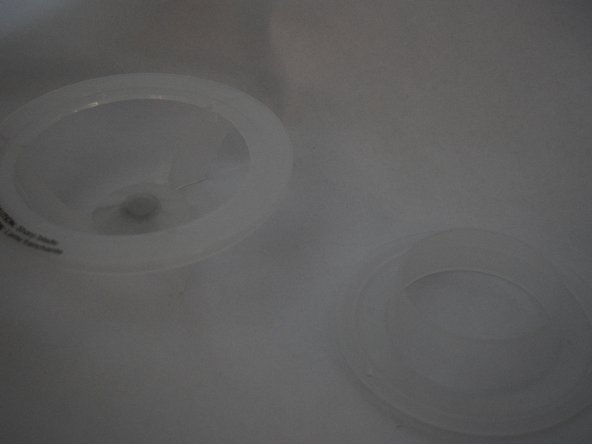
    • When you've finished taking apart the dasher, you should have two parts that are shown in the second picture in this step.

Conclusion

To reassemble your device, follow these instructions in reverse order.

Thomas Falcon

Membre depuis le 03/24/15

107 Réputation

1 tutoriel rédigé

Équipe

University of Alabama, Team 1-5, Naidoo Spring 2015 Membre de l'équipe University of Alabama, Team 1-5, Naidoo Spring 2015

UA-NAIDOO-S15S1G5

4 membres

2 tutoriels rédigés

0 commentaires

Ajouter un commentaire

Nombre de vues :

Dernières 24 heures : 1

7 derniers jours : 2

30 derniers jours : 9

Total : 798