Aller au contenu principal

Sylvania SDVD9004 Screen Replacement

Ce dont vous avez besoin

  1. Sylvania SDVD9004 Screen Replacement, Back cover: étape 1, image 1 de 1
    • Remove ten 7mm Phillips #0 screws.

    • Remove four 5mm Phillips #0 screws.

  2. Sylvania SDVD9004 Screen Replacement: étape 2, image 1 de 2 Sylvania SDVD9004 Screen Replacement: étape 2, image 2 de 2
    • Flip the device over.

    • Lift the top.

  3. Sylvania SDVD9004 Screen Replacement: étape 3, image 1 de 1
    • This guide uses incorrect tools. Use an ESD safe tool, such as a nylon spudger, to complete this step.

  4. Sylvania SDVD9004 Screen Replacement, Screen: étape 4, image 1 de 3 Sylvania SDVD9004 Screen Replacement, Screen: étape 4, image 2 de 3 Sylvania SDVD9004 Screen Replacement, Screen: étape 4, image 3 de 3
    • Disconnect ribbon

    • This guide uses incorrect tools. Use an ESD safe tool, such as a nylon spudger, to complete this step.

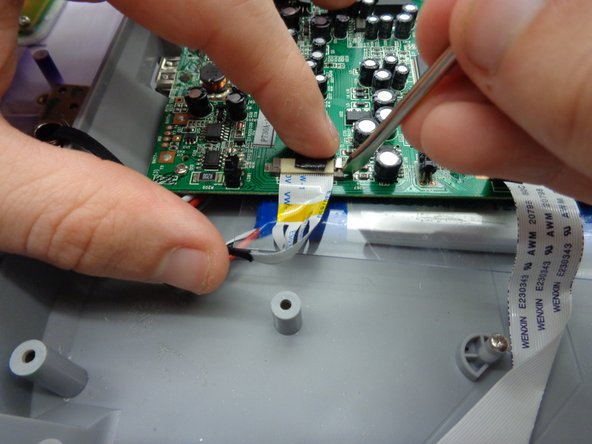
    • Rotate screwdriver to peel sticker from ribbon.

    • Place spudger head behind gray tabs on port.

    • Press outward to disengage tab.

    • Repeat on other side.
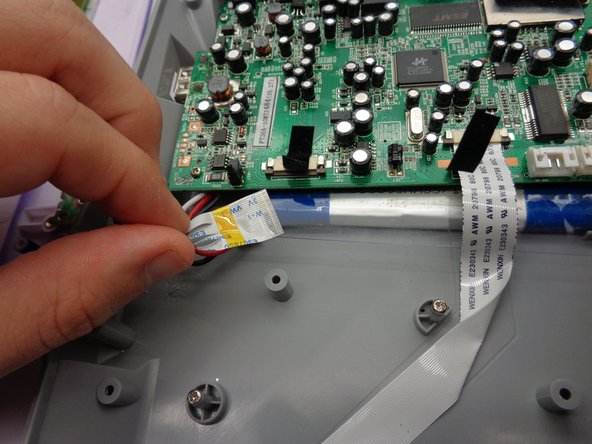
    • Slide out ribbon.

  5. Sylvania SDVD9004 Screen Replacement: étape 5, image 1 de 2 Sylvania SDVD9004 Screen Replacement: étape 5, image 2 de 2
    • Using Philips head screwdriver, remove the two 7 mm screws.

    • Slide off top panel.

Conclusion

To reassemble your device, follow these instructions in reverse order.

Sarah Henry

Membre depuis le 10/31/16

417 Réputation

4 tutoriels rédigés

Équipe

Baylor, Team 5-10, Williams Fall 2016 Membre de l'équipe Baylor, Team 5-10, Williams Fall 2016

BU-WILLIAMS-F16S5G10

2 membres

5 tutoriels rédigés

0 commentaires

Ajouter un commentaire

Nombre de vues :

Dernières 24 heures : 0

7 derniers jours : 5

30 derniers jours : 7

Total : 622