Aller au contenu principal

Macbook 2009-2010 Unibody White Disassembly

Ce dont vous avez besoin

  1. Macbook 2009-2010 Unibody White Disassembly, Removing Back Plate: étape 1, image 1 de 3 Macbook 2009-2010 Unibody White Disassembly, Removing Back Plate: étape 1, image 2 de 3 Macbook 2009-2010 Unibody White Disassembly, Removing Back Plate: étape 1, image 3 de 3
    • Remove the six Phillips head screws with J00 bit.

  2. Macbook 2009-2010 Unibody White Disassembly, Unplugging Battery from Logic Board: étape 2, image 1 de 3 Macbook 2009-2010 Unibody White Disassembly, Unplugging Battery from Logic Board: étape 2, image 2 de 3 Macbook 2009-2010 Unibody White Disassembly, Unplugging Battery from Logic Board: étape 2, image 3 de 3
    • Then Unplug the battery using a ESD Safe prying tool.

  3. Macbook 2009-2010 Unibody White Disassembly: étape 3, image 1 de 3 Macbook 2009-2010 Unibody White Disassembly: étape 3, image 2 de 3 Macbook 2009-2010 Unibody White Disassembly: étape 3, image 3 de 3
    • Once battery is unplugged, remove two Philips head screws using J00 bit.

  4. Macbook 2009-2010 Unibody White Disassembly, Removing Hard Drive Part 2: étape 4, image 1 de 3 Macbook 2009-2010 Unibody White Disassembly, Removing Hard Drive Part 2: étape 4, image 2 de 3 Macbook 2009-2010 Unibody White Disassembly, Removing Hard Drive Part 2: étape 4, image 3 de 3
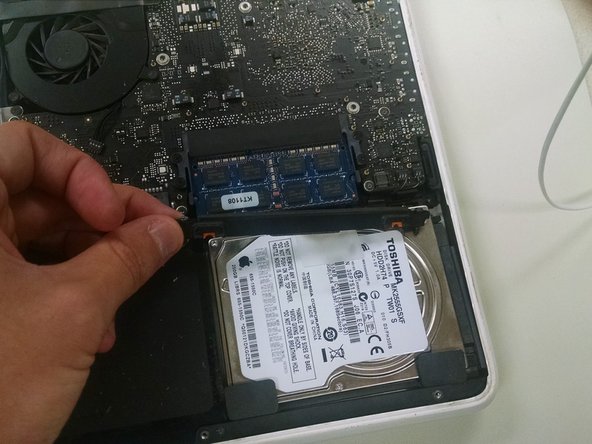
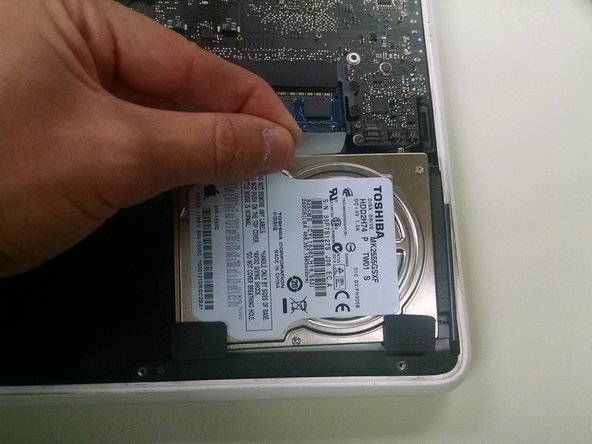
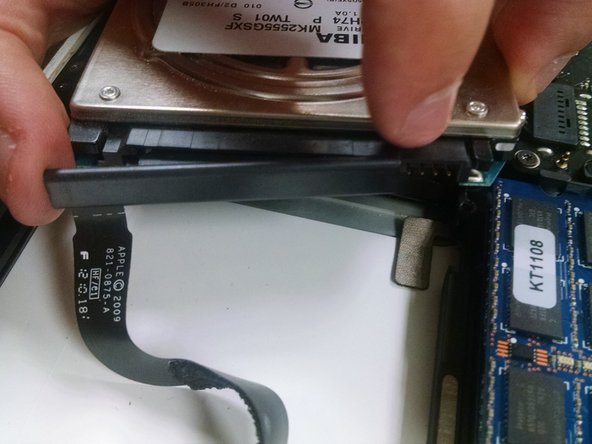
    • After removing the screws and plastic cover piece, remove the hard drive then unplug from Logic Board.

  5. Macbook 2009-2010 Unibody White Disassembly, Removing The RAM: étape 5, image 1 de 3 Macbook 2009-2010 Unibody White Disassembly, Removing The RAM: étape 5, image 2 de 3 Macbook 2009-2010 Unibody White Disassembly, Removing The RAM: étape 5, image 3 de 3
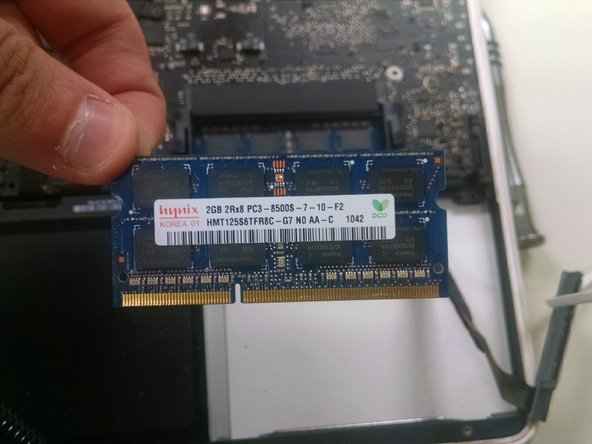
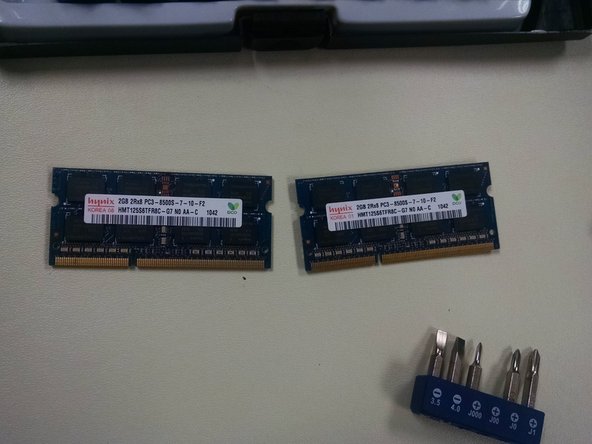
    • Locate the RAM Directly above the Hard Drive. Gently push the two snaps away from the RAM cards and gently pull the ram out. You Will do this step again to remove the Second card beneath the first.

Conclusion

To reassemble your device, follow these instructions in reverse order.

12 autres ont terminé cette réparation.

Gyoyo

Membre depuis le 12/09/16

428 Réputation

1 tutoriel rédigé

0 commentaires

Ajouter un commentaire

Nombre de vues :

Dernières 24 heures : 3

7 derniers jours : 12

30 derniers jours : 52

Total : 8,077