Ce tutoriel a des changements plus récents. Passer à la dernière version non vérifiée.
Introduction
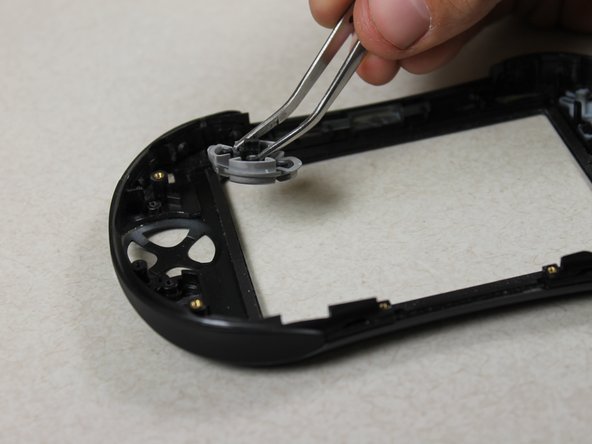
Use this guide when the directional pad needs to be replaced.
Ce dont vous avez besoin
-
-
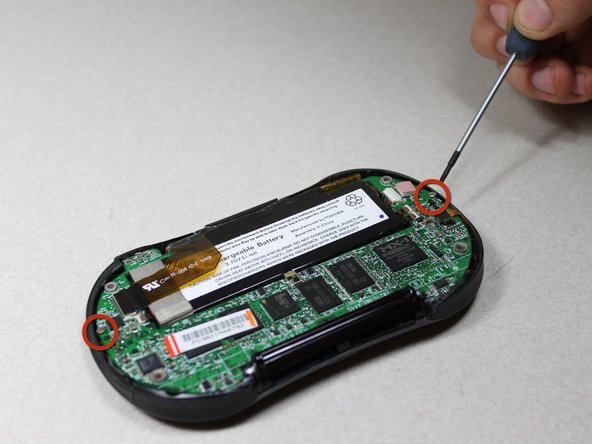
Slide the battery out from under the brown wire-tape.
-
Be careful of the wires still connected to the other end of the battery. Do not pull or damage may occur.
-
-


To reassemble your device, follow these instructions in reverse order.
To reassemble your device, follow these instructions in reverse order.
Annulation : je n'ai pas terminé ce tutoriel.
Une autre personne a terminé cette réparation.
Équipe

Cal Poly, Team 10-33, Amido Winter 2012 Membre de l'équipe Cal Poly, Team 10-33, Amido Winter 2012
CPSU-AMIDO-W12S10G33
4 membres
10 tutoriels rédigés