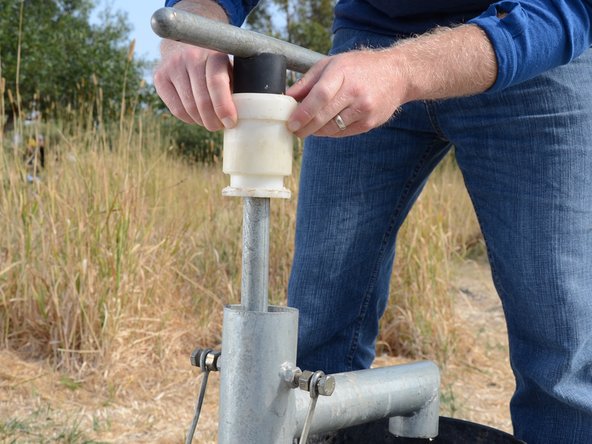
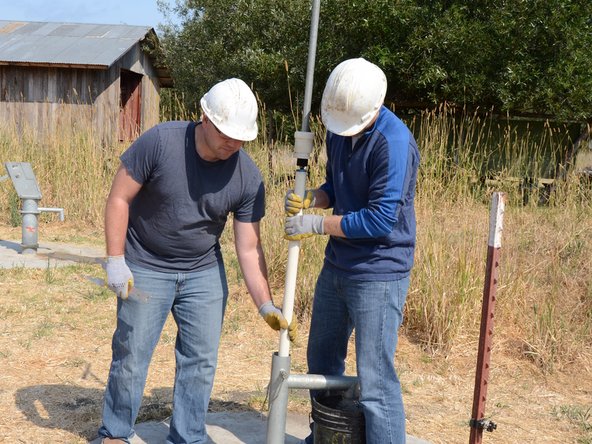
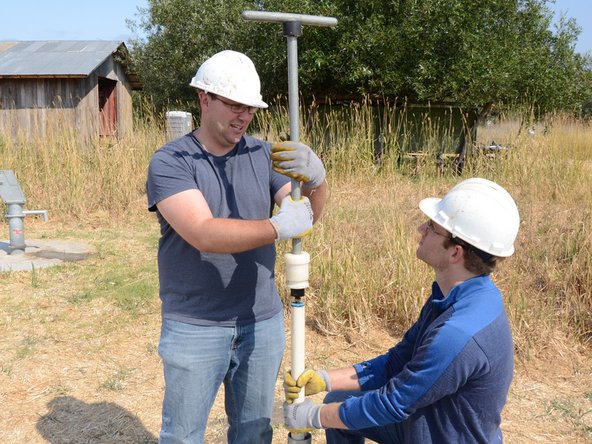
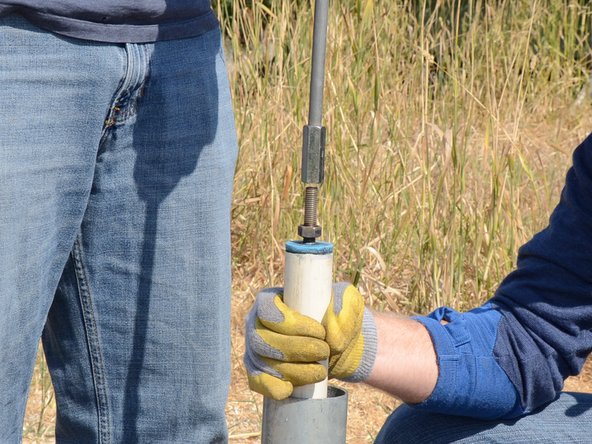
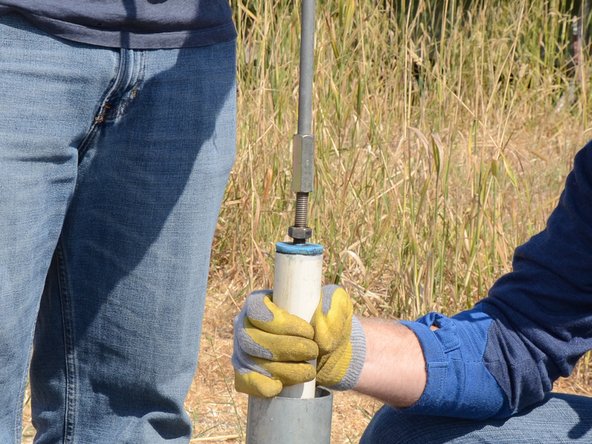
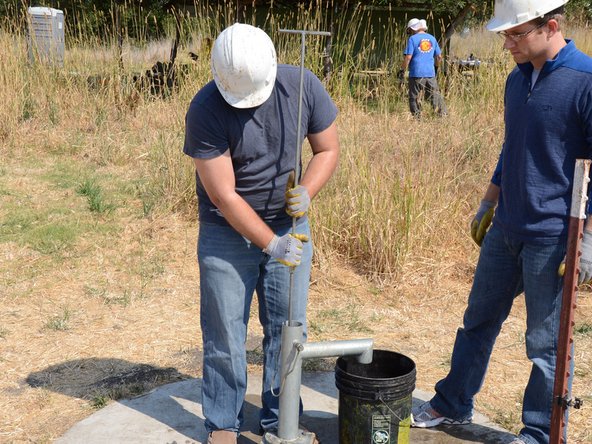
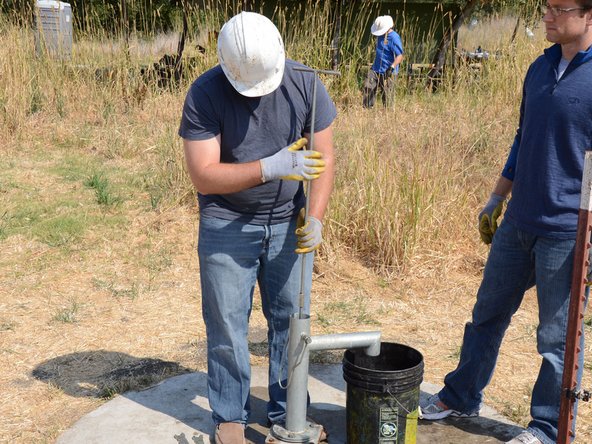
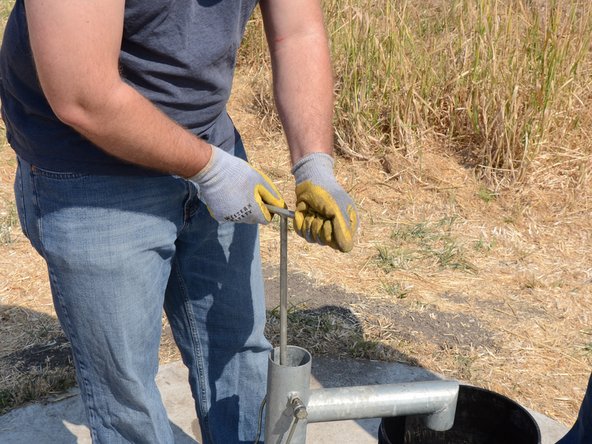
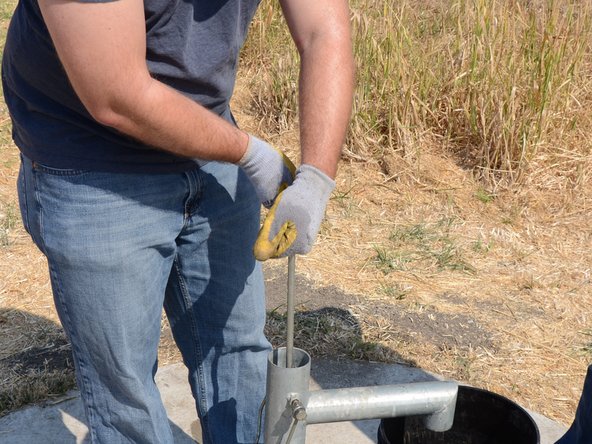
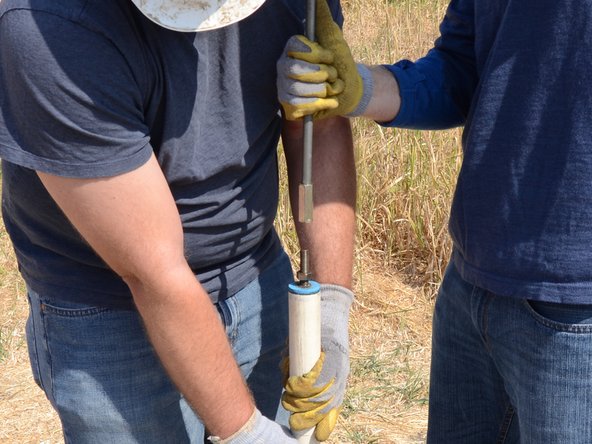
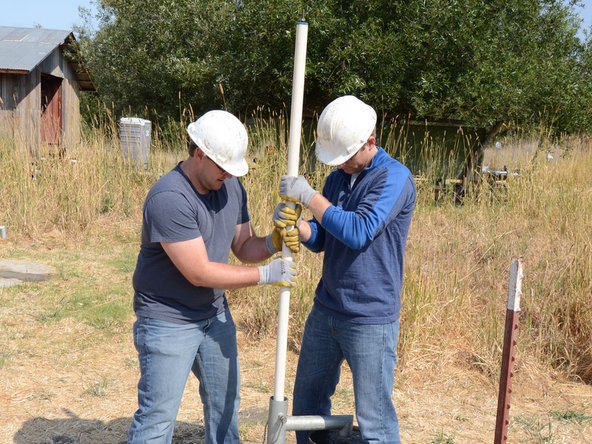
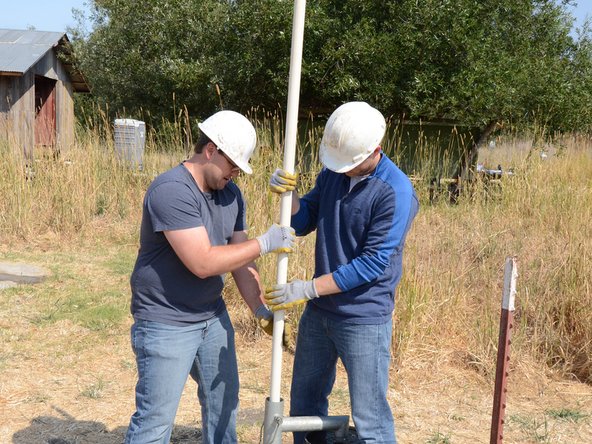
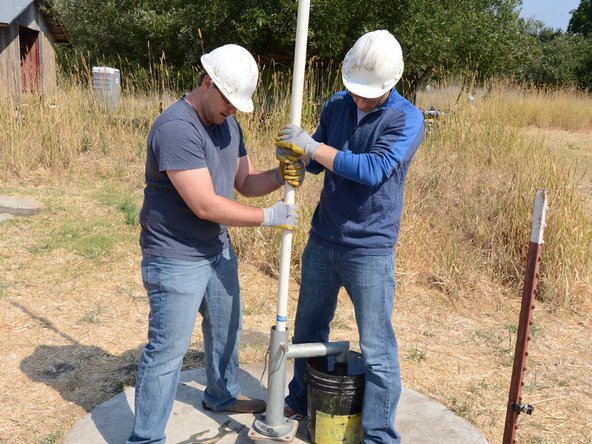
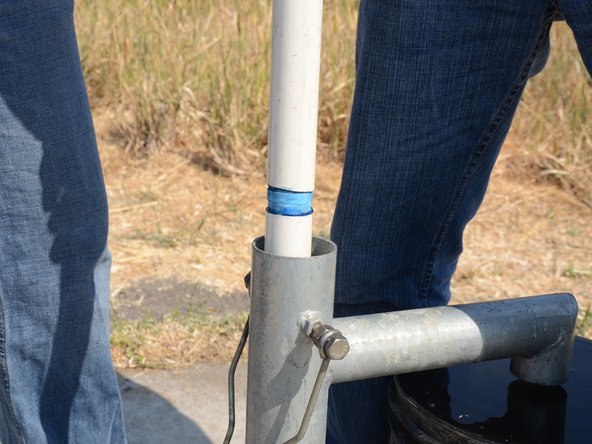
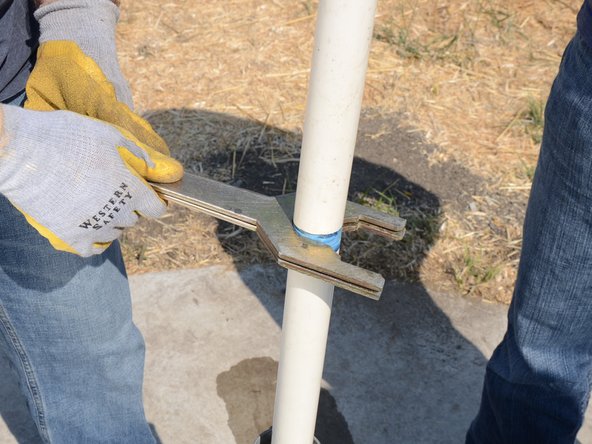
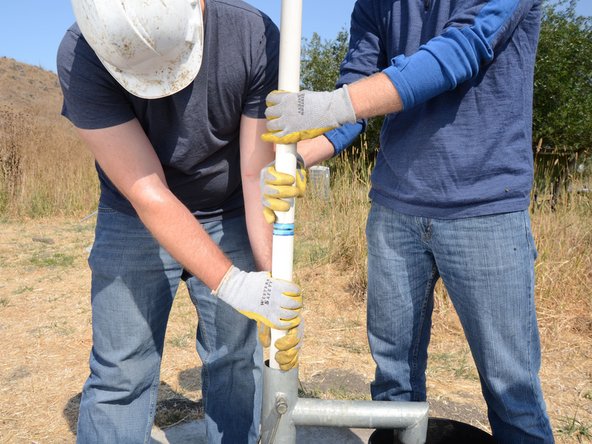
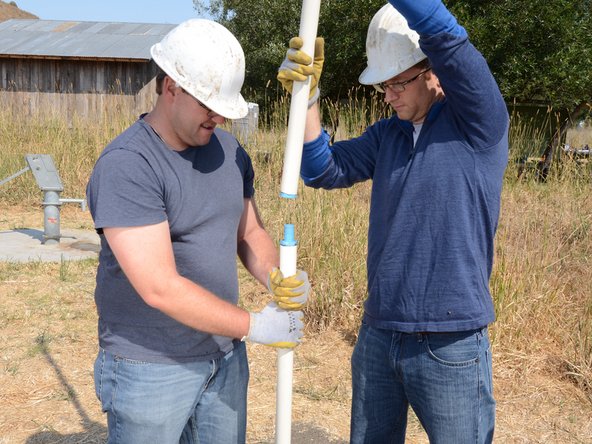
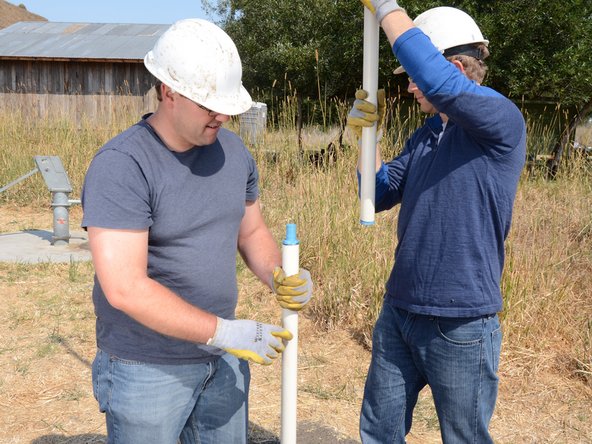
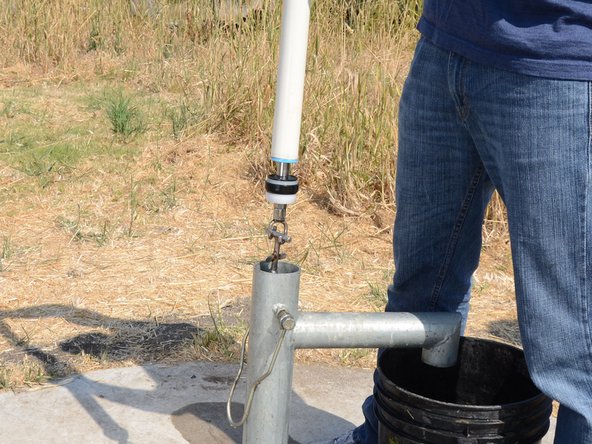
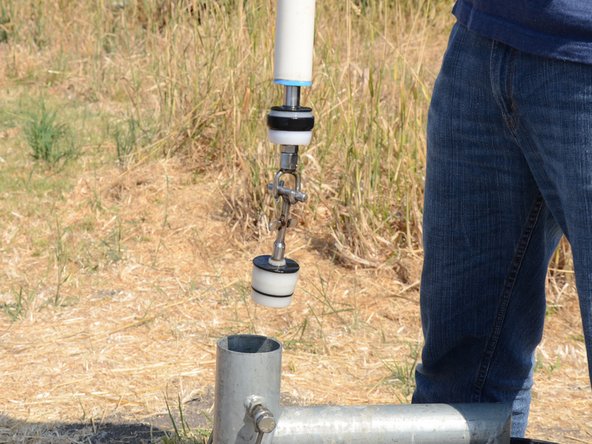
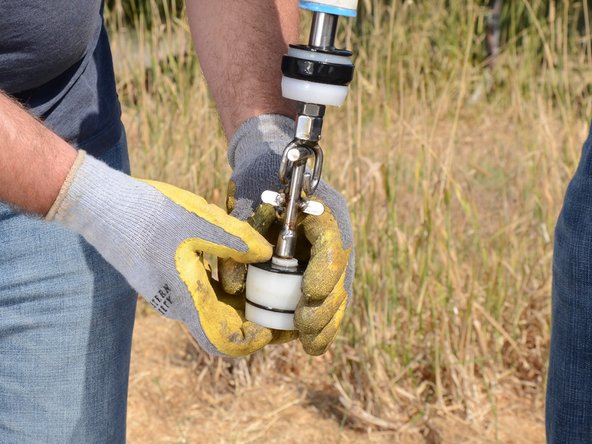
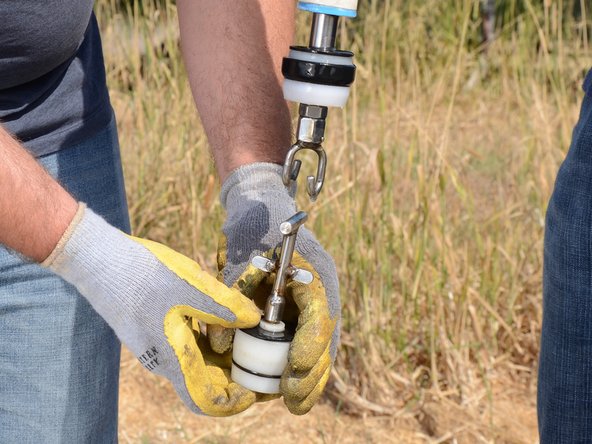
Aller au contenu principal

Tara Pump Rod Replacement

Ce dont vous avez besoin

  1. Tara Pump Rod Replacement, Handle: étape 1, image 1 de 1
    • Before performing any repairs, perform a water test on the pump by raising and lowering the handle a full 40 strokes. A properly performing pump will yield greater than 10 liters.

    • Use a Tara tool to loosen the jam nuts on either side of the pump.

    • The bolts do not need to be loosened or removed, only the nuts need to be loosened.

  2. Tara Pump Rod Replacement: étape 2, image 1 de 3 Tara Pump Rod Replacement: étape 2, image 2 de 3 Tara Pump Rod Replacement: étape 2, image 3 de 3
    • Unscrew the lock bolts about half an inch.

    • The bolts do not need to be removed from the base.

  3. Tara Pump Rod Replacement: étape 3, image 1 de 2 Tara Pump Rod Replacement: étape 3, image 2 de 2
    • Pull the plastic bushing and handle straight up out of the pump.

    • If the bushing doesn't come up, loosen the lock bolts further.

  4. Tara Pump Rod Replacement: étape 4, image 1 de 2 Tara Pump Rod Replacement: étape 4, image 2 de 2
    • Lift up the handle and riser main until the joint between the two is at a comfortable height to work on.

  5. Tara Pump Rod Replacement: étape 5, image 1 de 3 Tara Pump Rod Replacement: étape 5, image 2 de 3 Tara Pump Rod Replacement: étape 5, image 3 de 3
    • Loosen the jam nut beneath the pump handle using the Tara tool.

  6. Tara Pump Rod Replacement: étape 6, image 1 de 2 Tara Pump Rod Replacement: étape 6, image 2 de 2
    • Unscrew the pump handle from the top of the riser main.

    • Make sure someone is tightly holding the lower portion of the riser main to prevent losing it down the well.

  7. Tara Pump Rod Replacement: étape 7, image 1 de 2 Tara Pump Rod Replacement: étape 7, image 2 de 2
    • Lift and remove the handle from the pump. Store the handle in a sanitary place to prevent contamination.

  8. Tara Pump Rod Replacement, Pump Rod: étape 8, image 1 de 3 Tara Pump Rod Replacement, Pump Rod: étape 8, image 2 de 3 Tara Pump Rod Replacement, Pump Rod: étape 8, image 3 de 3
    • Screw the T-handle onto the top of the riser main.

  9. Tara Pump Rod Replacement: étape 9, image 1 de 2 Tara Pump Rod Replacement: étape 9, image 2 de 2
    • Tighten the jam nut up against the base of the T-handle.

  10. Tara Pump Rod Replacement: étape 10, image 1 de 3 Tara Pump Rod Replacement: étape 10, image 2 de 3 Tara Pump Rod Replacement: étape 10, image 3 de 3
    • Use the T-handle to push the riser main back down into the well.

  11. Tara Pump Rod Replacement: étape 11, image 1 de 3 Tara Pump Rod Replacement: étape 11, image 2 de 3 Tara Pump Rod Replacement: étape 11, image 3 de 3
    • Once the riser main hits the bottom, turn the T-handle while pushing down.

    • This will hook the foot valve onto the traveling valve, allowing you to pull the two out of the well together.

    • You should feel some resistance if the foot valve is successfully attached.

  12. Tara Pump Rod Replacement: étape 12, image 1 de 2 Tara Pump Rod Replacement: étape 12, image 2 de 2
    • Use the T-handle to pull the riser main straight up out of the well.

    • Take care to pull up slowly to ensure the foot valve does not get released from the hook at the end of the riser main.

  13. Tara Pump Rod Replacement: étape 13, image 1 de 2 Tara Pump Rod Replacement: étape 13, image 2 de 2
    • Continue pulling the riser main up from the well.

    • Pull the riser main until the base of the T-handle is at a comfortable height to work on.

  14. Tara Pump Rod Replacement: étape 14, image 1 de 3 Tara Pump Rod Replacement: étape 14, image 2 de 3 Tara Pump Rod Replacement: étape 14, image 3 de 3
    • Loosen the jam nut from the base of the T-handle.

    • Unscrew the T-handle from the top of the riser main.

    • Remove the T-handle, making sure to hold the remaining end of the riser main to prevent dropping it down the well.

  15. Tara Pump Rod Replacement: étape 15, image 1 de 3 Tara Pump Rod Replacement: étape 15, image 2 de 3 Tara Pump Rod Replacement: étape 15, image 3 de 3
    • Continue to pull the riser main out of the well.

  16. Tara Pump Rod Replacement: étape 16, image 1 de 3 Tara Pump Rod Replacement: étape 16, image 2 de 3 Tara Pump Rod Replacement: étape 16, image 3 de 3
    • Keep pulling until the first joint is exposed.

    • Lift the joint up to a comfortable working height.

  17. Tara Pump Rod Replacement: étape 17, image 1 de 3 Tara Pump Rod Replacement: étape 17, image 2 de 3 Tara Pump Rod Replacement: étape 17, image 3 de 3
    • Use two wrenches to loosen the top section of riser main from the lower section.

    • Unscrew the top section of the riser main.

    • Make sure someone is holding the remaining section of the riser main.

  18. Tara Pump Rod Replacement: étape 18, image 1 de 3 Tara Pump Rod Replacement: étape 18, image 2 de 3 Tara Pump Rod Replacement: étape 18, image 3 de 3
    • Remove the top section of the riser main.

  19. Tara Pump Rod Replacement: étape 19, image 1 de 1
    • Lay the first section of riser main in a sanitary place to prevent contamination.

    • Repeat the previous procedure to remove the remaining sections of the riser main from the well.

    • Lay each new piece in the order it was removed to aid in reassembly.

  20. Tara Pump Rod Replacement: étape 20, image 1 de 3 Tara Pump Rod Replacement: étape 20, image 2 de 3 Tara Pump Rod Replacement: étape 20, image 3 de 3
    • The last section of riser main will have the traveling valve screwed on to the end, and the foot valve hooked onto the traveling valve.

    • Be careful not to allow the foot valve to release from the hook by pulling slowly on the riser main.

  21. Tara Pump Rod Replacement: étape 21, image 1 de 3 Tara Pump Rod Replacement: étape 21, image 2 de 3 Tara Pump Rod Replacement: étape 21, image 3 de 3
    • Lift and twist the foot valve to unhook it from the traveling valve.

  22. Tara Pump Rod Replacement: étape 22, image 1 de 1
    • Once the riser main and valves have been removed from the well, place a rag over the top to prevent accidentally dropping anything down the well.

Conclusion

To reassemble your device, follow these instructions in reverse order.

Sam Goldheart

Membre depuis le 10/18/12

465 762 Réputation

538 tutoriels rédigés

Équipe

iFixit Membre de l'équipe iFixit

Staff

135 membres

16 817 tutoriels rédigés

0 commentaires

Ajouter un commentaire

Nombre de vues :

Dernières 24 heures : 0

7 derniers jours : 1

30 derniers jours : 3

Total : 385