Aller au contenu principal

Teddy Ruxpin Speaker Replacement

Ce dont vous avez besoin

  1. Teddy Ruxpin Speaker Replacement, Battery: étape 1, image 1 de 2 Teddy Ruxpin Speaker Replacement, Battery: étape 1, image 2 de 2
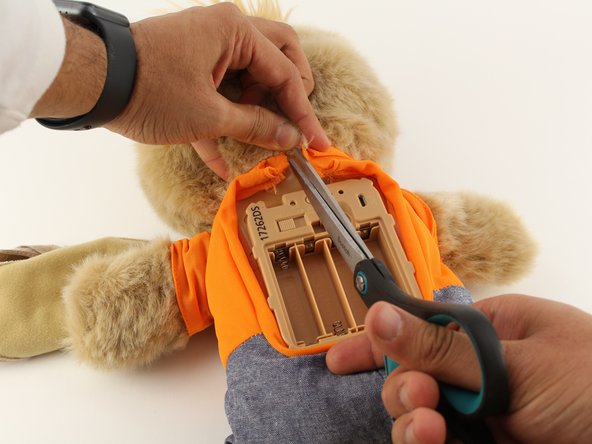
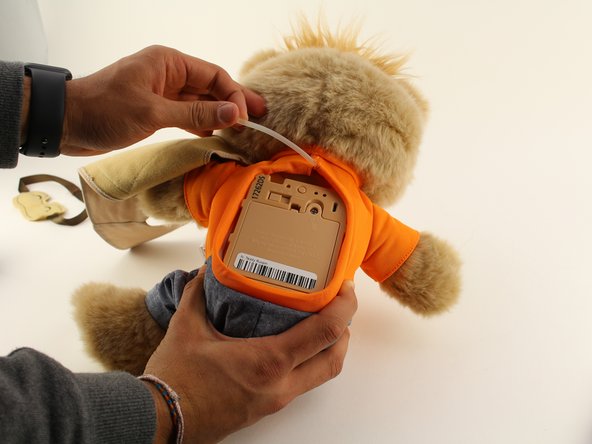
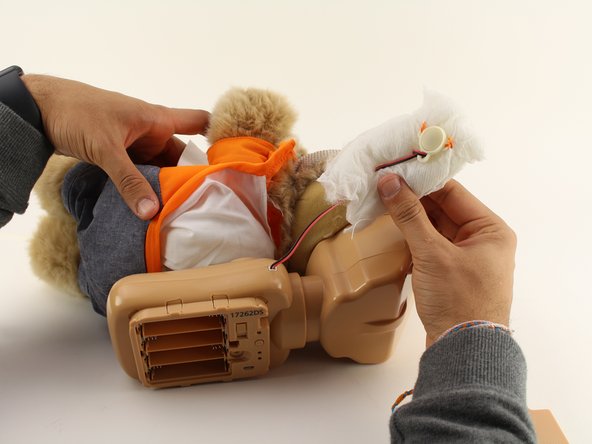
    • Remove the vest covering the back of the bear.

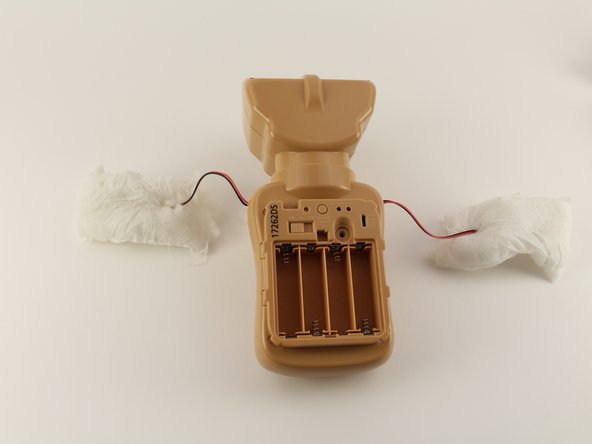
    • Orient the bear with his back facing upwards and unscrew the single Phillips #2 screw.

    • Captured screws will stay in place, no need to worry about losing this one!

  2. Teddy Ruxpin Speaker Replacement: étape 2, image 1 de 1
    • Pull the tab outward to remove the protective plate for the batteries.

  3. Teddy Ruxpin Speaker Replacement: étape 3, image 1 de 1
    • Remove all four AA batteries by pushing the positive end down and pulling the battery out toward yourself.

  4. Teddy Ruxpin Speaker Replacement, Arms: étape 4, image 1 de 3 Teddy Ruxpin Speaker Replacement, Arms: étape 4, image 2 de 3 Teddy Ruxpin Speaker Replacement, Arms: étape 4, image 3 de 3
    • Cut the orange shirt and zip tie.

    • Remove the zip tie.

  5. Teddy Ruxpin Speaker Replacement: étape 5, image 1 de 1
    • Cut across the back seam of the head of the bear along the arrow.

    • This damages the bear's exterior and will require resewing.

  6. Teddy Ruxpin Speaker Replacement: étape 6, image 1 de 3 Teddy Ruxpin Speaker Replacement: étape 6, image 2 de 3 Teddy Ruxpin Speaker Replacement: étape 6, image 3 de 3
    • Remove the interior of the doll.

    • Peel the outer layer around the head of the bear and forcefully pry off the face of the bear from the outside layer of the bear.

    • This will be difficult and require significant force, but do not fear about breaking the doll at this stage.

  7. Teddy Ruxpin Speaker Replacement: étape 7, image 1 de 2 Teddy Ruxpin Speaker Replacement: étape 7, image 2 de 2
    • Extract each arm button.

    • Pull on the stuffing of the bear and not the wire to remove the arm button.

  8. Teddy Ruxpin Speaker Replacement: étape 8, image 1 de 2 Teddy Ruxpin Speaker Replacement: étape 8, image 2 de 2
    • Pull off the rest of the outside layer of the bear.

  9. Teddy Ruxpin Speaker Replacement: étape 9, image 1 de 1
    • Unplug the arms from the main body.

  10. Teddy Ruxpin Speaker Replacement, Housing Cover: étape 10, image 1 de 3 Teddy Ruxpin Speaker Replacement, Housing Cover: étape 10, image 2 de 3 Teddy Ruxpin Speaker Replacement, Housing Cover: étape 10, image 3 de 3
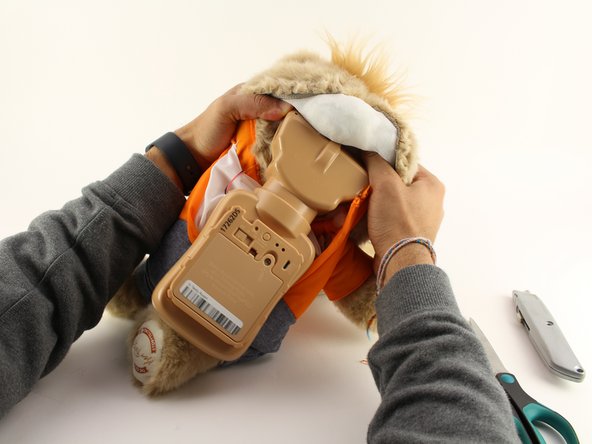
    • Unscrew the eleven circled 12.5mm Phillips #1 screws.

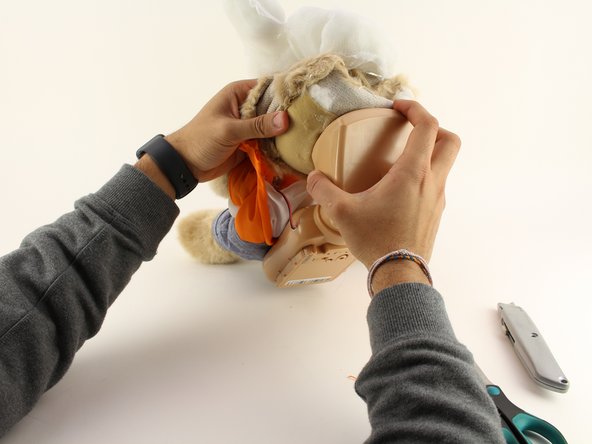
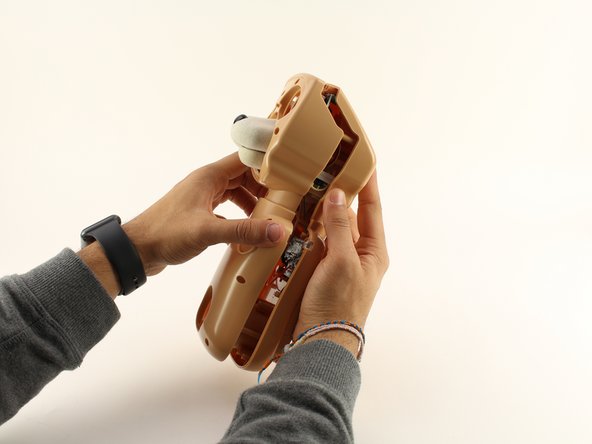
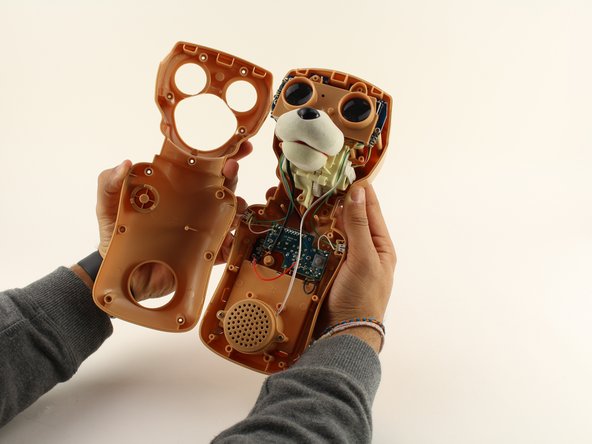
    • Remove the top of the housing to access the electronics inside.

  11. Teddy Ruxpin Speaker Replacement, Speaker: étape 11, image 1 de 2 Teddy Ruxpin Speaker Replacement, Speaker: étape 11, image 2 de 2
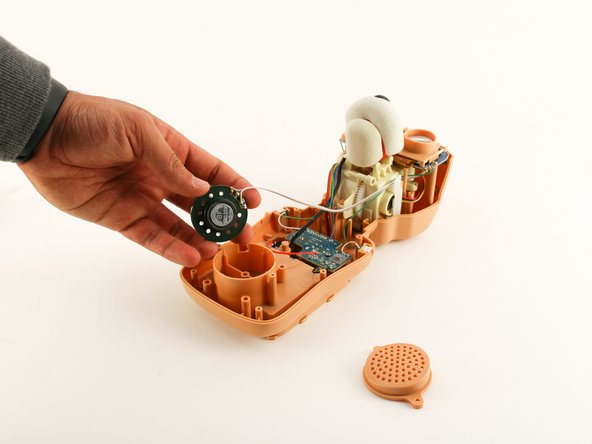
    • Unscrew the two 12.5mm Phillips #1 screws holding the speaker cap on and remove the speaker cap.

  12. Teddy Ruxpin Speaker Replacement: étape 12, image 1 de 1
    • Desolder the wire from the speaker and replace.

Conclusion

To reassemble your device, follow these instructions in reverse order.

Une autre personne a terminé cette réparation.

Jayin Patel

Membre depuis le 01/23/20

406 Réputation

4 tutoriels rédigés

Équipe

Cal Poly, Team S18-G5, White Winter 2020 Membre de l'équipe Cal Poly, Team S18-G5, White Winter 2020

CPSU-WHITE-W20S18G5

4 membres

7 tutoriels rédigés

0 commentaires

Ajouter un commentaire

Nombre de vues :

Dernières 24 heures : 1

7 derniers jours : 2

30 derniers jours : 16

Total : 691