Aller au contenu principal

Texas Instruments TI-80 Back Casing Replacement

Ce dont vous avez besoin

  1. Texas Instruments TI-80 Back Casing Replacement, Batteries: étape 1, image 1 de 1
    • Locate battery cover on the back of the case.

    • Slide battery cover to the right reveal the batteries.

  2. Texas Instruments TI-80 Back Casing Replacement: étape 2, image 1 de 1
    • Remove battery cover.

    • Slide the red lock down.

    • Slide the metal tab to the right of the top battery.

    • Remove the 3-Volt Lithium Coin Cell Battery.

    • Slide the red lock up.

    • Slide the metal tab to the right of the bottom battery.

    • Remove the 3-Volt Lithium Coin Cell Battery.

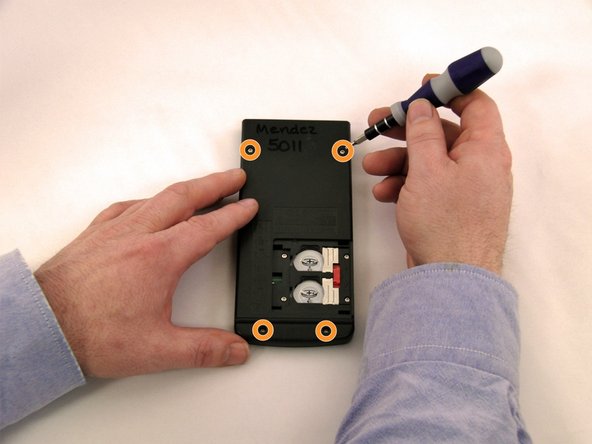
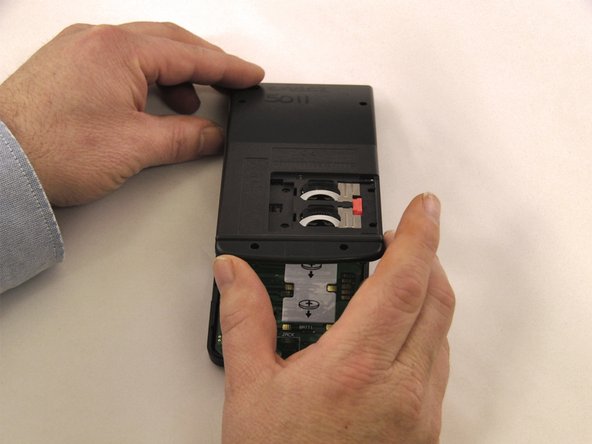
  3. Texas Instruments TI-80 Back Casing Replacement, Back Case: étape 3, image 1 de 3 Texas Instruments TI-80 Back Casing Replacement, Back Case: étape 3, image 2 de 3 Texas Instruments TI-80 Back Casing Replacement, Back Case: étape 3, image 3 de 3
    • Using a Torx, T-6 star-bit screwdriver, unscrew four 7.38 mm screws from battery housing.

    • Unscrew four 7.15 mm screws from back casing.

    • Using the blue plastic opener tool along the seam of the case, pry off front casing.

    • Start prying from the bottom of the calculator as the casing hooks into the top.

Conclusion

To reassemble your device, follow these instructions in reverse order.

Calvin

Membre depuis le 01/08/15

201 Réputation

2 tutoriels rédigés

0 commentaires

Ajouter un commentaire

Nombre de vues :

Dernières 24 heures : 1

7 derniers jours : 1

30 derniers jours : 1

Total : 242