Aller au contenu principal

Thrustmaster T3PA Pedal Spring Replacement

Ce dont vous avez besoin

  1. Thrustmaster T3PA Pedal Spring Replacement, Pedal Spring: étape 1, image 1 de 2 Thrustmaster T3PA Pedal Spring Replacement, Pedal Spring: étape 1, image 2 de 2
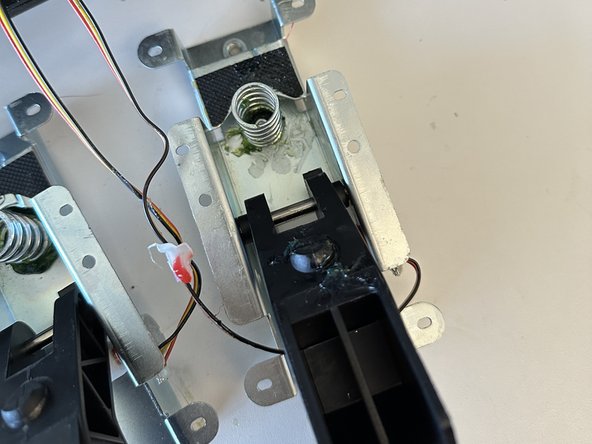
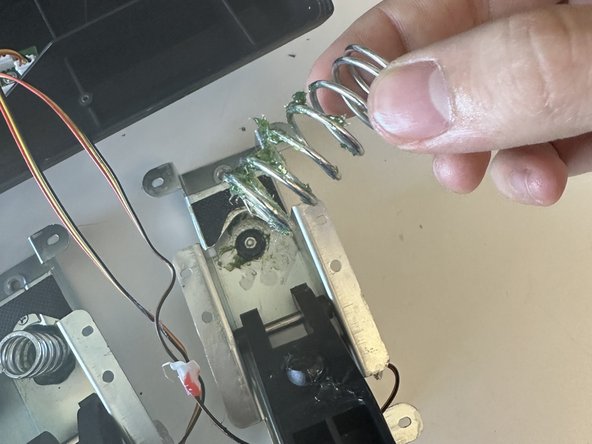
    • Start by removing the screws in the pedal that you are changing with a Torx t10H screwdriver.

  2. Thrustmaster T3PA Pedal Spring Replacement: étape 2, image 1 de 2 Thrustmaster T3PA Pedal Spring Replacement: étape 2, image 2 de 2
    • Remove the 14 Screws on the back with a PH2 Phillips head screwdriver and carefully pop it off.

    • (DO NOT COMPLETELY PULL IT OFF BECAUSE OF WIRES, INSTEAD UNPLUG IT)

  3. Thrustmaster T3PA Pedal Spring Replacement: étape 3, image 1 de 1
    • Once open, remove the 6 screws holding the pedal in place with the same PH2 screwdriver. Then pull out the pedal.

    • NOTE: DO NOT UNSCREW THE MIDDLE SCREW, IT KEEPS THE SPRING IN PLACE.

  4. Thrustmaster T3PA Pedal Spring Replacement: étape 4, image 1 de 3 Thrustmaster T3PA Pedal Spring Replacement: étape 4, image 2 de 3 Thrustmaster T3PA Pedal Spring Replacement: étape 4, image 3 de 3
    • Once it has been removed, pull the pedal forward and simply remove the spring.

    • NOTE: BE CAREFUL WITH THE GREASE, WASH YOUR HANDS ONCE YOU HAVE TOUCHED IT, DO NOT TOUCH YOUR EYES OR FACE WITH IT ON YOUR HANDS.

Conclusion

For reassembly, simply follow the steps in reverse.

Une autre personne a terminé cette réparation.

John.gmot

Membre depuis le 05/31/23

270 Réputation

2 tutoriels rédigés

0 commentaires

Ajouter un commentaire

Nombre de vues :

Dernières 24 heures : 3

7 derniers jours : 8

30 derniers jours : 21

Total : 273