Aller au contenu principal

Timer Switch Relay Replacement

Ce dont vous avez besoin

  1. Timer Switch Relay Replacement, Relay: étape 1, image 1 de 2 Timer Switch Relay Replacement, Relay: étape 1, image 2 de 2
    • Locate the screw holes.

  2. Timer Switch Relay Replacement: étape 2, image 1 de 2 Timer Switch Relay Replacement: étape 2, image 2 de 2
    • Use the #1 Phillips head screwdriver to remove the screws. This may cost some prying effort.

  3. Timer Switch Relay Replacement: étape 3, image 1 de 2 Timer Switch Relay Replacement: étape 3, image 2 de 2
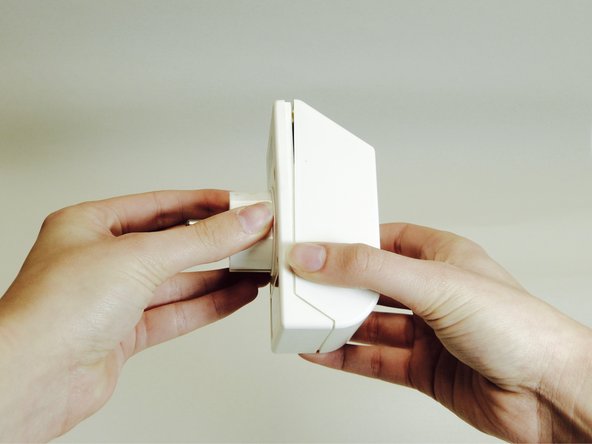
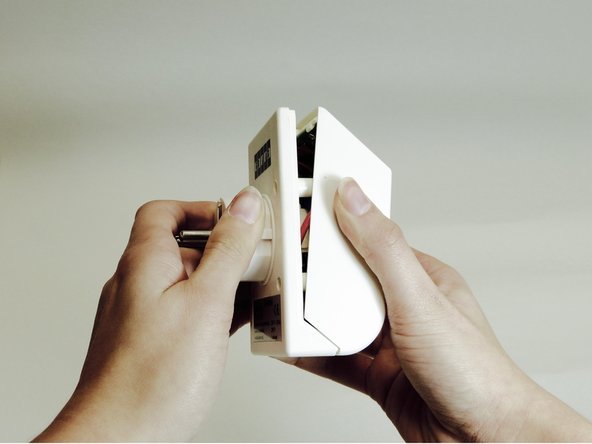
    • Open the case by pulling the back case from the front case.

  4. Timer Switch Relay Replacement: étape 4, image 1 de 3 Timer Switch Relay Replacement: étape 4, image 2 de 3 Timer Switch Relay Replacement: étape 4, image 3 de 3
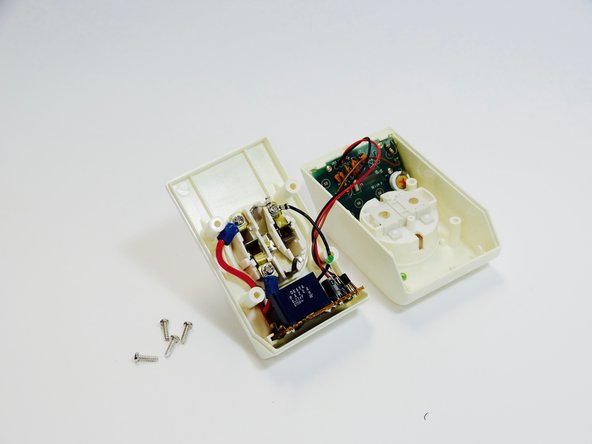
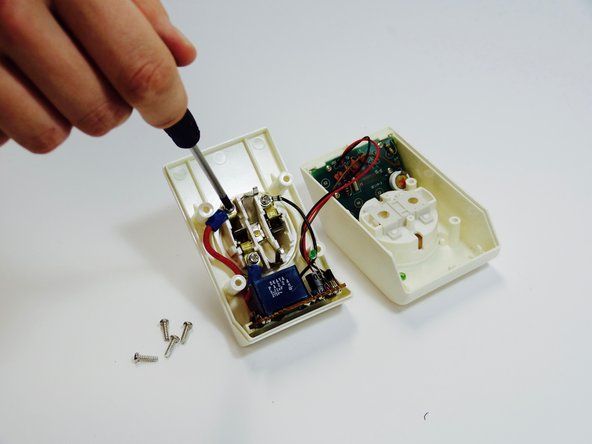
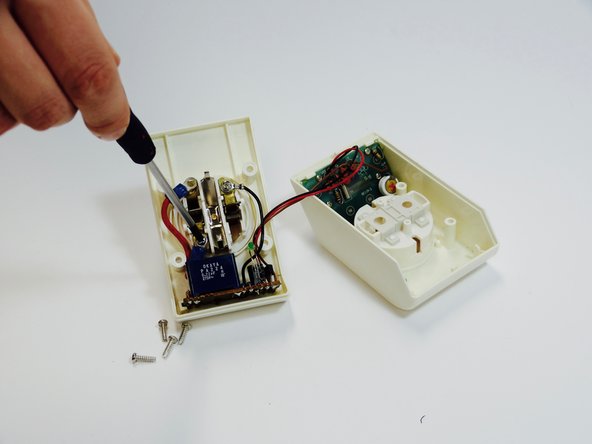
    • Use the #1 Phillips head screwdriver to remove the screws on the inside.

  5. Timer Switch Relay Replacement: étape 5, image 1 de 3 Timer Switch Relay Replacement: étape 5, image 2 de 3 Timer Switch Relay Replacement: étape 5, image 3 de 3
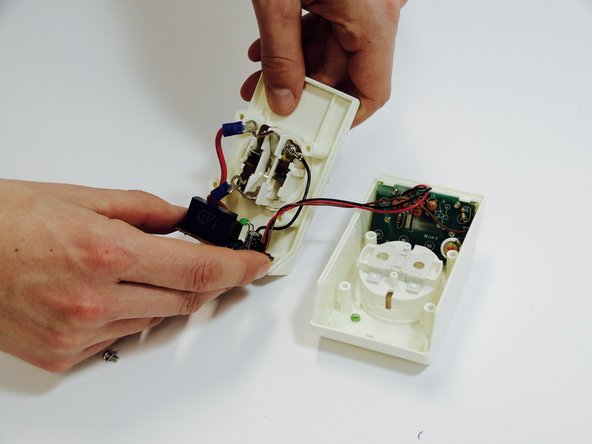
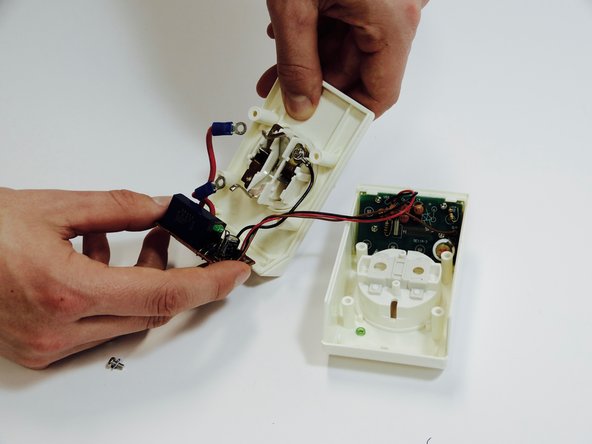
    • Pull the PCB (printed circuit board) from the case.

  6. Timer Switch Relay Replacement: étape 6, image 1 de 3 Timer Switch Relay Replacement: étape 6, image 2 de 3 Timer Switch Relay Replacement: étape 6, image 3 de 3
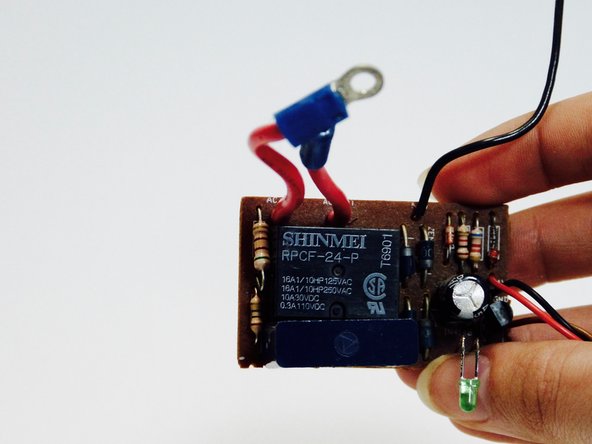
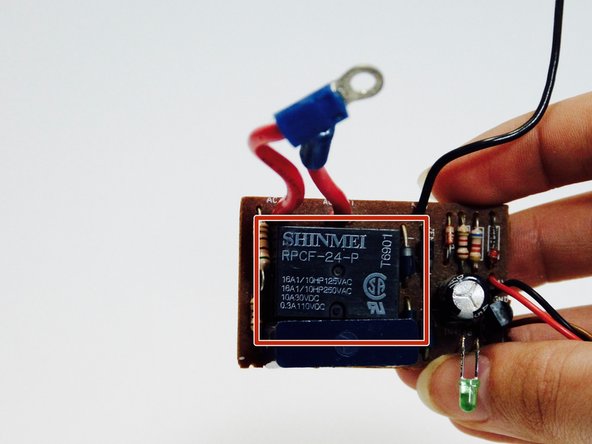
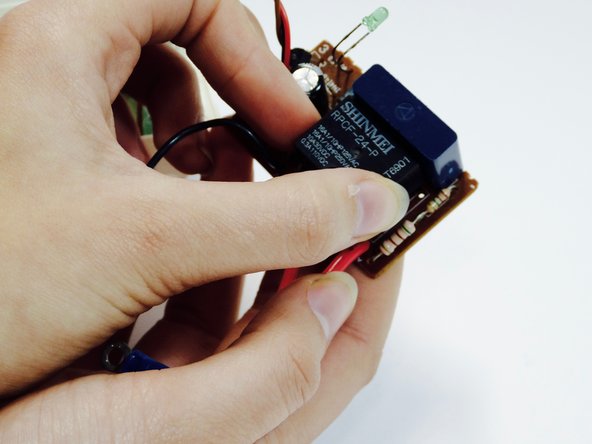
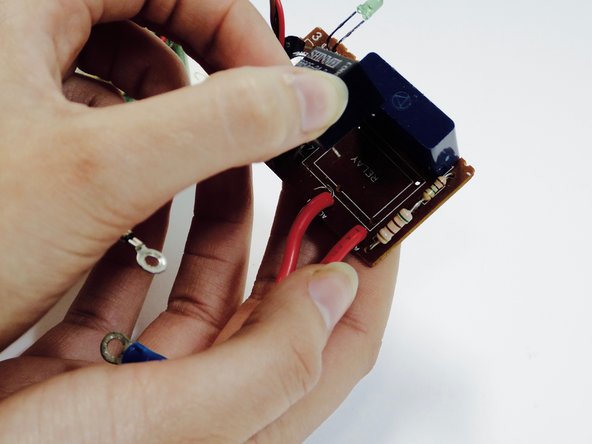
    • Locate the relay.

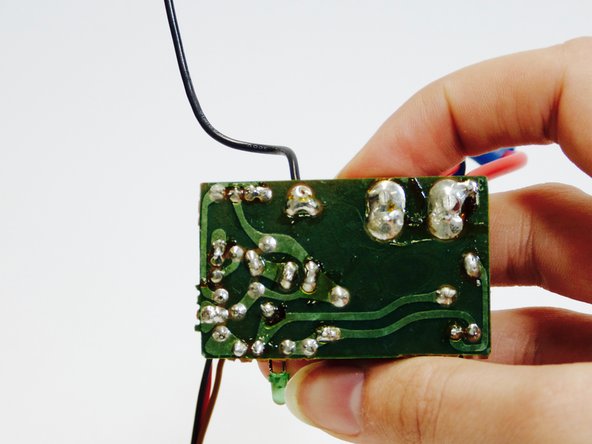
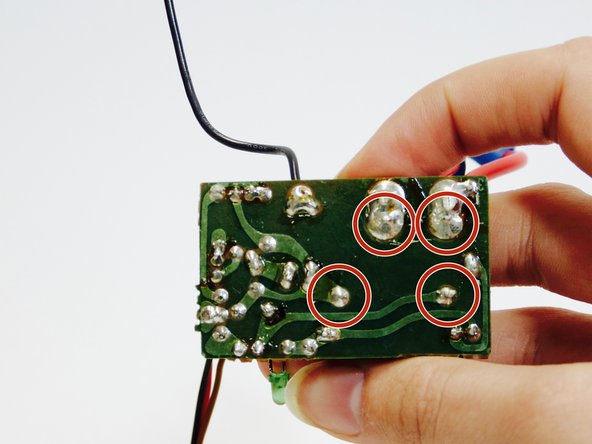
    • Locate where the relay is connected to the PCB.

  7. Timer Switch Relay Replacement: étape 7, image 1 de 3 Timer Switch Relay Replacement: étape 7, image 2 de 3 Timer Switch Relay Replacement: étape 7, image 3 de 3
    Outil utilisé dans cette étape :
    Desoldering Pump
    $3.99
    J'achète
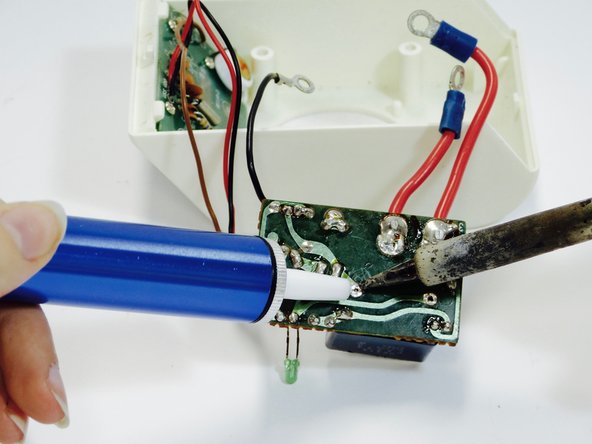
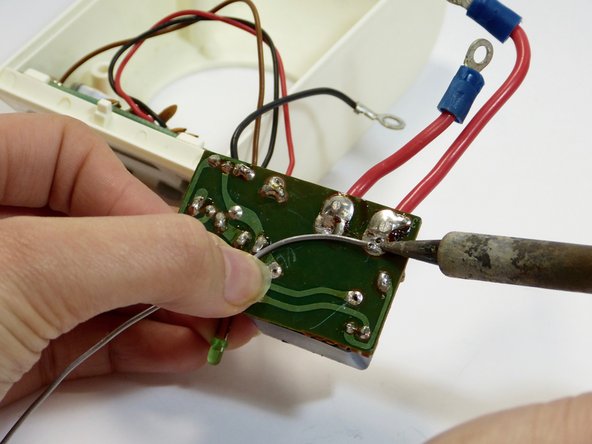
    • Melt the solder with the soldering iron.

    • Don't burn yourself by touching the hot soldering iron tip.

    • Use the desoldering pump to suck up the old solder.

    • Pull the relay from the PCB.

  8. Timer Switch Relay Replacement: étape 8, image 1 de 2 Timer Switch Relay Replacement: étape 8, image 2 de 2
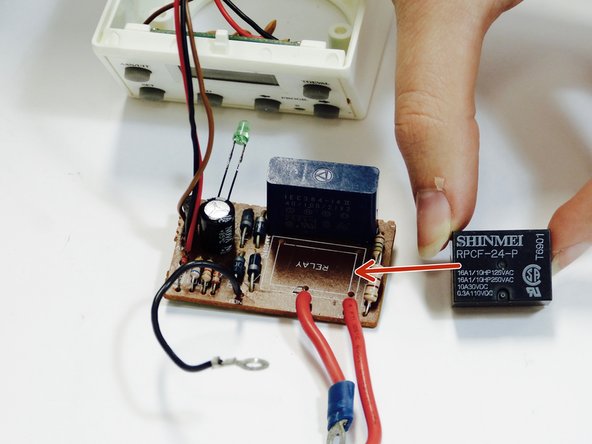
    • Put a new relay at the same place as the old relay.

    • Use new solder and the soldering iron to connect the new relay to the PCB.

    • Don't burn yourself by touching the hot soldering iron tip.

Conclusion

To reassemble your device, follow these instructions in reverse order.

Une autre personne a terminé cette réparation.

Michelle Mertens

Membre depuis le 12/05/16

28 Réputation

1 tutoriel rédigé

Un commentaire

Very nice instruction, also for maintaining gardening equipment as a robotic lawnmower.

theodevries - Réponse

Ajouter un commentaire

Nombre de vues :

Dernières 24 heures : 0

7 derniers jours : 1

30 derniers jours : 4

Total : 779