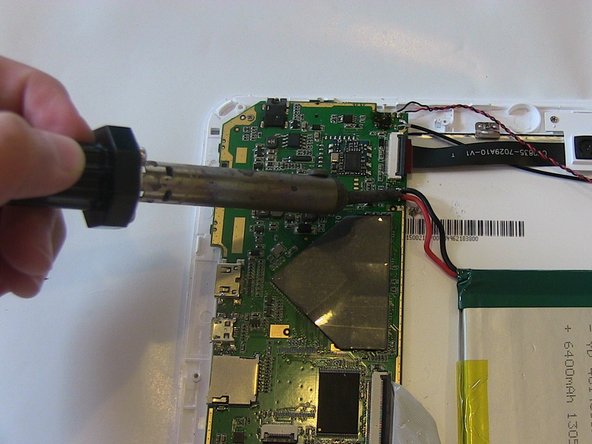
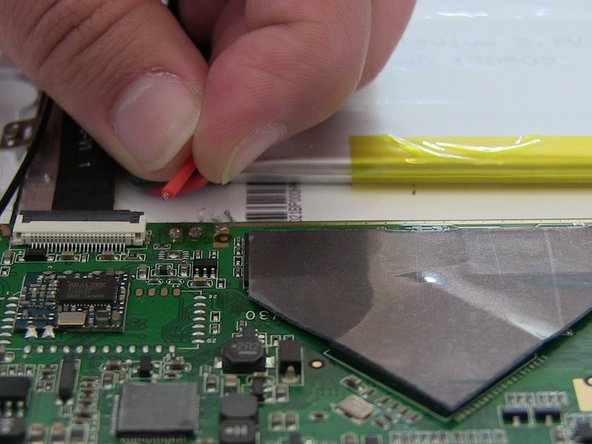
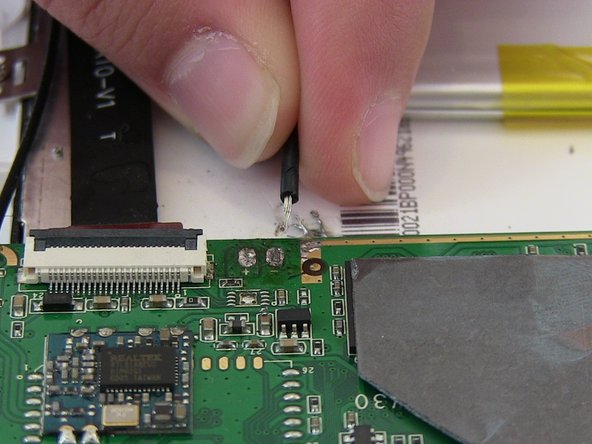
Aller au contenu principal

Tivax MiTraveler 10Q-8 Battery Replacement

Ce dont vous avez besoin

  1. Tivax MiTraveler 10Q-8 Battery Replacement, Rear Case: étape 1, image 1 de 2 Tivax MiTraveler 10Q-8 Battery Replacement, Rear Case: étape 1, image 2 de 2
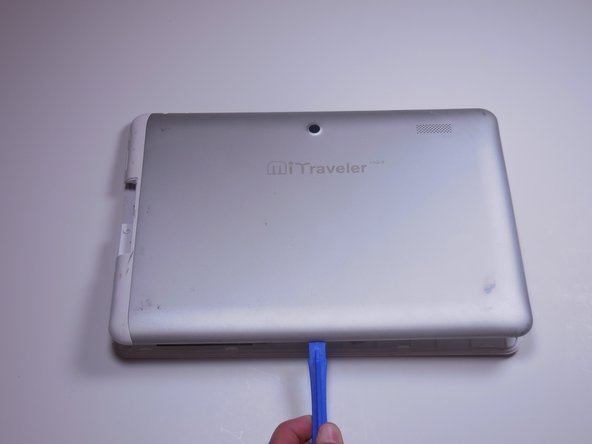
    • With the device face down, slide the charging port cover off on the left side of device.

  2. Tivax MiTraveler 10Q-8 Battery Replacement: étape 2, image 1 de 1
    • Locate a Phillips 2.88mm screw at the charging port.

  3. Tivax MiTraveler 10Q-8 Battery Replacement: étape 3, image 1 de 1
    • Use a PH000 Philips head screwdriver to remove screw.

    • Remember lefty loosey, righty tighty

  4. Tivax MiTraveler 10Q-8 Battery Replacement: étape 4, image 1 de 1
    • To pry the back plate off, use the plastic opening tool between the back plate and front plate; start at the headphone jack.

    • Make sure the lip of the plastic opening tool is face up.

  5. Tivax MiTraveler 10Q-8 Battery Replacement: étape 5, image 1 de 2 Tivax MiTraveler 10Q-8 Battery Replacement: étape 5, image 2 de 2
    • Move around the device with the plastic opening tool, pushing down to release the back plate from clips.

    • You will hear popping sounds when you work around the device.

  6. Tivax MiTraveler 10Q-8 Battery Replacement: étape 6, image 1 de 2 Tivax MiTraveler 10Q-8 Battery Replacement: étape 6, image 2 de 2
    • Once you’ve moved around the whole device with the plastic opening tool, the back plate will completely release from the rest of the device.

  7. Tivax MiTraveler 10Q-8 Battery Replacement, Battery: étape 7, image 1 de 1
    • The battery rests flat on the inside surface of the tablet. It is a rectangular shape and has blue and yellow tape.

  8. Tivax MiTraveler 10Q-8 Battery Replacement: étape 8, image 1 de 1
    • Two wires, one red and one black, which run from the motherboard to the battery, need to be desoldered from the motherboard.

    • Review how to solder here.

  9. Tivax MiTraveler 10Q-8 Battery Replacement: étape 9, image 1 de 2 Tivax MiTraveler 10Q-8 Battery Replacement: étape 9, image 2 de 2
    • Work the soldering gun on the red wire where it is connected to the motherboard. It should release from the motherboard.

    • Work the soldering gun on the black wire where it is connected to the motherboard. It will release from the motherboard.

  10. Tivax MiTraveler 10Q-8 Battery Replacement: étape 10, image 1 de 3 Tivax MiTraveler 10Q-8 Battery Replacement: étape 10, image 2 de 3 Tivax MiTraveler 10Q-8 Battery Replacement: étape 10, image 3 de 3
    • Once both wires have been desoldered, remove the battery from the device.

Conclusion

To reassemble your device, follow these instructions in reverse order.

Maria

Membre depuis le 03/16/15

210 Réputation

2 tutoriels rédigés

Équipe

Colorado Springs, Team 4-3, Panko Spring 2015 Membre de l'équipe Colorado Springs, Team 4-3, Panko Spring 2015

UCCS-PANKO-S15S4G3

3 membres

10 tutoriels rédigés

0 commentaires

Ajouter un commentaire

Nombre de vues :

Dernières 24 heures : 0

7 derniers jours : 0

30 derniers jours : 3

Total : 837