Aller au contenu principal

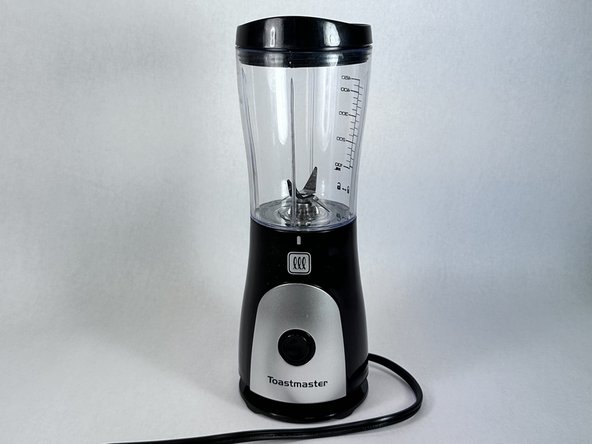
Toast Master Blender Button Replacement

Ce dont vous avez besoin

  1. Toast Master Blender Button Replacement, Blender Button: étape 1, image 1 de 3 Toast Master Blender Button Replacement, Blender Button: étape 1, image 2 de 3 Toast Master Blender Button Replacement, Blender Button: étape 1, image 3 de 3
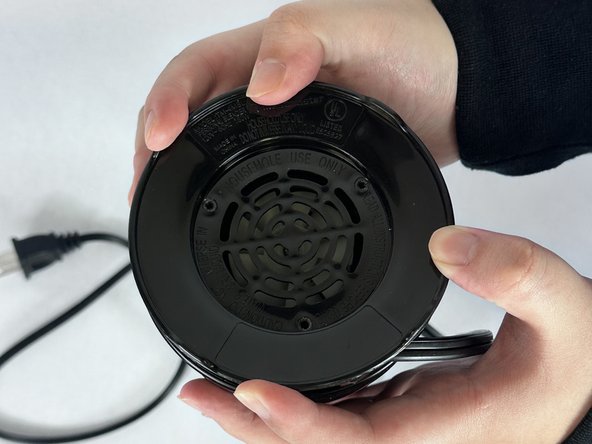
    • Unplug the plug if connected to any outlets.

    • Take off the cap from the blender and turn the appliance upside down.

    • The blender should be standing upward stably.

  2. Toast Master Blender Button Replacement: étape 2, image 1 de 3 Toast Master Blender Button Replacement: étape 2, image 2 de 3 Toast Master Blender Button Replacement: étape 2, image 3 de 3
    • Use an allen wrench to remove the three screws from the bottom cover.

  3. Toast Master Blender Button Replacement: étape 3, image 1 de 3 Toast Master Blender Button Replacement: étape 3, image 2 de 3 Toast Master Blender Button Replacement: étape 3, image 3 de 3
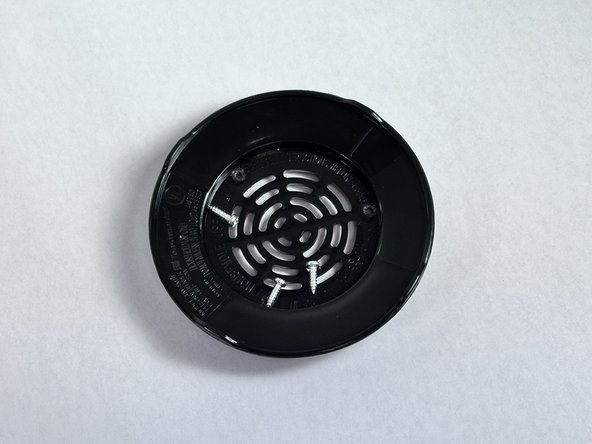
    • Take off the black blender stand.

    • Take off three silver screws.

    • Put the screws safely aside.

  4. Toast Master Blender Button Replacement: étape 4, image 1 de 3 Toast Master Blender Button Replacement: étape 4, image 2 de 3 Toast Master Blender Button Replacement: étape 4, image 3 de 3
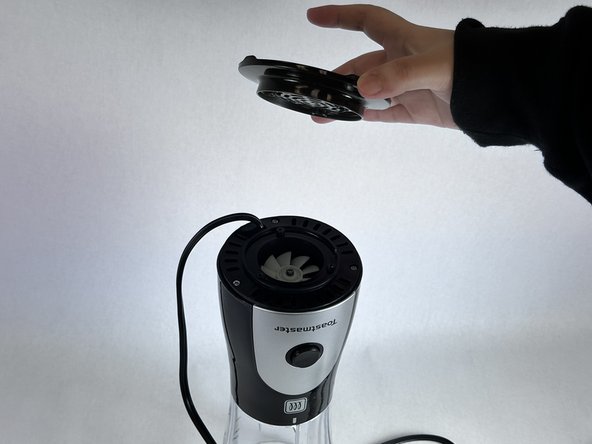
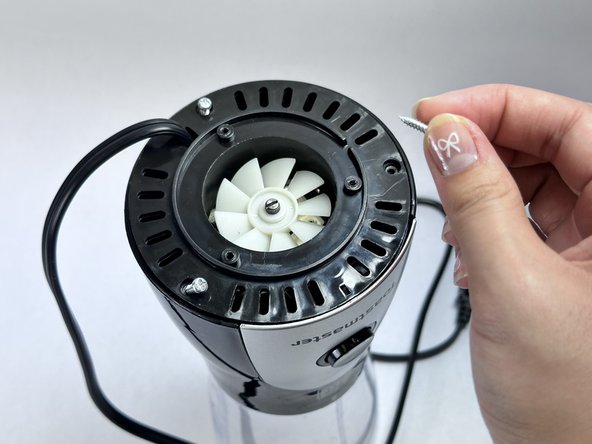
    • Use the Allen wrench to remove the three silver screws on the next level of the blender.

  5. Toast Master Blender Button Replacement: étape 5, image 1 de 2 Toast Master Blender Button Replacement: étape 5, image 2 de 2
    • Remove the black cap by lifting it upwards and gently placing it aside.

    • Do not pull hard on the wire as this may cause it to break

  6. Toast Master Blender Button Replacement: étape 6, image 1 de 3 Toast Master Blender Button Replacement: étape 6, image 2 de 3 Toast Master Blender Button Replacement: étape 6, image 3 de 3
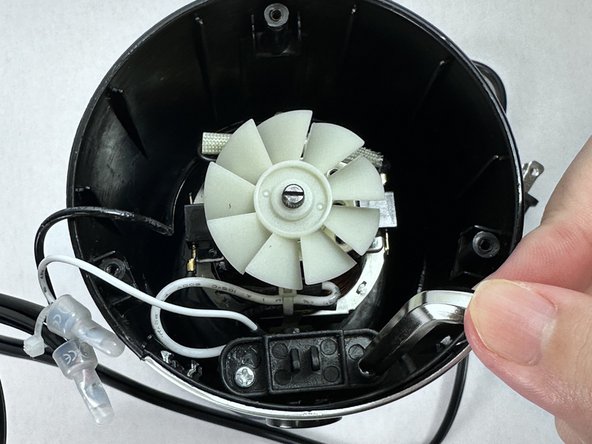
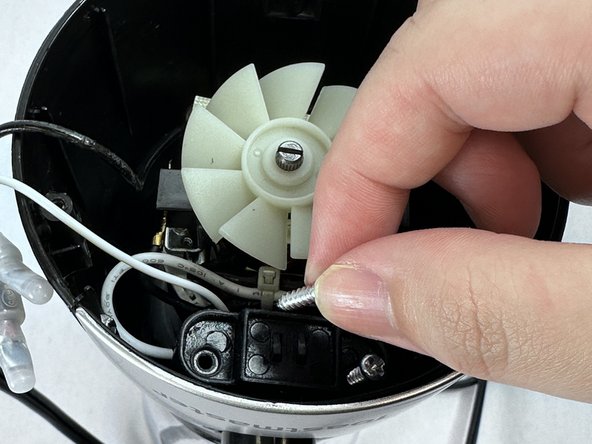
    • Looking into the internal part of the blender, identify the two silver screws near the button and unscrew them with the screwdriver.

    • Carefully remove two silver screws.

  7. Toast Master Blender Button Replacement: étape 7, image 1 de 3 Toast Master Blender Button Replacement: étape 7, image 2 de 3 Toast Master Blender Button Replacement: étape 7, image 3 de 3
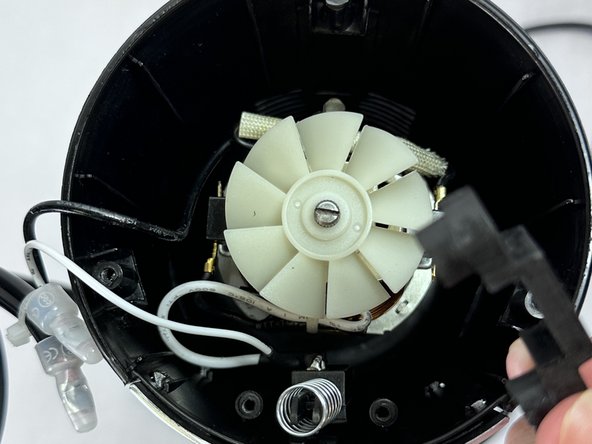
    • Take out the black piece that was attached with the screws and safely place it aside.

  8. Toast Master Blender Button Replacement: étape 8, image 1 de 3 Toast Master Blender Button Replacement: étape 8, image 2 de 3 Toast Master Blender Button Replacement: étape 8, image 3 de 3
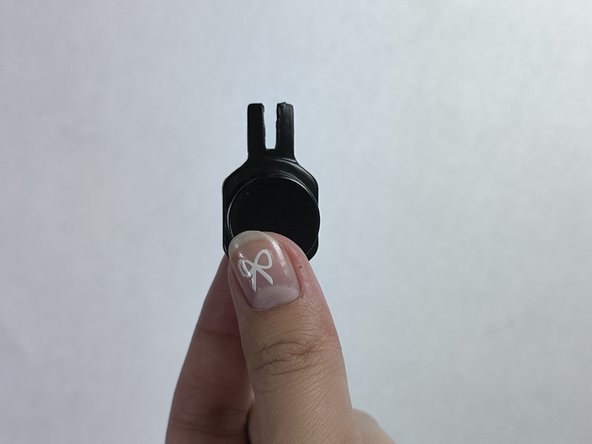
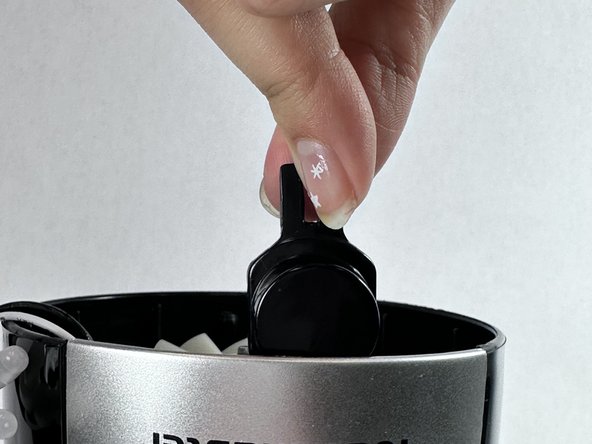
    • Take out the button from the blender.

    • This is the plastic button for Toast Master Blender. If you have a spare button, you can replace it.

    • Make sure that side is facing up and place it back into the original position.

    • The button should have a pointier side that resembles a bunny’s head.

  9. Toast Master Blender Button Replacement: étape 9, image 1 de 1
    • Press the button and make sure it has a “click” sound.

    • If the button is still loose, go back to the previous step and recheck that the button is in the correct position.

  10. Toast Master Blender Button Replacement: étape 10, image 1 de 3 Toast Master Blender Button Replacement: étape 10, image 2 de 3 Toast Master Blender Button Replacement: étape 10, image 3 de 3
    • Reassemble all the parts back, and screw all the screws back to its original place.

    • All the silver screws are the same size.

    • Make sure the black cap separates rotating paddles and wires.

    • There should be no wires wrapped around the rotating blades.

Conclusion

To reassemble your device, follow these instructions in reverse order.

Une autre personne a terminé cette réparation.

Jessica Li

Membre depuis le 02/02/24

181 Réputation

1 tutoriel rédigé

Équipe

UC Davis, Team 4-8, Andersen Winter 2024 Membre de l'équipe UC Davis, Team 4-8, Andersen Winter 2024

UCD-ANDERSEN-W24S4G8

2 membres

1 tutoriel rédigé

0 commentaires

Ajouter un commentaire

Nombre de vues :

Dernières 24 heures : 0

7 derniers jours : 3

30 derniers jours : 19

Total : 68