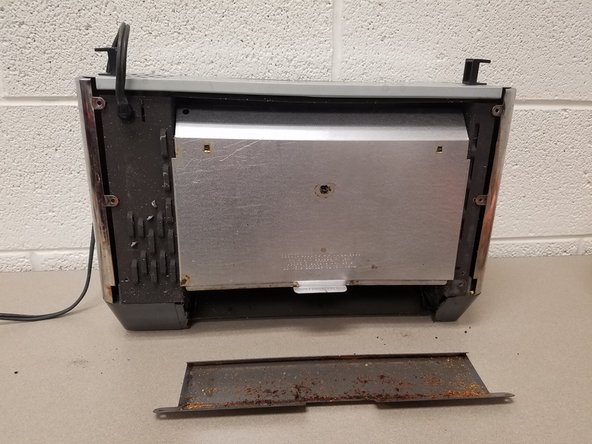
Aller au contenu principal

Toaster Oven Toasting Knob Replacement

Ce dont vous avez besoin

  1. Toaster Oven Toasting Knob Replacement, Toasting knob: étape 1, image 1 de 3 Toaster Oven Toasting Knob Replacement, Toasting knob: étape 1, image 2 de 3 Toaster Oven Toasting Knob Replacement, Toasting knob: étape 1, image 3 de 3
    • Remove the two 4mm by 8mm screws from the back of the toaster oven.

  2. Toaster Oven Toasting Knob Replacement: étape 2, image 1 de 3 Toaster Oven Toasting Knob Replacement: étape 2, image 2 de 3 Toaster Oven Toasting Knob Replacement: étape 2, image 3 de 3
    • Remove the four 4mm by 8mm screws from the black supports from the base of the toaster oven.

    • Take the two supports off of the bottom.

  3. Toaster Oven Toasting Knob Replacement: étape 3, image 1 de 2 Toaster Oven Toasting Knob Replacement: étape 3, image 2 de 2
    • Remove the two 4mm by 4mm screws from the base in order to remove the tray.

  4. Toaster Oven Toasting Knob Replacement: étape 4, image 1 de 1
    • Slide the back panel off of the oven.

  5. Toaster Oven Toasting Knob Replacement: étape 5, image 1 de 1
    • Grip the sides of the metal cover and lift the cover up off the toaster oven top.

  6. Toaster Oven Toasting Knob Replacement: étape 6, image 1 de 3 Toaster Oven Toasting Knob Replacement: étape 6, image 2 de 3 Toaster Oven Toasting Knob Replacement: étape 6, image 3 de 3
    • The knob is missing in the first picture.

    • Push the knob into the hole.

    • The knob is now back in place in the last picture.

Conclusion

To reassemble your device, follow these instructions in reverse order.

Alissa Mell

Membre depuis le 09/26/17

101 Réputation

1 tutoriel rédigé

Équipe

Michigan Tech, Team S5-G25, Galliah Fall 2017 Membre de l'équipe Michigan Tech, Team S5-G25, Galliah Fall 2017

MTU-GALLIAH-F17S5G25

1 membre

1 tutoriel rédigé

0 commentaires

Ajouter un commentaire

Nombre de vues :

Dernières 24 heures : 2

7 derniers jours : 4

30 derniers jours : 19

Total : 1,838