Cette version peut contenir des modifications incorrectes. Passez au dernier aperçu vérifié.
Ce dont vous avez besoin
-
Cette étape n’est pas traduite. Aidez à la traduire
-
Use a T-9 Torx screwdriver to unscrew the four screws on the back cover.
-
-
Cette étape n’est pas traduite. Aidez à la traduire
-
Using the spudger, gently pry apart the back case from the front case. It is easier to start on a side and work your way around the device.
-
-
-
Cette étape n’est pas traduite. Aidez à la traduire
-
Once the two covers are separated, use the tweezers, or even your fingers, to gently disconnect the two sets of wires that are connected to the motherboard from the back cover. You may have to wiggle the wires a little bit to get them to disconnect.
-
-
Cette étape n’est pas traduite. Aidez à la traduire
-
Next, you must remove the motherboard from the front screen.
-
Use a Torx T-7 screwdriver to unscrew the two screws.
-
-
Cette étape n’est pas traduite. Aidez à la traduire
-
Before you can seperate the motherboard from the front cover, you must disconnect the wire connecting the two.
-
To do so, you must use the back end of the spudger to push out the two white tabs connected to the wire, that holds the motherboard and front cover together.
-
-
Cette étape n’est pas traduite. Aidez à la traduire
-
Once separated, use the spudger to pry around the edges of the outer casing.
-
-
Cette étape n’est pas traduite. Aidez à la traduire
-
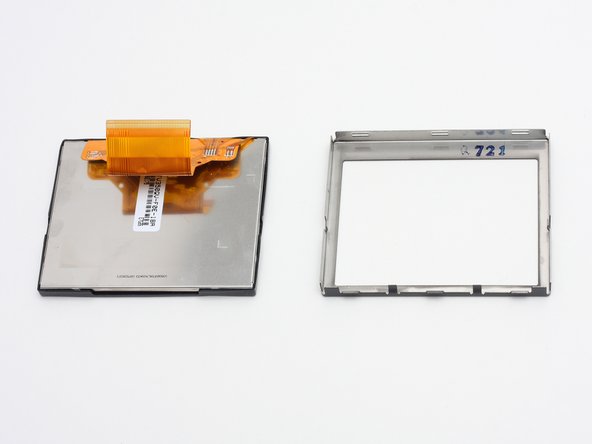
Apply pressure with thumbs to remove screen from inner casing.
-
The screen and front cover are now disconnected.
-
Annulation : je n'ai pas terminé ce tutoriel.
Une autre personne a terminé cette réparation.


