Aller au contenu principal

TomTom XL Motherboard Replacement

Ce dont vous avez besoin

  1. TomTom XL Motherboard Replacement, Screen and Motherboard: étape 1, image 1 de 1
    • Slip a small plastic opening tool underneath the screen bezel, gently sliding it around the inside edge.

    • Starting at the corners, carefully pry up the screen bezel.

  2. TomTom XL Motherboard Replacement: étape 2, image 1 de 1
    • Remove the four Phillips #00 screws around the edge of the screen.

  3. TomTom XL Motherboard Replacement: étape 3, image 1 de 3 TomTom XL Motherboard Replacement: étape 3, image 2 de 3 TomTom XL Motherboard Replacement: étape 3, image 3 de 3
    • Slide a small plastic opening tool under the top portion of the metal frame and gently lift it up.

    • Slide the plastic opening tool around the inner edge of the metal frame until it feels loose.

    • It may take some time to release the frame from the housing. Some force may be necessary—but be careful not to bend the frame's fragile interior bracket.

    • Remove the frame from the housing.

  4. TomTom XL Motherboard Replacement: étape 4, image 1 de 2 TomTom XL Motherboard Replacement: étape 4, image 2 de 2
    • Lifting from the upper edge of the screen, tilt the screen away from the device.

    • Tilt the screen slowly. Flipping the screen up too quickly may damage the display cable.

  5. TomTom XL Motherboard Replacement: étape 5, image 1 de 2 TomTom XL Motherboard Replacement: étape 5, image 2 de 2
    • Remove the three Phillips #00 screws connecting the motherboard to the plastic housing:

    • Two Phillips #00 screws are located at the bottom of the first picture.

    • The third screw is hidden under the orange ribbon cable, near the screen.

    • You may have to carefully lift the screen in order to reach this screw.

  6. TomTom XL Motherboard Replacement: étape 6, image 1 de 2 TomTom XL Motherboard Replacement: étape 6, image 2 de 2
    • Flip the screen and motherboard over.

    • Gripping the plastic casing, disconnect the battery cable connector from the motherboard.

    • Disconnect the speaker cable connector from the motherboard.

    • Remove the motherboard and screen from the housing.

  7. TomTom XL Motherboard Replacement, Screen: étape 7, image 1 de 3 TomTom XL Motherboard Replacement, Screen: étape 7, image 2 de 3 TomTom XL Motherboard Replacement, Screen: étape 7, image 3 de 3
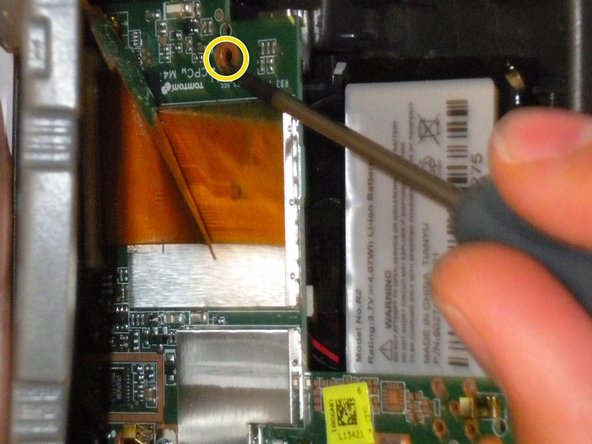
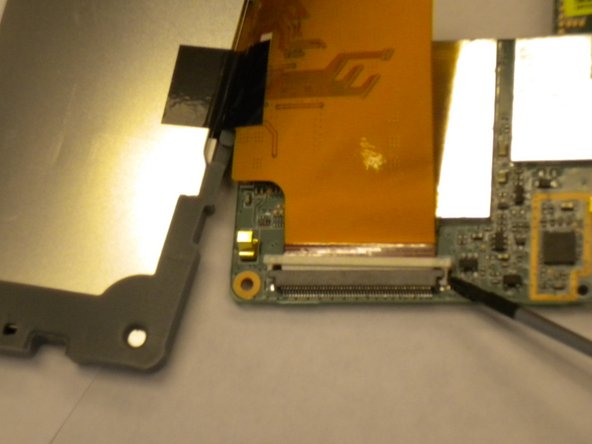
    • Using your thumbs or the flat end of a spudger, push back the white tabs on the display cable ZIF connector.

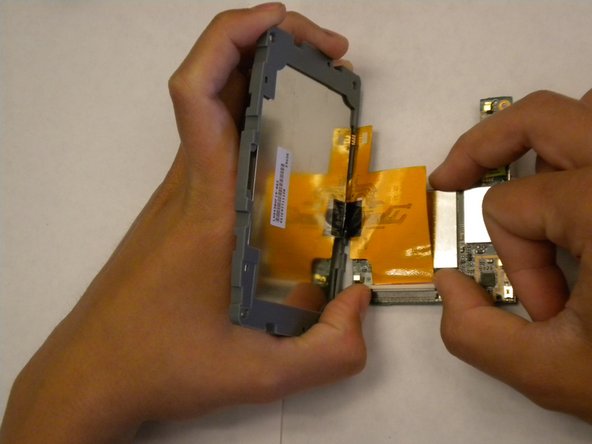
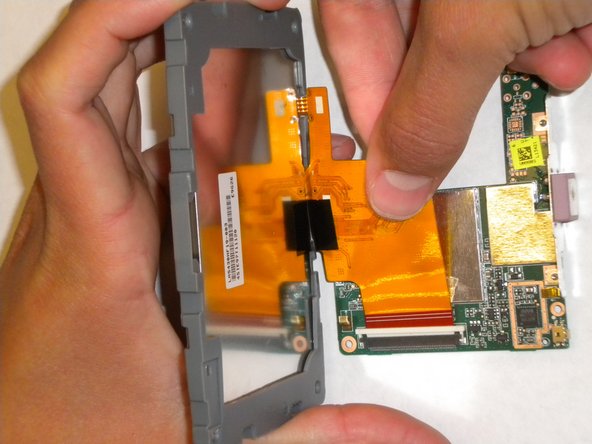
    • Gently pull the orange display cable out of the ZIF connector.

    • The display cable should slide out easily, but it may still have some adhesive on the underside. If you feel resistance, gently lift up on the ribbon cable while pulling it from the socket.

  8. TomTom XL Motherboard Replacement, Motherboard: étape 8, image 1 de 1
    • Remove the motherboard from the device.

Conclusion

To reassemble your device, follow these instructions in reverse order.

Une autre personne a terminé cette réparation.

Sean Higginson

Membre depuis le 04/21/10

209 Réputation

2 tutoriels rédigés

Équipe

Cal Poly, Team 33-84, Johann Spring 2010 Membre de l'équipe Cal Poly, Team 33-84, Johann Spring 2010

CPSU-JOHANN-S10S33G84

4 membres

5 tutoriels rédigés

0 commentaires

Ajouter un commentaire

Nombre de vues :

Dernières 24 heures : 0

7 derniers jours : 0

30 derniers jours : 2

Total : 7,281