Aller au contenu principal

Toshiba Satellite A65-S126 Optical Drive Replacement

Ce dont vous avez besoin

  1. Toshiba Satellite A65-S126 Optical Drive Replacement, Battery: étape 1, image 1 de 1
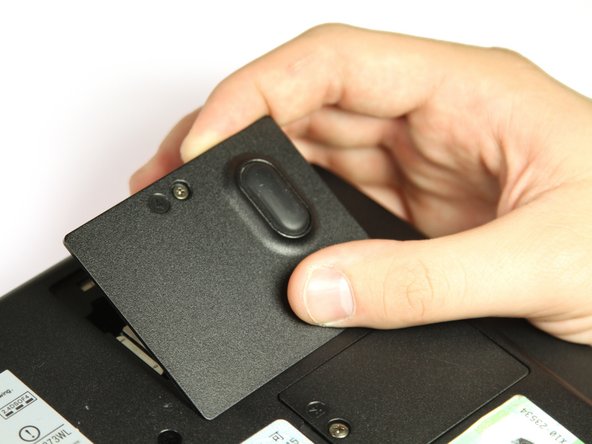
    • Flip the laptop over so the bottom is facing up.

    • Slide each of the three tabs on the bottom half of the assembly into the unlocked position.

  2. Toshiba Satellite A65-S126 Optical Drive Replacement: étape 2, image 1 de 1
    • Gently lift the battery out of the computer.

  3. Toshiba Satellite A65-S126 Optical Drive Replacement, Upper Assembly: étape 3, image 1 de 1
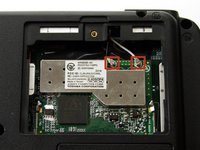
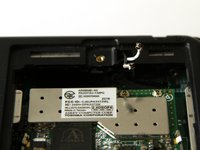
    • Remove the single 3mm Phillips #00 screw that secures the wireless card cover.

  4. Toshiba Satellite A65-S126 Optical Drive Replacement: étape 4, image 1 de 1
    • Remove the WIFI module cover. It will pull right off.

  5. Toshiba Satellite A65-S126 Optical Drive Replacement: étape 5, image 1 de 2 Toshiba Satellite A65-S126 Optical Drive Replacement: étape 5, image 2 de 2
    • Unplug the white and black wires from the WiFi module.

  6. Toshiba Satellite A65-S126 Optical Drive Replacement: étape 6, image 1 de 1
    • Remove the twelve 8mm button head Phillips #00 B8 screws.

    • Remove the two 14 mm button head Phillips #00 B14 screws.

    • Remove the two 10 mm Phillips #00 battery compartment screws.

    • Remove the two 8 mm Phillips #00 screws.

  7. Toshiba Satellite A65-S126 Optical Drive Replacement: étape 7, image 1 de 1
    • Remove the seven 4mm flat Phillips #00 screws.

    • Remove the seven 20mm button head Phillips #00 screws.

  8. Toshiba Satellite A65-S126 Optical Drive Replacement: étape 8, image 1 de 1
    • Use the plastic opening tool to pry the two halves apart.

  9. Toshiba Satellite A65-S126 Optical Drive Replacement, Optical Drive: étape 9, image 1 de 1
    • Orient the bottom assembly as displayed.

  10. Toshiba Satellite A65-S126 Optical Drive Replacement: étape 10, image 1 de 2 Toshiba Satellite A65-S126 Optical Drive Replacement: étape 10, image 2 de 2
    • Remove the two 3 mm Phillips #00 screws.

  11. Toshiba Satellite A65-S126 Optical Drive Replacement: étape 11, image 1 de 1
    • Slide the optical drive out of the laptop through the opening on the left side of the bottom assembly.

Conclusion

To reassemble your device, follow these instructions in reverse order.

Geoff Wacker

Membre depuis le 09/30/13

89 846 Réputation

89 tutoriels rédigés

Un commentaire

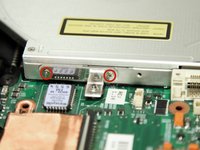
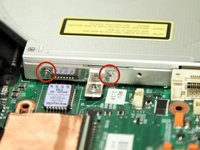
Or, simply remove the screw (the center one in this photo) from the bottom case that holds the bracket in and pull the drive out.

J Howard Markley - Réponse

Ajouter un commentaire

Nombre de vues :

Dernières 24 heures : 0

7 derniers jours : 0

30 derniers jours : 2

Total : 973