Aller au contenu principal

Toshiba Satellite L855-S5119 Optical Drive Replacement

Ce dont vous avez besoin

  1. Toshiba Satellite L855-S5119 Optical Drive Replacement, Back Plate Removal: étape 1, image 1 de 3 Toshiba Satellite L855-S5119 Optical Drive Replacement, Back Plate Removal: étape 1, image 2 de 3 Toshiba Satellite L855-S5119 Optical Drive Replacement, Back Plate Removal: étape 1, image 3 de 3
    • Turn the laptop over to place it top down.

    • Use a Phillips #1 screwdriver to remove the screw holding in the back plate. This screw does not come out of the plate.

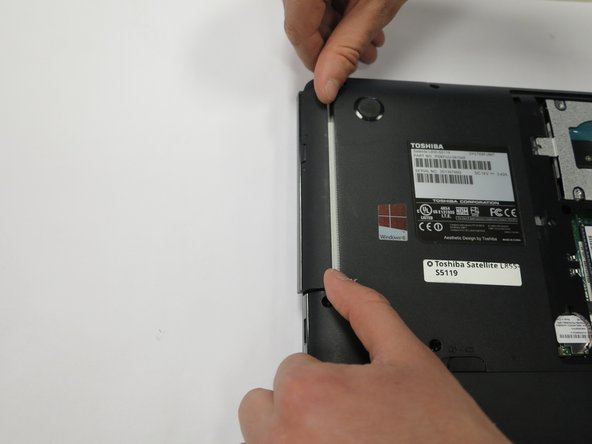
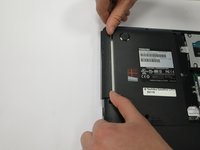
    • Lift the back plate off the laptop, exposing the RAM and Hard Disk.

  2. Toshiba Satellite L855-S5119 Optical Drive Replacement, Optical Drive: étape 2, image 1 de 2 Toshiba Satellite L855-S5119 Optical Drive Replacement, Optical Drive: étape 2, image 2 de 2
    • Using a Phillips #0 screwdriver, remove the single 3mm screw.

  3. Toshiba Satellite L855-S5119 Optical Drive Replacement: étape 3, image 1 de 2 Toshiba Satellite L855-S5119 Optical Drive Replacement: étape 3, image 2 de 2
    • Rotate the laptop so that you have access to the optical drive.

    • The optical drive is now only attached by a port in the drive's back. The optical drive can be pulled straight out of its housing.

    • Remove the drive.

Conclusion

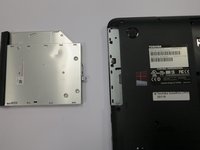
To reassemble your device, follow these instructions in reverse order.

Une autre personne a terminé cette réparation.

Tyler Shafer

Membre depuis le 02/12/18

426 Réputation

3 tutoriels rédigés

Équipe

Washington State, Team S1-G5, Lobnitz Spring 2018 Membre de l'équipe Washington State, Team S1-G5, Lobnitz Spring 2018

WSU-LOBNITZ-S18S1G5

4 membres

18 tutoriels rédigés

0 commentaires

Ajouter un commentaire

Nombre de vues :

Dernières 24 heures : 2

7 derniers jours : 2

30 derniers jours : 6

Total : 245