Cette version peut contenir des modifications incorrectes. Passez au dernier aperçu vérifié.
Ce dont vous avez besoin
-
Cette étape n’est pas traduite. Aidez à la traduire
-
Use tweezers to remove the small rubber covers over the screws on the top and bottom of the laptop case.
-
-
Cette étape n’est pas traduite. Aidez à la traduire
-
Use a #1 Phillips screwdriver to remove the 3mm screws located on both sides of the top of the laptop as well as the lower corners.
-
-
Cette étape n’est pas traduite. Aidez à la traduire
-
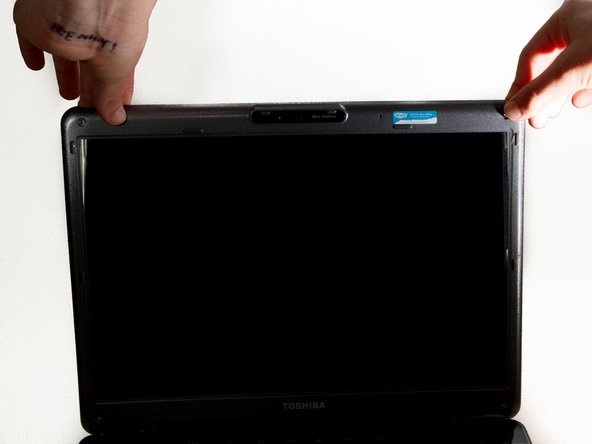
Use a plastic opening tool to separate the front plastic panel from the back side of the top of the laptop.
-
Carefully pull the top away from the back.
-
-
-
Cette étape n’est pas traduite. Aidez à la traduire
-
Turn the laptop around.
-
Remove the webcam/microphone data cable.
-
-
Cette étape n’est pas traduite. Aidez à la traduire
-
Remove the lower lighting power supply.
-
Remove the signal light power supply and data cable.
-
-
Cette étape n’est pas traduite. Aidez à la traduire
-
Locate and remove the four 2mm #1 Phillips screws around the sidewalls of the display.
-
-
Cette étape n’est pas traduite. Aidez à la traduire
-
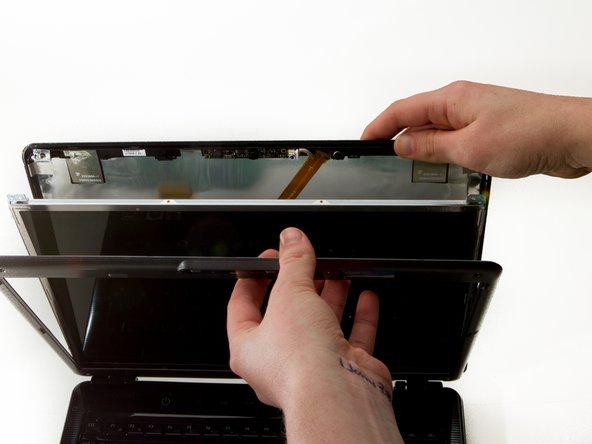
Carefully remove the screen from the side brackets.
-
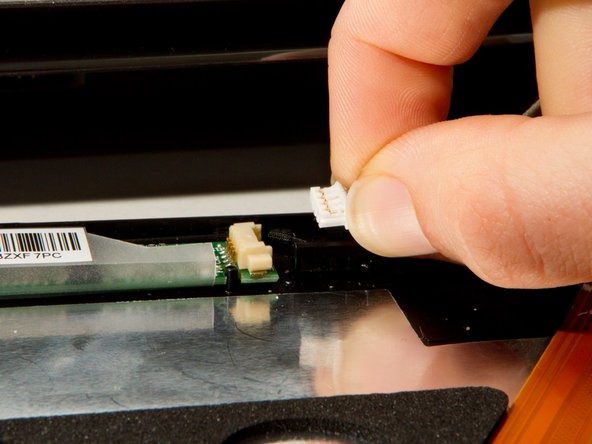
Remove the LCD ribbon connector from the display.
-


Annulation : je n'ai pas terminé ce tutoriel.
4 autres ont terminé cette réparation.
Équipe

Cal Poly, Team 7-8, Maness Winter 2013 Membre de l'équipe Cal Poly, Team 7-8, Maness Winter 2013
CPSU-MANESS-W13S7G8
4 membres
8 tutoriels rédigés