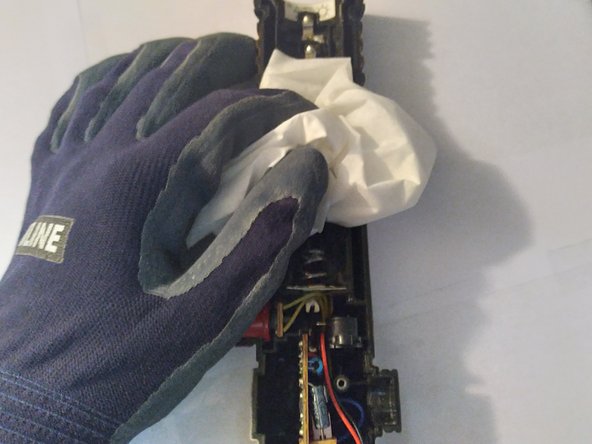
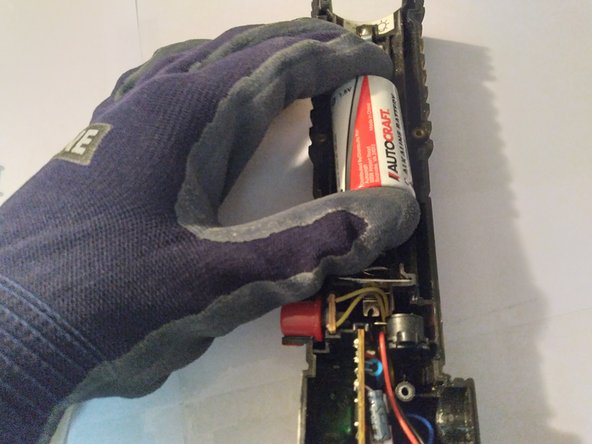
Aller au contenu principal

Toy Lightsaber Battery Replacement

Ce dont vous avez besoin

  1. Toy Lightsaber Battery Replacement, Battery: étape 1, image 1 de 3 Toy Lightsaber Battery Replacement, Battery: étape 1, image 2 de 3 Toy Lightsaber Battery Replacement, Battery: étape 1, image 3 de 3
    • Remove the Lightsaber blade by carefully twisting it off the hilt.

    • Be gentle during this process to avoid damaging the blade or the hilt.

  2. Toy Lightsaber Battery Replacement: étape 2, image 1 de 3 Toy Lightsaber Battery Replacement: étape 2, image 2 de 3 Toy Lightsaber Battery Replacement: étape 2, image 3 de 3
    • Use a Phillips #2 screwdriver to remove the 3.5 mm screws on the hilt.

  3. Toy Lightsaber Battery Replacement: étape 3, image 1 de 3 Toy Lightsaber Battery Replacement: étape 3, image 2 de 3 Toy Lightsaber Battery Replacement: étape 3, image 3 de 3
    • Remove the old C batteries.

    • If the batteries were leaking, be sure you thoroughly clean the inside of the hilt with a pair of tweezers to scrape off the battery acid and wipe away any acid that remains with a tissue or napkin.

    • Battery acid is toxic and dangerous for your health. Wear gloves to protect yourself.

  4. Toy Lightsaber Battery Replacement: étape 4, image 1 de 3 Toy Lightsaber Battery Replacement: étape 4, image 2 de 3 Toy Lightsaber Battery Replacement: étape 4, image 3 de 3
    • Place the new C batteries inside the newly cleaned hilt.

  5. Toy Lightsaber Battery Replacement: étape 5, image 1 de 3 Toy Lightsaber Battery Replacement: étape 5, image 2 de 3 Toy Lightsaber Battery Replacement: étape 5, image 3 de 3
    • Use your Philips #2 screwdriver to screw the 3.5 mm screws back into the hilt.

  6. Toy Lightsaber Battery Replacement: étape 6, image 1 de 3 Toy Lightsaber Battery Replacement: étape 6, image 2 de 3 Toy Lightsaber Battery Replacement: étape 6, image 3 de 3
    • Lastly, twist the Lightsaber blade back on top of the hilt.

    • Press the red button on the hilt to test if the blade glows.

    • If the blade doesn't glow, start over and try again with different C batteries.

Conclusion

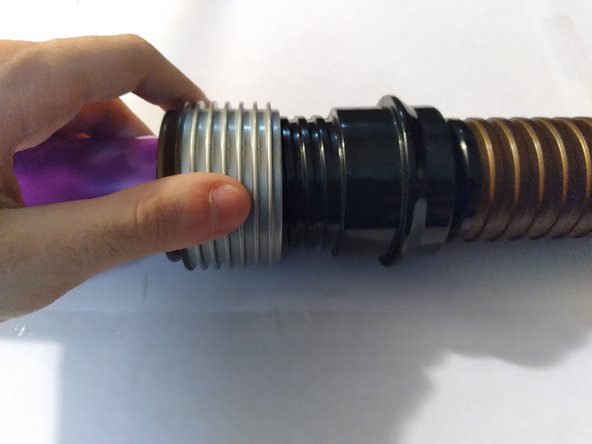
To reassemble your device, follow these instructions in reverse order.

Une autre personne a terminé cette réparation.

Zachary Adaes

Membre depuis le 03/22/21

133 Réputation

1 tutoriel rédigé

Équipe

UMass Dartmouth, Team S3-G1, Saloman Spring 2021 Membre de l'équipe UMass Dartmouth, Team S3-G1, Saloman Spring 2021

UMASSD-SALOMAN-S21S3G1

1 membre

1 tutoriel rédigé

0 commentaires

Ajouter un commentaire

Nombre de vues :

Dernières 24 heures : 1

7 derniers jours : 11

30 derniers jours : 66

Total : 3,488