Introduction
Unihut Titan Pocket
Ce dont vous avez besoin
-
-
Use a Torx T5 screwdriver to remove the 3 screws.
-
Remove the Sim tray.
-
Use a Torx T5 screwdriver to remove the 3 screws.
-
-
-
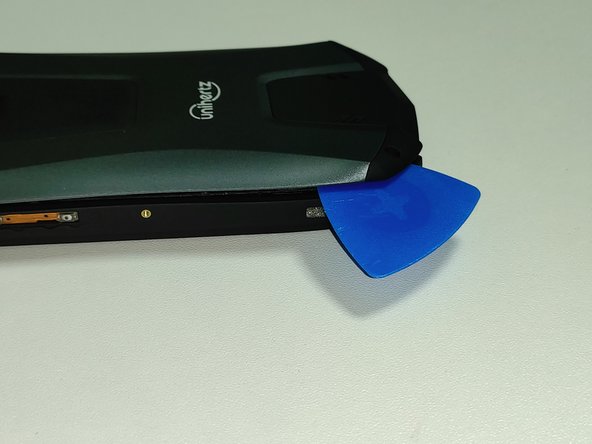
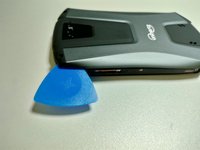
Insert the opening pick into the gap between the body and the back plate. Then open the gap so that the latch comes out.
-
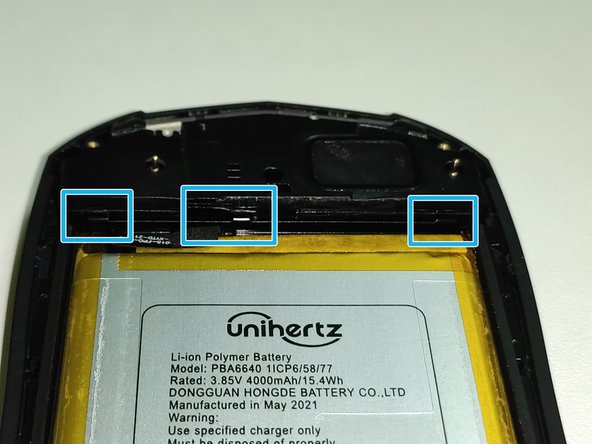
There are three latches on the left and right, one on the top and two on the bottom.
-
-
-
-
Remove the 3 screws using a Phillips #000 screwdriver.
-
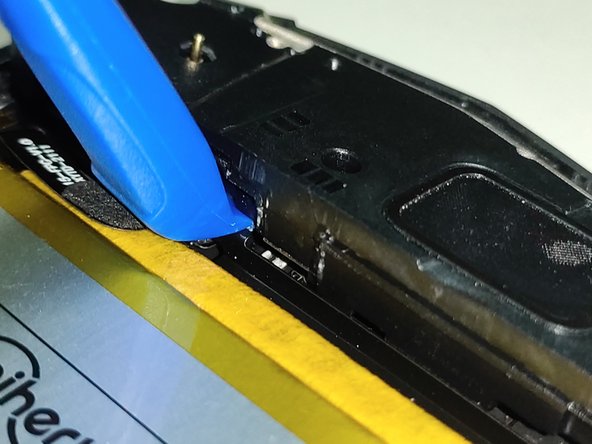
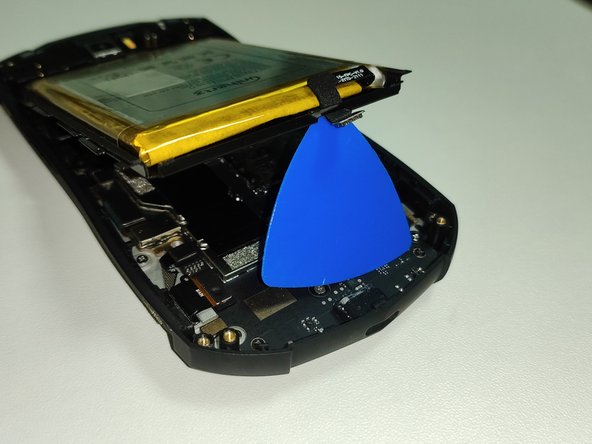
Use the opening tool to open the gap.
-
-
-
Remove the 2 screws using a Phillips #000 screwdriver.
-
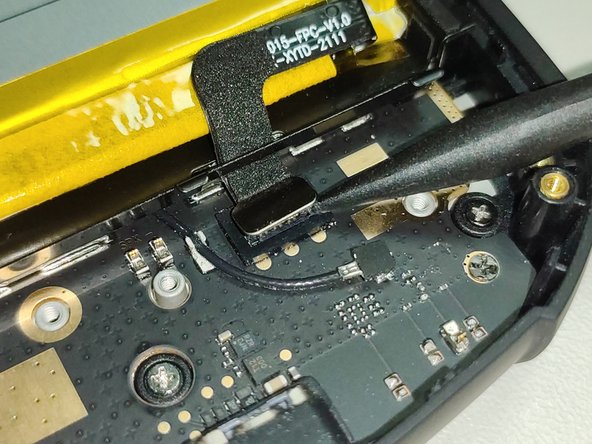
Lift the top part with the pointed part of the Spudger.
-
-
-
Disconnect the 6 connectors.
-
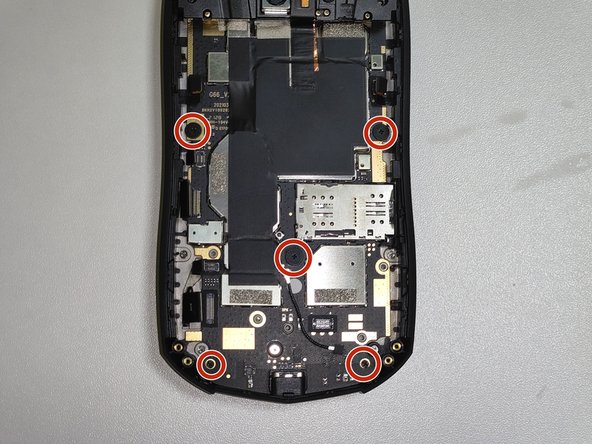
Remove the 5 screws using a Phillips #000 screwdriver.
-
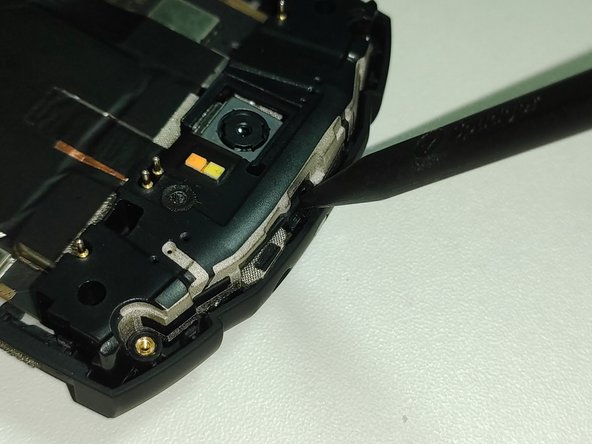
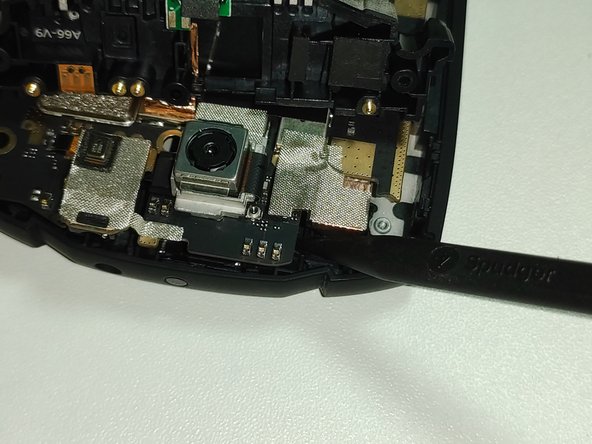
Use the Spudger to lift the top of the motherboard.
-
-
-
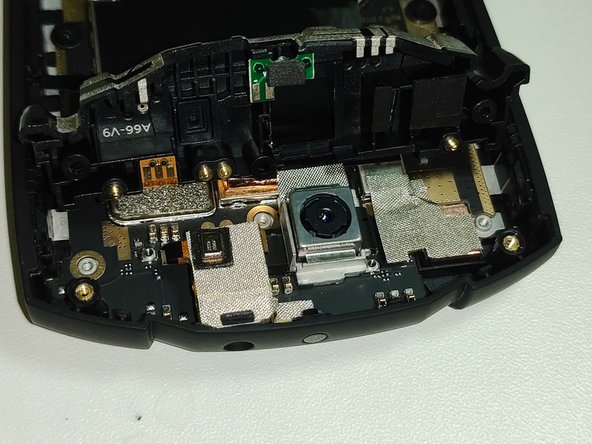
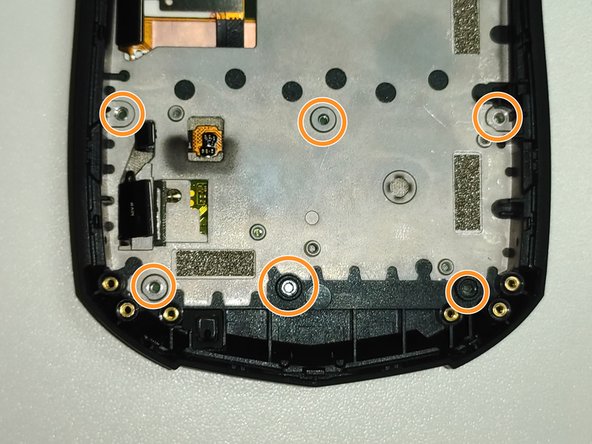
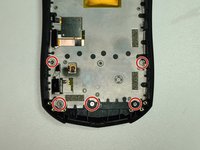
Remove the 5 screws using a Phillips #000 screwdriver.
-
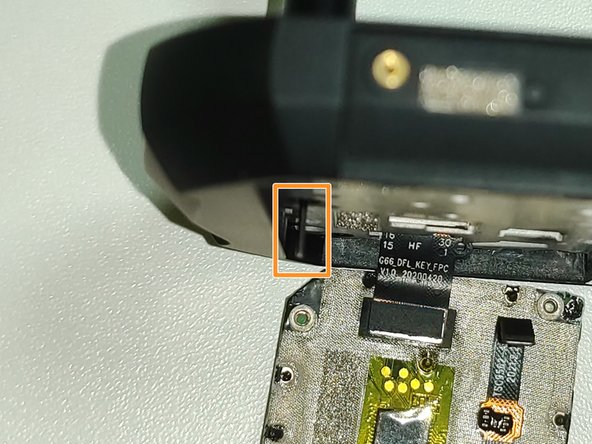
Insert a thin thing such as a Sim pin through the hole where the screw was removed and push the keyboard out.
-
-
-
Remove the 17 plastic rivets to separate the board and keyboard.
-


To reassemble the device, follow the instructions in reverse order.
Annulation : je n'ai pas terminé ce tutoriel.
2 autres ont terminé cette réparation.
Merci à ces traducteurs :
100%


Ces traducteurs nous aident réparer le monde ! Vous voulez contribuer ?
Commencez à traduire ›