Aller au contenu principal

Upgrading the SSD

Tutoriel Archivé
Ce tutoriel est conservé uniquement à des fins de suivis historiques. Utilisez la version actuelle du tutoriel pour effectuer votre réparation.

Ce dont vous avez besoin

  1. Upgrading the SSD, Battery: étape 1, image 1 de 3 Upgrading the SSD, Battery: étape 1, image 2 de 3 Upgrading the SSD, Battery: étape 1, image 3 de 3
    • Open the latch on the right side that secures the battery in place.

    • Open the latch on the left side that secures the battery in place.

    • Now remove the battery.

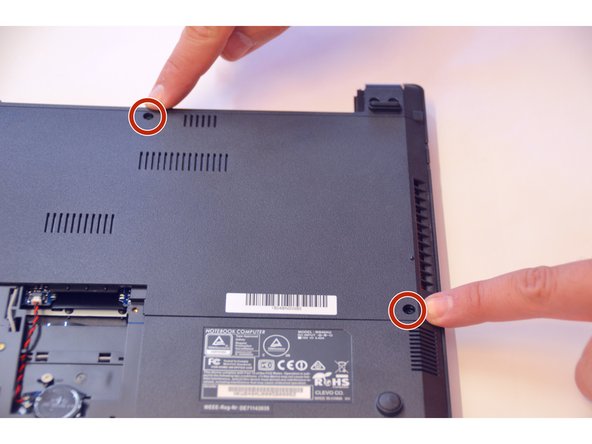
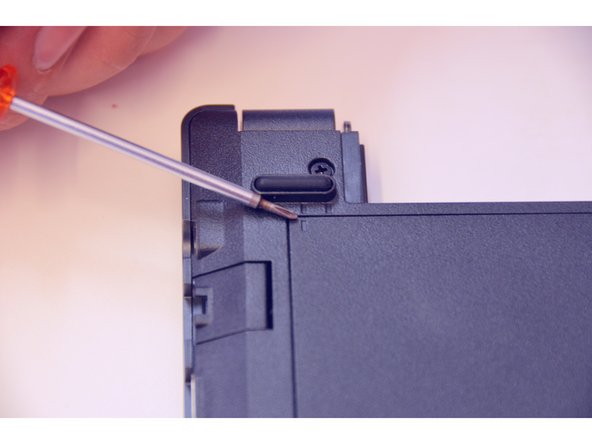
  2. Upgrading the SSD, Main access cover: étape 2, image 1 de 3 Upgrading the SSD, Main access cover: étape 2, image 2 de 3 Upgrading the SSD, Main access cover: étape 2, image 3 de 3
    • Using a Philips-head screwdriver remove highlighted screws.

    • Look at the marking to see how to remove the access cover.

    • Remove the access cover as shown by the marker.

  3. Upgrading the SSD: étape 3, image 1 de 1
    • You now have access to all components of this laptop.

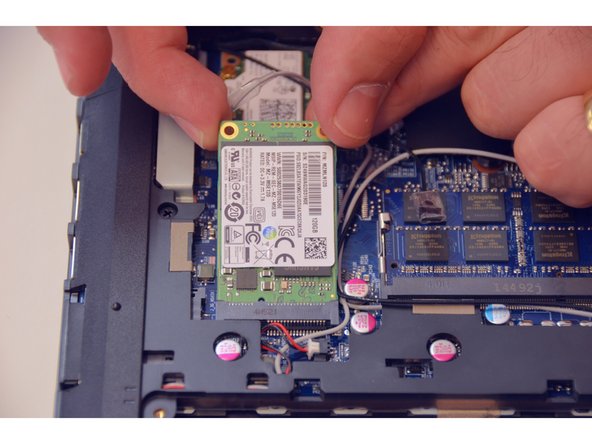
  4. Upgrading the SSD, PCIe SSD: étape 4, image 1 de 3 Upgrading the SSD, PCIe SSD: étape 4, image 2 de 3 Upgrading the SSD, PCIe SSD: étape 4, image 3 de 3
    • This is where you'll find the PCIe SSD.

    • Remove the fastening screw with the Philips-head screwdriver.

    • Remove the PCIe SSD.

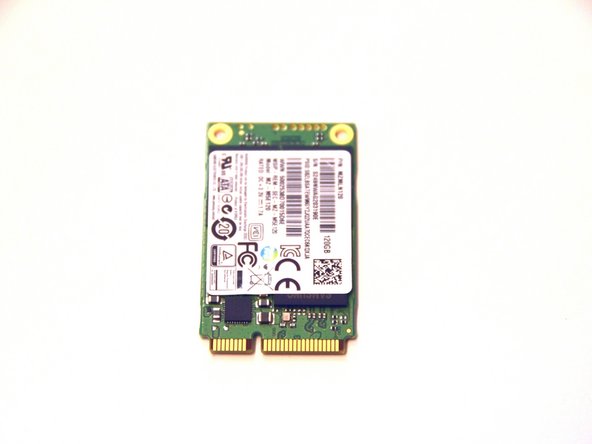
  5. Upgrading the SSD: étape 5, image 1 de 1
    • This is what the PCIe SSD looks like.

Conclusion

To put the device back together, follow the steps in reverse order.

Merci à ces traducteurs :

de en

100%

Alex Niculescu nous aide à réparer le monde ! Vous voulez contribuer ?
Commencez à traduire ›

Felice Suglia

Membre depuis le 06/15/13

30 884 Réputation

264 tutoriels rédigés

0 commentaires

Ajouter un commentaire

Nombre de vues :

Dernières 24 heures : 0

7 derniers jours : 0

30 derniers jours : 2

Total : 204